Most photographers assume clear skies are the gold standard for landscape photography. It's an understandable belief, but it's wrong. Understanding how weather affects landscape photography is what separates photographers who wait for perfect conditions from those who return home with genuinely memorable images. Weather shapes light quality, mood, texture, and even the technical demands on your gear. Embrace that reality, and every overcast morning, foggy valley, and snow-dusted ridge becomes an opportunity rather than an obstacle.
Table of Contents
- How different weather conditions shape landscape photography
- Capturing fog and mist: timing and exposure challenges
- Winter and snow: exposure, gear, and compositional considerations
- Dealing with wind and cold: maximizing image sharpness and comfort
- Practical tips to adapt your shooting strategy based on weather conditions
- Why mastering weather nuances elevates your landscape photography
- Explore award-winning landscape photography with Mark Gray
- Frequently asked questions
Key Takeaways
| Point | Details |
|---|---|
| Weather impacts lighting | Different weather conditions drastically change the light quality and mood in landscape photography. |
| Use exposure compensation | Adjust camera exposure for fog and snow to avoid underexposed or gray images. |
| Timing matters with fog | Arrive before dawn to capture fog before it burns off quickly after sunrise. |
| Stabilize gear in wind | Lower tripod setups, keep center columns down, and add weight to reduce camera shake. |
| Prepare for cold | Extreme cold drains batteries faster and stiffens gear, requiring extra preparation and warm clothing. |
How different weather conditions shape landscape photography
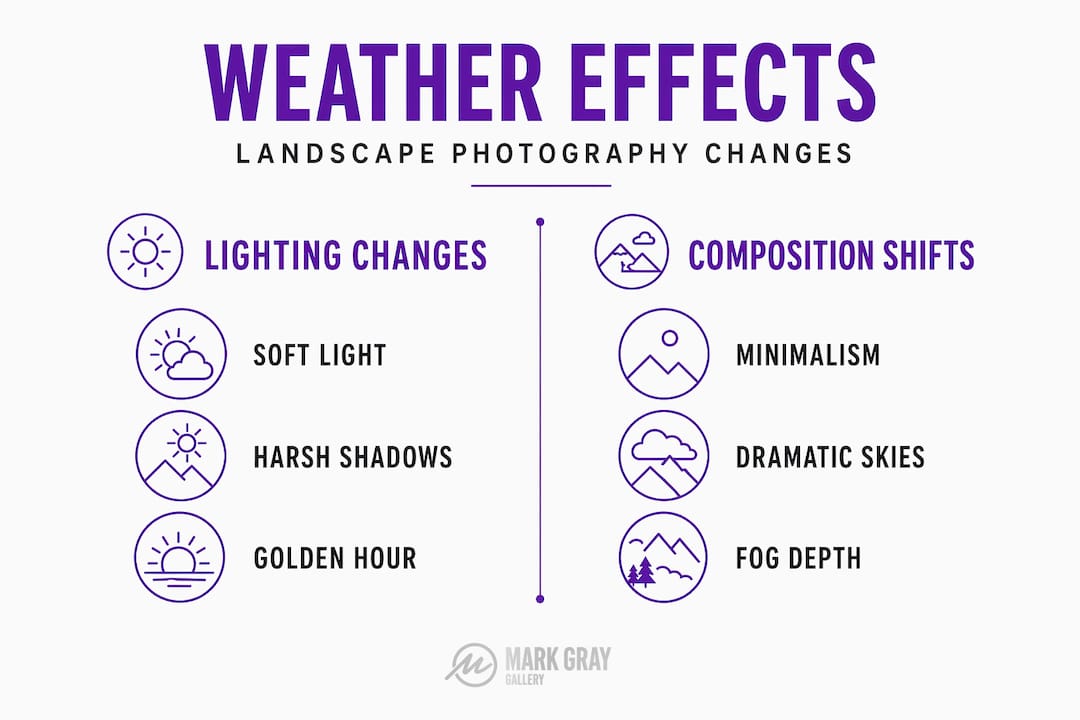
Landscape photography and weather are inseparable partners. Every condition — from brooding storm clouds to soft, diffused overcast light — carries its own visual character, and learning to read that character is one of the most valuable skills you can develop.
Overcast and cloudy skies are perhaps the most underrated condition in landscape photography. A heavy cloud layer acts like a giant softbox placed over the entire scene, eliminating harsh shadows and reducing contrast to manageable levels. As noted in cloudy day photography guidance, overcast days provide softer, diffused light that makes landscapes significantly easier to expose across extended shooting windows compared to chasing brief golden-hour contrast. Forests, waterfalls, and wildflower meadows all benefit enormously from this even illumination.
Rainy conditions transform ordinary scenes into something far more compelling. The impact of rain on landscapes is well documented: wet surfaces act like mirrors, puddles create natural reflections, and the diffused light of rainy weather reduces harsh shadows, producing images with a depth and atmosphere that clear skies rarely deliver. Cobblestone streets, rocky shorelines, and mountain valleys change character entirely after rainfall.
Here is a quick overview of how major weather types affect your photography:
- Overcast: Soft, even light. Extended productive shooting windows. Ideal for color saturation in foliage and water.
- Rain: Reflective surfaces, rich contrast, moody atmosphere. Best captured just before and after the heaviest downfall.
- Fog and mist: Layered depth, minimalistic compositions, ethereal mood. Narrow shooting windows demand early arrival.
- Snow: High reflectivity, muted palettes, dramatic simplicity. Exposure compensation is non-negotiable.
- Wind: Dynamic movement in grasses, trees, and water. Presents real sharpness challenges requiring careful technique.
Each condition requires a different approach to composition, exposure, and timing. Knowing this in advance means you arrive prepared rather than reactive. Reviewing Mark Gray's landscape photography across locations like Iceland, Norway, and Australia illustrates beautifully how every weather state carries photographic possibility. For additional outdoor photography weather tips, practical field guidance can help you adapt quickly when conditions shift unexpectedly.
Capturing fog and mist: timing and exposure challenges
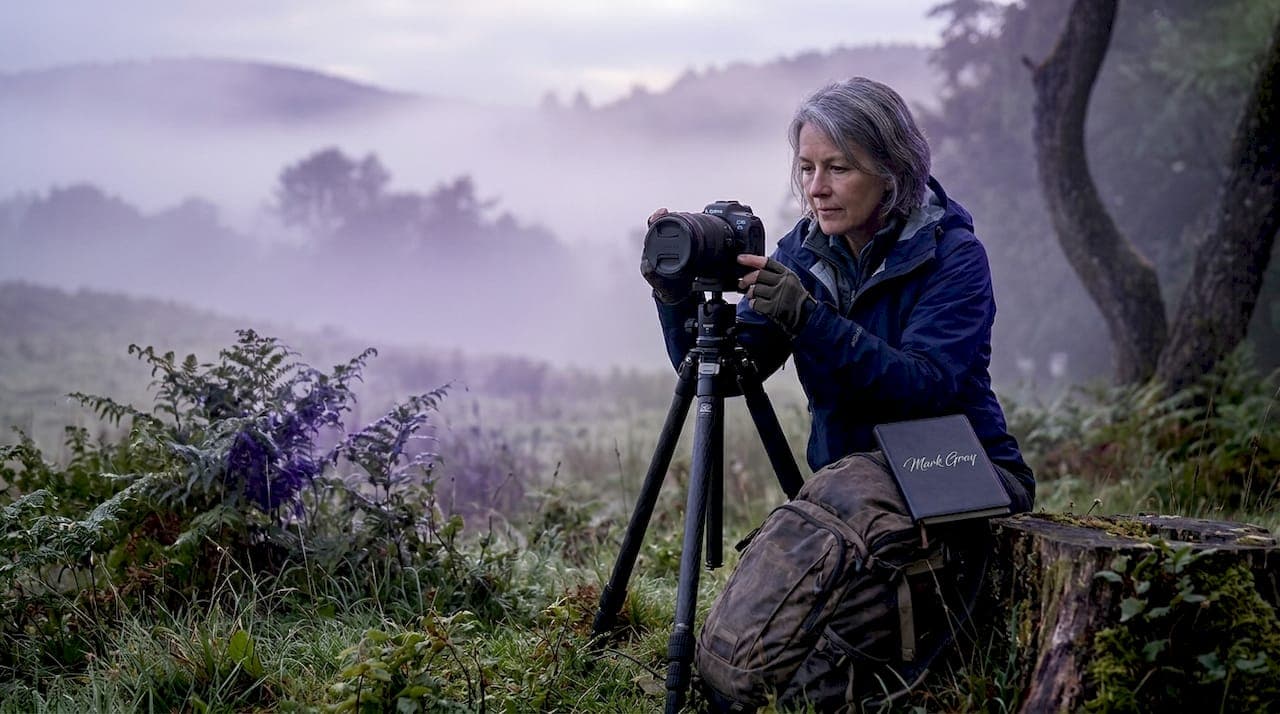
Fog is one of the most rewarding conditions in landscape photography, and one of the most demanding. It compresses depth, isolates subjects, and wraps landscapes in a quiet, almost meditative mood. But it disappears fast, and the window is unforgiving.
Radiation fog forms overnight as the ground cools and often burns off within 30 to 45 minutes after sunrise at ideal locations. That means arriving at least 45 minutes before first light, with your composition already scouted from a prior visit. There is no time to explore once the fog appears.
Step-by-step fog photography technique:
- Scout the night before. Identify your foreground, midground, and background elements in clear conditions. Fog will obscure your ability to judge the scene fresh.
- Arrive before civil twilight. Set up in darkness. The fog will reveal itself gradually as light builds.
- Apply positive exposure compensation immediately. Your camera's meter reads fog as mid-gray and underexposes. Start at +1 stop and push to +2 stops in backlit mist to keep the scene luminous rather than flat and gray.
- Switch to manual focus. Autofocus struggles in low-contrast fog, hunting continuously and rarely locking accurately.
- Monitor your histogram. The camera's LCD screen looks deceptively bright in low light. Trust the histogram data, not the preview.
"The fog doesn't wait for you to get comfortable. Arrive with intention, set your exposure compensation before you think you need it, and shoot through the transformation — the first ten minutes and the last ten minutes of the fog are almost always the most extraordinary."
Pro Tip: Enable your camera's highlight alert (the "blinkies") during fog sessions. Recovering luminous detail in post-processing is far easier than fixing a muddy, underexposed fog scene. Getting the exposure right in camera is essential for fog photography techniques that hold up as large-format prints.
Winter and snow: exposure, gear, and compositional considerations
Winter landscapes are among the most visually stunning environments a photographer can work in. They are also among the most technically demanding. Snow, cold, and flat light all push your technique and gear to their limits.
The first technical reality is exposure. Snow reflects enormous amounts of light and tricks camera meters into underexposing, producing the muddy gray results that ruin so many winter images. Increase your exposure compensation by at least +1 stop as a baseline and check the histogram immediately after your first frame.
The second challenge is gear survival. Extreme cold below –20°C causes faster battery drain and stiffens camera mechanics, requiring deliberate preparation before you even leave the car.
Winter photography preparation checklist:
- Carry at least three fully charged batteries. Rotate them from an inside pocket where body heat keeps them warm.
- Use a wrist or hand warmer inside your bag to protect spare batteries between uses.
- Allow your camera to acclimatize slowly when moving from warm interiors to freezing exteriors. Rapid temperature changes cause condensation on internal optics.
- Use a remote shutter release rather than the camera's self-timer to minimize physical vibration from pressing the shutter in gloved hands.
- Pack your gear in a sealed bag before re-entering warm spaces to let condensation form on the outside of the bag, not on your lens.
Compositionally, winter invites minimalism. A single bare tree in a snow field, a frozen waterfall, or ice-patterned rock speaks clearly without cluttered foregrounds. Simplify the frame. The absence of color and texture in snow actually draws the eye with unusual power toward isolated subjects.
Pro Tip: Shoot in the soft, low-angle light of a clear winter afternoon rather than mid-morning to leverage the warmth of golden directional light raking across the snow surface, revealing subtle texture that flat midday light completely hides. Exploring winter landscape photography from cold-climate destinations like Iceland and Norway provides inspiring reference for this approach.
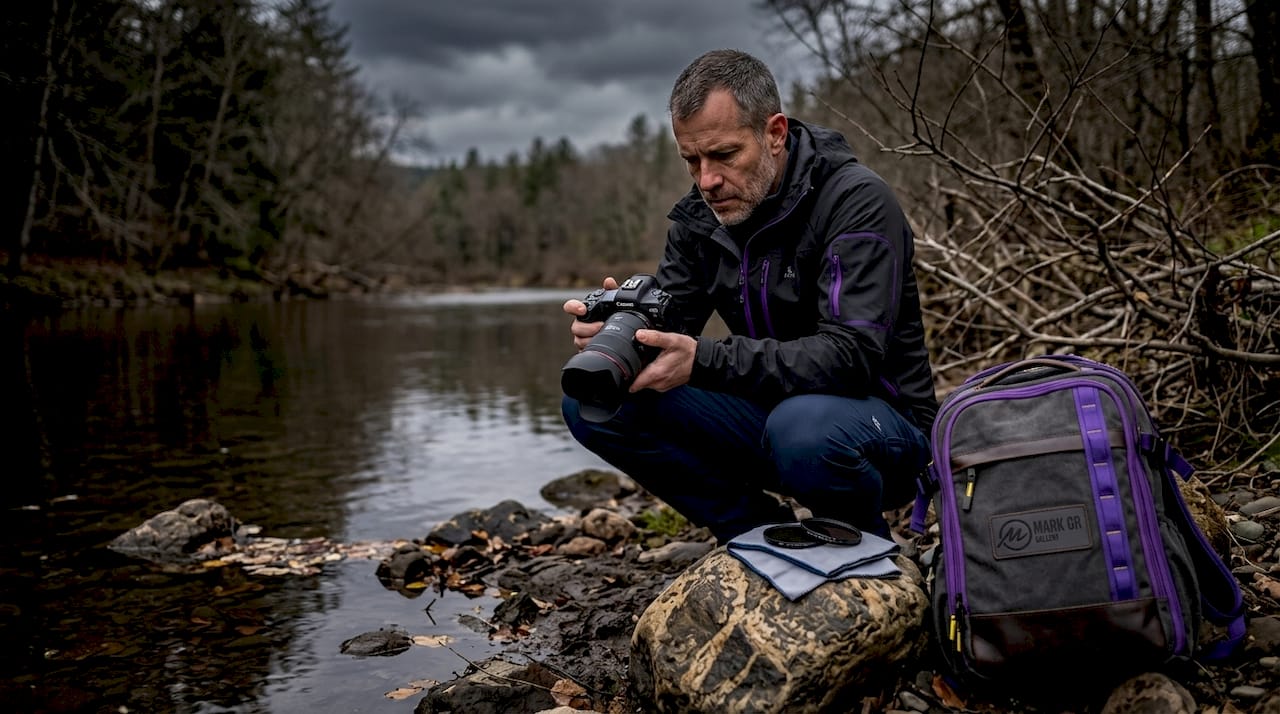
Dealing with wind and cold: maximizing image sharpness and comfort
Wind and cold often arrive together, and both attack your images from different directions. Wind creates blur in long exposures. Cold slows your decision-making and drains your batteries. Addressing both with practical technique keeps your shooting session productive.
For wind-induced blur, tripod discipline is your primary defense:
- Lower the center column completely. Every centimeter of extended column increases vibration sensitivity. Lock it down.
- Widen your tripod legs and reduce height. Wind speed drops closer to the ground, so a lower setup is meaningfully more stable. Keep center column down, keep tripod low, and add weight to the hook under the center column.
- Hang your camera bag or a dedicated sandbag from the tripod hook. Adding mass lowers the resonant frequency of the tripod, reducing vibration amplitude.
- Time your exposures to wind lulls. Watch the grass or foliage in front of you. When it stills momentarily, trigger your shot.
- Enable mirror lock-up or use electronic shutter to eliminate any internal camera vibration contributing to unsharpness.
Pro Tip: Favor a wider focal length in wind. A 24mm lens is far more forgiving of minor tripod movement than a 200mm lens, where even tiny vibrations magnify dramatically into obvious blur. For managing wind and cold for sharp shots, a combination of lower tripod position and strategic timing yields consistently sharper results than any single technique alone.
For staying warm, layering is the only strategy that actually works in the field. A moisture-wicking base layer, an insulated mid-layer, and a windproof shell keep you functional even in sustained cold. Cold temperatures below –20°C demand extra battery care and mechanical awareness that newer photographers often underestimate until their first costly session loss.
Practical tips to adapt your shooting strategy based on weather conditions
Understanding weather and adapting to it in real time is what transforms technical knowledge into consistently strong images. Here is a practical framework to carry into the field.
| Weather condition | Key exposure adjustment | Best shooting window | Primary creative opportunity |
|---|---|---|---|
| Overcast | Expose normally, bracket if needed | All day, extended hours | Even light, rich color saturation |
| Fog or mist | +1 to +2 stops compensation | 30 to 45 min after sunrise | Depth, atmosphere, minimalism |
| Snow | +1 stop or more | Late afternoon golden light | Texture, simplicity, contrast |
| Rain | Neutral to slight plus compensation | Just before and after rain | Reflections, drama, wet surfaces |
| Wind | Standard exposure, prioritize stability | At wind lulls | Dynamic movement in slow exposure |
Beyond the technical, here are the strategies that make the biggest practical difference:
- Stop waiting for golden hour on cloudy days. Cloudy days offer extended shooting hours due to diffused light that lasts far longer than the 15 to 20 minute window around sunrise or sunset. Use the whole morning.
- Check the weather forecast the night before and plan two locations. If one scene depends on fog or dramatic cloud, have a second option that works in clearer conditions.
- Use weather apps that show cloud layers and precipitation radar, not just the generic daily forecast. Precision planning means you position yourself correctly before conditions peak.
- Shoot through weather transitions. The minutes just after rain stops and just before fog lifts often produce the most extraordinary light. Position yourself at your composition before the change occurs.
For additional insight on how lighting and weather photography intersect, exploring how professionals plan around light shifts is genuinely instructive. Refining your weather-adaptive photography strategies takes practice, but the results speak clearly in the final images.
Why mastering weather nuances elevates your landscape photography
Here is an honest observation after years of field work: most photographers treat weather as something that happens to them rather than something they actively read, anticipate, and respond to. That passive relationship with conditions is the single biggest limiter on creative growth in landscape photography.
The conventional wisdom is that dramatic skies, perfect sunrises, and golden-hour light produce great images. And they can. But the photographers who produce consistently compelling work are the ones who understand that an overcast afternoon in a rainforest can yield richer, more nuanced images than a technically perfect sunrise over a generic vista. Cloudy overcast light acts as a diffuser that extends productive shooting time and resolves contrast issues that dramatic light creates. That is not a consolation prize. That is a genuine advantage, and most photographers ignore it.
The photographers who achieve the most striking results share a specific habit: they develop deep familiarity with a location across multiple seasons and weather states. They know which valley fills with fog after overnight rain. They know which snowfield catches directional afternoon light before the sun drops behind the ridgeline. They know when the first light after a storm produces extraordinary atmospheric conditions that last, at most, 20 minutes.
This level of knowledge does not come from apps. It comes from patient, repeated visits and an attentive, curious relationship with landscape conditions and photography. Weather mastery, ultimately, is about respecting the landscape enough to study it on its own terms.
Explore award-winning landscape photography with Mark Gray
If you are looking to deepen your understanding of how weather shapes landscape images at the highest level, the work of award-winning photographer Mark Gray offers inspiring real-world reference.
Mark's portfolio spans some of the world's most extraordinary and weather-driven environments — from the glacial drama of Iceland and Norway to the warm coastal light of French Polynesia and the rugged, unpredictable landscapes of Australia. Each print in the Mark Gray Gallery collection reflects a precise understanding of light, atmosphere, and timing that comes from decades of field experience. Mark also offers one-day photography courses across Australia and multi-day workshop tours worldwide, designed to help you bring that same weather-aware approach to your own work.
Frequently asked questions
What weather condition is best for landscape photography?
There is no single best weather condition. Overcast skies offer soft, diffused light for extended shooting, fog creates moody depth during narrow windows, and snow adds unique texture with reflective light. Each requires different techniques.
How do I prevent underexposed fog photos?
Use positive exposure compensation starting at +1 stop and increasing to +2 stops in backlit mist, then confirm by monitoring your histogram rather than the camera's LCD preview.
What adjustments are needed for shooting snowy landscapes?
Snow reflects a large amount of light and tricks your camera meter into underexposing, so set exposure compensation to at least +1 stop immediately and review the histogram after your first frame.
How can I reduce camera shake from wind during long exposures?
Keep center column down, tripod low, and add weight to the hook below the center column, then time your exposures to brief lulls in the wind for consistently sharper results.
How does extreme cold affect my camera gear?
Temperatures below –20°C cause batteries to drain faster and can stiffen mechanical parts, so keep spare batteries warm in an inside pocket and protect gear from rapid temperature transitions when moving between cold and warm environments.