Long exposure landscape photography is widely misunderstood as simply "using a slow shutter speed." In practice, it's a deliberate creative discipline where time itself becomes part of the composition. What is long exposure landscape photography, really? It's the art of holding your shutter open long enough to record motion that the human eye cannot perceive — transforming crashing surf into glass, turning clouds into sweeping brushstrokes, and pressing stillness and movement into a single frame. This guide covers the technical foundations, creative applications, and step-by-step workflow you need to master the technique.
Table of Contents
- Key Takeaways
- What is long exposure landscape photography, explained technically
- Creative effects and what movement does to a landscape image
- Best times and conditions for shooting long exposures
- Step-by-step workflow for a long exposure landscape shot
- My honest take after years with a long lens and a tripod
- Take your landscape photography further with Mark Gray
- FAQ
Key Takeaways
| Point | Details |
|---|---|
| Shutter speed defines the effect | Long exposures typically run from 0.5 seconds to several minutes, shaping how motion reads in the final image. |
| Gear setup determines sharpness | A sturdy tripod, remote shutter release, and ND filters are non-negotiable for clean results. |
| Timing and light matter most | Early mornings, late evenings, and overcast skies produce the most controlled, dramatic exposures. |
| Motion must be balanced, not eliminated | Over-smoothing water or clouds removes image energy; incremental adjustments preserve texture and life. |
| Practice builds creative instinct | Experimenting with exposure length across different scenes is how personal style develops. |
What is long exposure landscape photography, explained technically
At its core, long exposure landscape photography works by keeping the camera sensor active long enough to accumulate light and record movement over time. Shutter speeds typically range from 0.5 seconds to several minutes, with 1/30th of a second marking the practical limit for handheld shooting. Anything slower requires a tripod without exception.
Shutter speed, ISO, and aperture working together
These three settings are always connected, and getting long exposures right means understanding that relationship clearly.
- Shutter speed controls how long motion is recorded. A two-second exposure will produce softer water blur than a 15-second one. Neither is objectively better; the choice depends on the scene and your intent.
- ISO should stay at the camera's lowest native setting, usually ISO 100, to prevent digital noise from muddying shadow detail across a long exposure. ISO 100 and apertures between f/11 and f/16 represent the reliable sweet spot for image quality.
- Aperture in the f/11 to f/16 range serves two purposes simultaneously. It narrows depth of field to keep foreground and background sharp, and it reduces the light entering the lens, extending the time needed for a correct exposure.
Neutral density filters
ND filters are the tool that makes long exposure landscape photography possible in daylight. Without them, achieving a 30-second exposure in full sun would require impossibly low ISO values or apertures so small they introduce diffraction blur.
6-stop ND filters allow 15 to 30 second exposures during golden hour conditions. A 10-stop ND filter extends that to multi-minute exposures in bright midday light. Stacking filters is possible, though it introduces the risk of vignetting and color casts at the frame edges.
Tripod and stabilization
Even minor camera vibrations will produce blur across a long exposure, separate from the intentional motion blur you're creating. Hanging a camera bag or additional weight from the tripod's center column dampens ground vibrations. Use a remote shutter release or the camera's built-in timer delay to eliminate the shake introduced by pressing the shutter button manually.
Pro Tip: Lock up your camera's mirror before shooting if you're using a DSLR. Mirror slap at the moment of exposure creates vibration that is clearly visible in exposures between 1/15 and 1 second.
Creative effects and what movement does to a landscape image
This is where long exposure landscape photography separates itself from every other photographic technique. The finished image shows something the human eye literally cannot see: time compressed into a single frame.
Long exposure photography tells stronger stories by juxtaposing dynamic elements like water and clouds against static ones like rocks and trees. That contrast is the emotional engine of the image.
Water and waves
Ocean waves captured over two to eight seconds produce that recognizable silky surface. Waterfalls photographed at one to four seconds render as smooth, continuous veils. The common mistake is assuming longer is always better. Starting with one-second exposures and increasing gradually preserves water texture and prevents the flat, featureless look that over-processed long exposures often suffer from.
Clouds and sky movement
A 60-second to 4-minute exposure on a partly cloudy day transforms the sky into sweeping arcs or soft streaks of tone. This works especially well in black and white. Black and white long exposures emphasize shape, texture, and tonal contrast, stripping away color distraction and focusing attention entirely on light and form.
Some examples of long exposure landscape shots that demonstrate this principle powerfully include:
- Coastline images where foam-covered rocks appear razor-sharp against a completely smooth ocean surface
- Mountain lake reflections where wind-rippled water has been smoothed into a mirror, doubling the mountain above
- Desert highway shots where headlights from passing cars trace glowing arcs through an otherwise still canyon scene
"The creative power of long exposure lies in its ability to make visible what time conceals. Motion and stillness exist together in a single frame, creating a tension that neither element could produce alone." — Jay Patel, landscape photographer
The over-smoothing trap
Beginners frequently push exposures too long, eliminating all texture and energy from the water or sky. Controlled incremental adjustments preserve the details that make an image feel grounded and real, rather than digitally fabricated.
Best times and conditions for shooting long exposures
Choosing the right time to shoot is as important as any camera setting. Light quality and quantity directly determine how long your exposures can run and what effects are achievable.
Early mornings, late evenings, and overcast days are the preferred windows for long exposure landscape photography. Lower ambient light means you can achieve longer shutter speeds without heavy ND filtration, which keeps image quality high and simplifies your setup.
Overcast days are particularly underrated. Flat, even light eliminates harsh shadows and allows exposures of several seconds even without filters. The soft light also renders moving water and clouds with beautiful tonal gradation.
Here is a practical sequence for selecting the right conditions:
- Check the weather forecast for cloud movement. Partial cloud cover produces the best sky effects. A fully clear sky offers nothing for clouds to do during the exposure.
- Arrive before golden hour. The period 20 to 30 minutes before sunrise offers a combination of low light and soft color that is ideal for longer exposures without filtration.
- Assess wind speed at ground level. Light to moderate wind moves clouds well. Strong wind creates camera vibration and shakes nearby vegetation into a blurred mess across the frame.
- Scout for moving vegetation in your composition. Trees, grasses, and reeds in the foreground will blur unless you plan for them. Sometimes that blur adds atmosphere; often it just looks like a mistake.
Pro Tip: Shooting during low-light periods naturally enables longer shutter speeds, which means you can minimize reliance on ND filters and keep your optical chain as clean as possible. Fewer glass elements in front of the sensor always means better image quality.
Environmental stability is non-negotiable. Even a slight breeze shaking the tripod or blurring a branch in the foreground can undermine an otherwise technically perfect exposure.
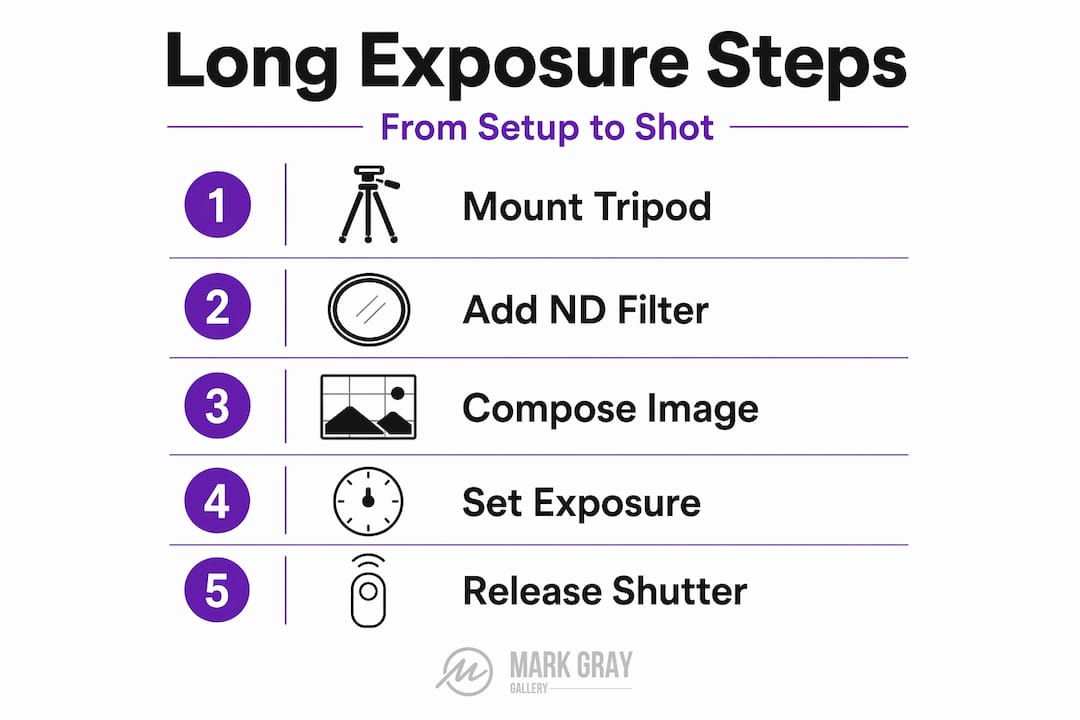
Step-by-step workflow for a long exposure landscape shot
Knowing the theory is one thing. Executing it in the field, often in low light with cold hands and fading conditions, is another. This workflow keeps you organized under pressure.
- Scout and compose your scene before setting up the camera. Walk the location. Find the foreground interest, identify where motion will occur, and decide where static elements anchor the frame. Composition decisions are always easier without a camera attached to your eye.
- Set the camera to manual mode. Select ISO 100, an aperture between f/11 and f/16, and a base shutter speed you will adjust after testing.
- Attach your ND filter. Use a 6-stop filter for golden hour conditions or a 10-stop for bright daylight. If stacking filters, attach them before focusing to avoid disturbing focus later.
- Focus carefully, then switch to manual focus. Autofocus will hunt or fail completely through a dense ND filter. Set focus before attaching the filter, then switch the lens to manual focus to lock the setting.
- Stabilize the camera fully. Extend the tripod legs to working height without using the center column if possible. Hang weight from the center column if the ground is unstable or the wind is picking up.
- Take a test shot and review the histogram. The histogram tells you far more than the screen preview in low light. Adjust shutter speed until the histogram shows full tonal range without clipping.
- Wait for the right moment. Patience is not optional in this discipline. Wait for cloud movement to reach an interesting position, for wave sets to build, or for the quality of light to shift. The best long exposure landscape images are rarely captured in the first five minutes.
Pro Tip: Use the camera's intervalometer or a remote release with a lock button for exposures longer than 30 seconds. This keeps vibration out of the equation and frees you to observe the scene while the camera works.
My honest take after years with a long lens and a tripod
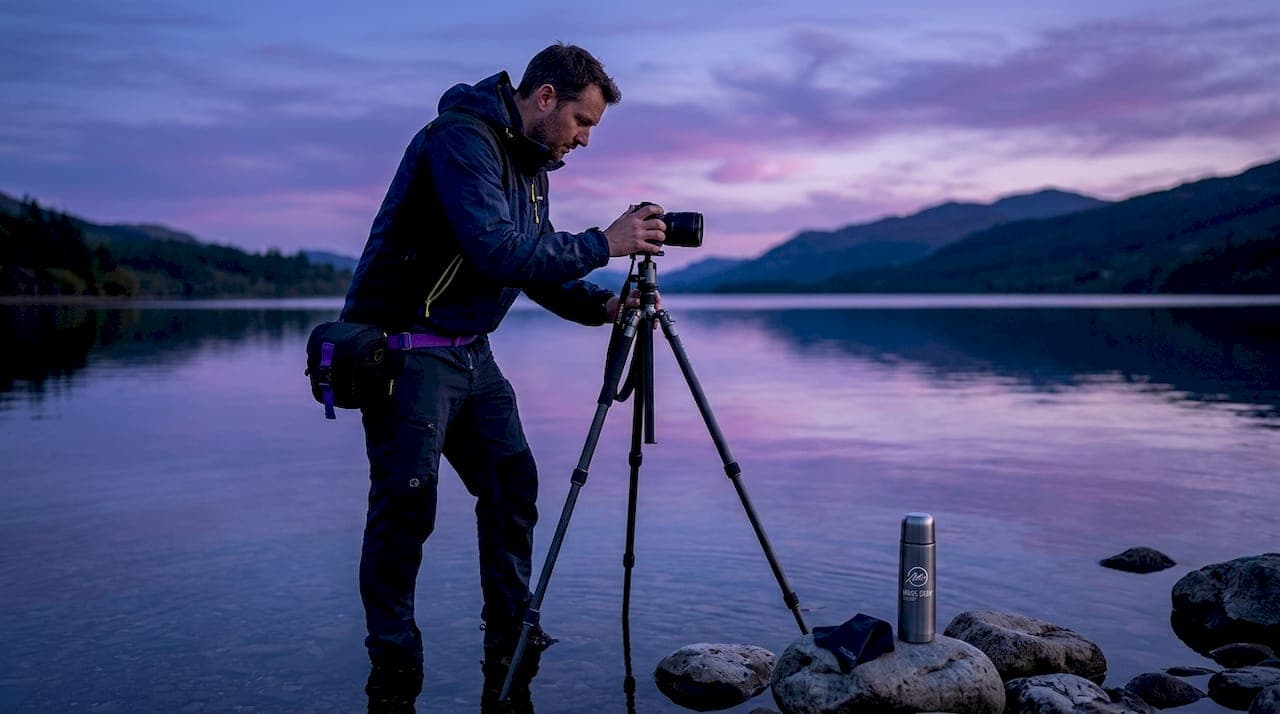
I've lost count of the mornings I was standing ankle-deep in cold ocean water waiting for a wave set to arrive while my exposure was counting down. What I've learned through those hours is that long exposure landscape photography rewards patience far more than it rewards equipment.
The misconception I see most often from photographers coming into this technique is the belief that longer exposures produce better images. In my experience, the opposite is frequently true. A three-second exposure that preserves the texture of a breaking wave is almost always more powerful than a 30-second exposure that turns the same water into a featureless white sheet. The motion should enhance the story, not erase it.
What surprised me most when I started shooting long exposures seriously was how much the technique changed the way I see landscapes before I even lift the camera. You start noticing movement everywhere: the shimmer on a tidal flat, the drift of a cloud shadow across a hillside, the slow rotation of stars on a clear night. Long exposure thinking changes how you observe the world, not just how you photograph it.
My encouragement to anyone working through this technique is to experiment without attachment to the results. Shoot the same scene at one second, ten seconds, and two minutes. Compare them honestly. The best setting is not a formula. It's a judgment call you develop through deliberate practice.
— Mark
Take your landscape photography further with Mark Gray
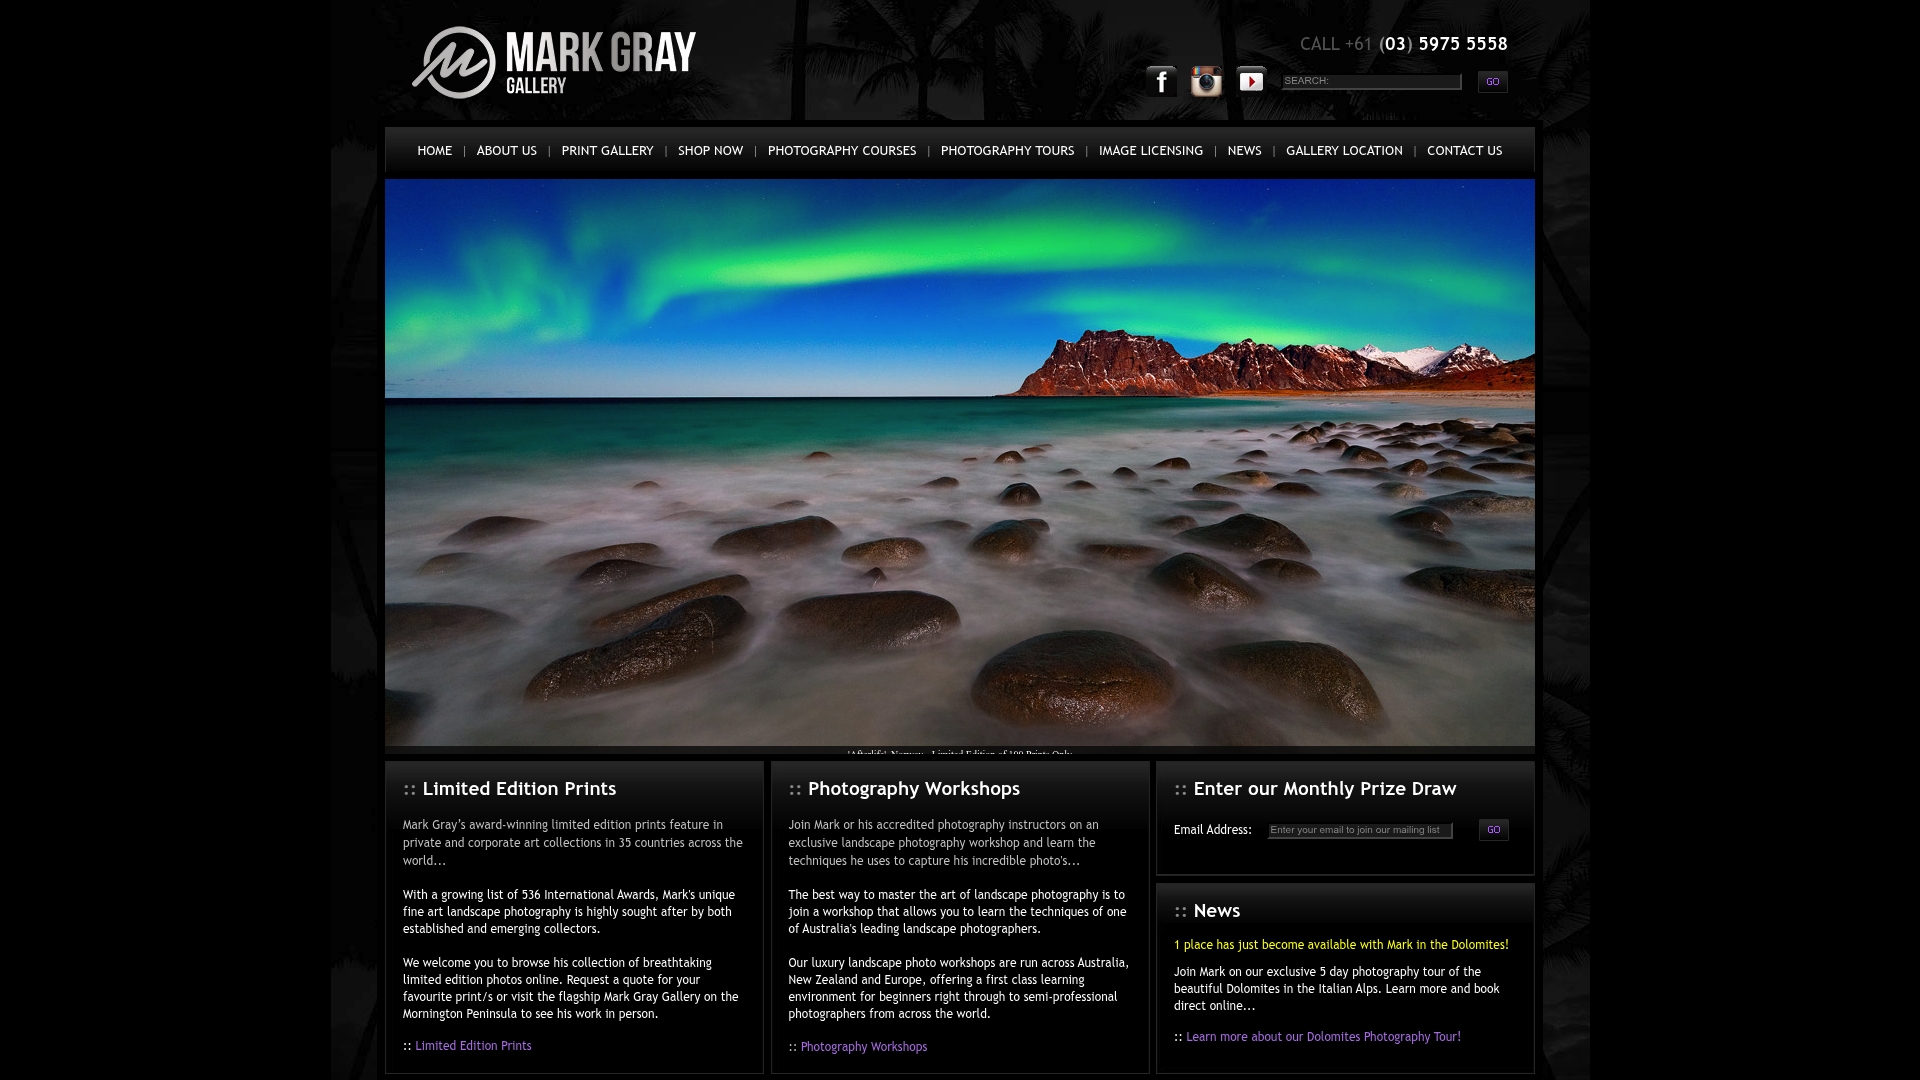
Mark Gray is one of Australia's most awarded landscape photographers, with decades of field experience across some of the world's most dramatic locations including Iceland, Norway, French Polynesia, and the Australian coastline. The Mark Gray Gallery offers premium limited edition prints that demonstrate the full creative potential of long exposure landscape photography at the highest level. Beyond the prints, Mark offers one-day photography courses across Australia and multi-day landscape photography workshop tours worldwide, giving photographers at every skill level access to structured, hands-on learning in the field. If you are serious about developing your craft, exploring Mark's workshops is one of the most direct paths forward.
FAQ
What shutter speed counts as long exposure?
Long exposure photography begins at shutter speeds slower than 1/30th of a second, with landscape work typically running from 0.5 seconds to several minutes depending on lighting conditions and creative intent.
Do I need an ND filter for long exposure landscape shots?
In daylight conditions, yes. A 6-stop ND filter is standard for golden hour work, while a 10-stop filter handles bright midday shooting. In low light or at dawn and dusk, longer exposures are achievable without filters.
What are the best settings for long exposure landscape photography?
Set ISO to 100, aperture to f/11 or f/16, and adjust shutter speed based on a test shot histogram. Use a tripod and a remote shutter release to eliminate vibration from the equation.
How do I stop water from looking too flat in long exposures?
Start with shorter exposure times of one to three seconds and increase gradually. Shorter exposures retain water texture and energy, while very long exposures can over-smooth water into a featureless surface.
What is landscape photography best suited for with long exposure technique?
Moving elements like ocean surf, waterfalls, rivers, and clouds produce the strongest results. The technique works best when static foreground elements, such as rocks, cliffs, or trees, provide a sharp anchor against the motion.