
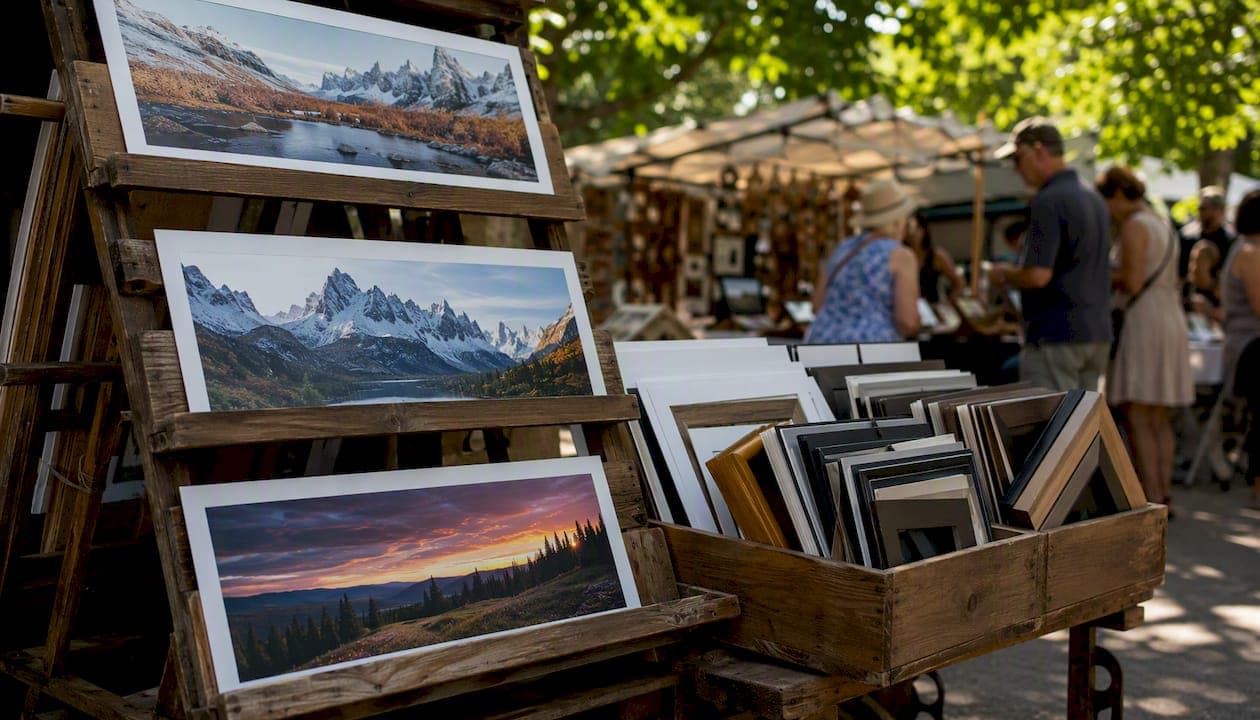
For most panoramic prints, five framing methods cover the full range of needs: gallery-wrapped canvas, custom framed and matted print, acrylic face-mount, block mounting, and split-panel triptych. Gallery wrap suits casual, lightweight display; custom framing with conservation materials is the right call for collector-grade and limited-edition work; acrylic face-mount delivers a sleek, modern look for high-impact rooms; block mounting works well for budget-conscious buyers who want clean edges; and split panels solve the problem of very wide prints that would otherwise be structurally unwieldy as a single piece.
The single most important decision you will make is not the frame style — it is the mount material. Acid-free, pH-neutral mountboards and UV-protective glazing are what separate a print that looks pristine in twenty years from one that yellows and fades. The NEDCC recommends these conservation standards as baseline practice for any framed photographic work.
Here is a quick reference for each option:
- Gallery-wrapped canvas — low cost, lightweight, no glazing needed; trade-off is that canvas can sag on very long spans and lacks archival permanence.
- Custom framed + acid-free mount — collector-grade, conservation-safe; trade-off is higher cost and longer lead time.
- Acrylic face-mount — striking visual depth, UV-resistant; trade-off is significant weight and professional installation required.
- Block mount / Dibond — clean, contemporary, budget-friendly; trade-off is limited longevity compared to archival framing.
- Split panels (diptych/triptych) — solves structural challenges for very wide prints; trade-off is that alignment on the wall requires care.
Key Takeaways
The most important decision in framing a panoramic print is the mount material: acid-free, pH-neutral boards with UV-protective glazing protect collector-grade work for decades, while DIY methods suit casual display but carry real longevity trade-offs.
| Point | Details |
|---|---|
| Best for collectors | Custom timber frame, acid-free double mat, bottom-weighted mount, and UV anti-reflective glass. |
| Best modern display | Acrylic face-mount on aluminum substrate; professional installation required for safety and alignment. |
| Best budget option | Gallery-wrapped canvas or Dibond block mount; lightweight, accessible, and DIY-friendly for casual spaces. |
| Most critical prep step | Confirm PPI at final print dimensions and convert to the lab's color profile before ordering. |
| Hanging safety | Use two-point support (D-rings and wire, or French cleat) for any panorama wider than 60cm. |
| Mark Gray Gallery | Offers limited- and open-edition prints with custom framing consultation at Markgray. |
Table of Contents
- What are the best panoramic framing options for your print?
- How should you prepare your image before ordering a panoramic print?
- How do you hang a long or heavy panoramic piece safely?
- Should you frame your panorama yourself or hire a professional?
- How do you choose the right framing option for your panorama?
- What does Mark Gray Gallery recommend for collector panoramic prints?
- Mark Gray Gallery prints, framed and ready to display
- Sources
What are the best panoramic framing options for your print?
Panoramic photography is defined by unusually wide aspect ratios, commonly 2:1, 3:1, or wider, and that extreme horizontal span is what makes standard framing approaches fall short. Off-the-shelf frames almost always have the wrong proportions, forcing cropping or awkward mounts. Made-to-measure frames are the recommended solution for panoramic images precisely because custom sizing preserves the full composition.
Gallery-wrapped canvas
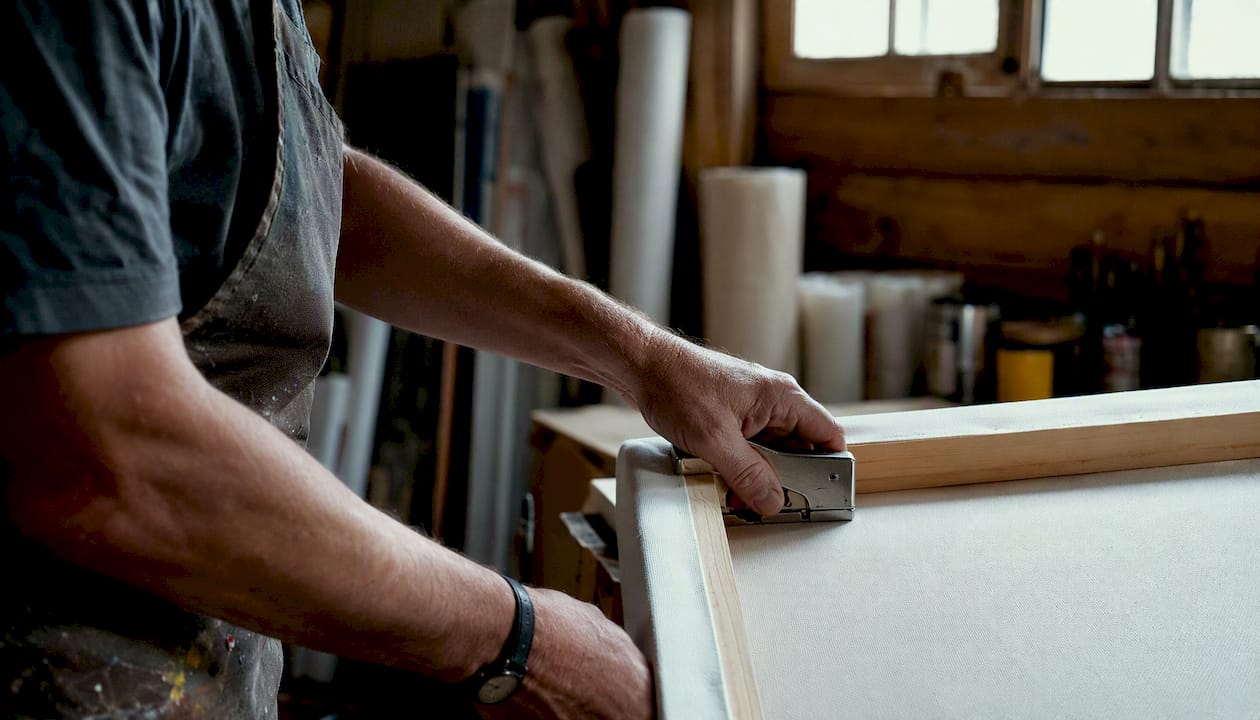
A gallery wrap stretches the print directly over a wooden stretcher bar, with the image wrapping around the sides. There is no glazing, no frame profile, and no mat. The result is light, informal, and easy to hang. For panoramas up to roughly 40 inches wide, a quality stretcher bar holds well. Beyond that, a center support bar is advisable to prevent bowing. Cost is generally the lowest of all framing methods, and the DIY path is accessible for anyone comfortable with a staple gun and stretcher kit.
Custom framed and matted print
This is the gold standard for framing limited-edition prints and collector-grade work. A custom timber or metal moulding surrounds an acid-free double mat, which in turn holds the print with T-hinge or V-hinge attachments that allow natural paper expansion and prevent buckling. UV-protective glass or acrylic glazing sits in front. The visual effect is formal and prestigious. Cost runs higher than any DIY method, but the archival protection justifies it for any print with monetary or sentimental value.
Float frame
A float frame positions the print slightly in front of the backing board, creating a visible gap around all four edges. This gives the print a gallery-wall presence without a traditional mat. Thin profile mouldings work especially well here because they emphasize the panorama's width rather than competing with it. First4Frames notes that float mounting with anti-reflective glazing is a recommended configuration for gallery-quality panoramic presentation.
Acrylic face-mount
The print is bonded directly to the back of a sheet of acrylic, producing extraordinary color depth and a glass-like surface. An aluminum substrate is typically attached to the back for rigidity. The result is visually stunning and UV-resistant, but the combined weight of acrylic and aluminum demands professional installation and robust wall anchors. This method is professional-only territory.
Metal prints
The image is infused directly into a coated aluminum sheet. Metal prints are waterproof, scratch-resistant, and require no glazing. Colors appear vivid and slightly luminous. They suit contemporary interiors and high-traffic spaces. Weight is moderate, and hanging is straightforward with a float mount attached to the back. Professional printing equipment is required, so this is not a DIY option.
Block mounting and Dibond
The print is adhered to a rigid substrate, typically MDF, foam-core, or Dibond (aluminum composite). Edges are clean and frameless. Cost is low to moderate, and the look is contemporary. Longevity is the main limitation: foam-core degrades over time, and adhesives can fail on large spans if not applied correctly. Dibond is the more durable substrate choice.
Split panels (diptych/triptych)
A single panoramic image is divided across two or three panels, each framed or mounted separately. This approach solves the structural problem of very wide prints and creates a dynamic wall installation. Alignment during hanging requires a level and careful measurement, but the visual payoff, a wide image that fills a wall without the engineering challenges of a single large frame, is considerable.
How should you prepare your image before ordering a panoramic print?
Resolution is the first variable to get right. For a print viewed at normal gallery distance (roughly 18–24 inches), 150–300 PPI at final print dimensions is the accepted working range. As panoramic dimensions grow, the PPI requirement at a given viewing distance drops, but interpolating a low-resolution file to fill a large format will produce visible softness. Apple's print guidance covers the relationship between print size, resolution, and color that applies directly when preparing files for wide-format output.
Color profile matters more than most photographers expect. sRGB is the safe default for most print labs. Adobe RGB captures a wider gamut and is worth using if your lab explicitly supports it and you are printing on a wide-gamut inkjet. ProPhoto RGB is a capture and editing space, not a print delivery format, and should be converted before sending to any lab.
Bleed and safe areas prevent unwanted cropping. Add at least 3–5mm of bleed on all sides beyond the intended print boundary. Keep critical subject matter and text well inside a safe zone of at least 10mm from the trim edge. For gallery-wrap canvas, the wrap depth (typically 38mm or 50mm) must be accounted for in the composition, either by extending the background or by accepting that edge content will wrap around the bar.
Aspect ratio determines whether you can use off-the-shelf sizing or need a custom frame. Common panoramic ratios often have unusually wide proportions that rarely match standard frame sizes. Bottom-weighting the mount, placing slightly more mat below the image than above, is a traditional framing technique that corrects the optical illusion that makes a centered image appear to float too high.
Pre-print checklist:
- Confirm final print dimensions and verify PPI at those dimensions in your editing software.
- Convert color profile to the lab's specified space (usually sRGB) and soft-proof against the intended paper or substrate.
- Add bleed (minimum 3–5mm) and mark safe areas for critical content.
- For canvas wraps, extend or mirror edges to cover the wrap depth.
- Name the file clearly with dimensions and color profile (e.g.,
landscape_120x40cm_sRGB.tif). - Request a digital proof or printed test strip before committing to the full run.
Pro Tip: Always request a printed proof on the actual substrate before approving a large panoramic print. Monitor calibration and paper rendering differ enough that what looks correct on screen can shift noticeably in print, especially in shadow detail and warm tones.
How do you hang a long or heavy panoramic piece safely?
Weight is the first safety variable. A gallery-wrapped canvas at 120cm wide might weigh 2–3 kg. An acrylic face-mount at the same size can reach 8–12 kg or more. Metal prints fall somewhere between. The wall fixing must be rated well above the actual weight, with a safety margin of at least three times the load.
For any panoramic piece wider than 60cm, two-point support is non-negotiable. A single central hook allows the frame to pivot and places all stress on one fixing. D-rings screwed into the back of the frame at one-third intervals from each end, connected by braided picture wire, distribute the load correctly. For very heavy pieces, a French cleat is the most secure option: a length of beveled timber or aluminum fixed to the wall, with a matching cleat on the back of the frame, creates a broad, stable bearing surface that cannot slip.
Wall anchors must match the wall type. Plasterboard (drywall) requires toggle bolts or specialist hollow-wall anchors for anything above 5 kg. Masonry walls need appropriate masonry anchors and a hammer drill. Timber studs are the strongest fixing point and worth locating with a stud finder before drilling.
For placement, panoramas work well above a sofa or console table (center of the image at approximately 145–150cm from the floor), along a staircase wall following the rake of the stairs, or above a fireplace where the horizontal span echoes the mantel. Narrow hallways benefit from panoramas because the width of the image draws the eye forward and makes the space feel longer.
Pro Tip: Before drilling, use a strip of painter's tape on the wall and mark the hanging-point positions with a pencil. Check level with a spirit level or a free smartphone app, then drill. This avoids the common error of trusting the eye alone on a long horizontal span, where even a 1-degree tilt is obvious once the frame is up.
Transporting a long framed piece requires two people and padding on all four corners. Store framed panoramas vertically, never flat, to prevent warping of the backing board or stretcher bars.
Should you frame your panorama yourself or hire a professional?
The honest answer depends on three things: the value of the print, the size of the piece, and the longevity you expect.
DIY framing is genuinely viable for gallery-wrapped canvas, block mounting to MDF or Dibond, and foam-core backing for lightweight prints. These methods are accessible, cost-effective, and produce results that look excellent in casual home settings. The limitations appear at scale and over time. Foam-core degrades and off-gases acids that can damage prints. Large canvas spans sag without center support bars. Adhesive methods applied without professional equipment can fail or cause irreversible damage to the print surface.
Professional-only services include UV anti-reflective acrylic face-mounting, museum-grade dry mounting for gallery prints, metal printing processes, and custom timber moulding with conservation-grade materials. NEDCC's conservation standards for acid-free mountboards, pH-neutral materials, and UV-protective glazing are the benchmark for any work intended to last decades. Full-service providers that print and frame panoramas typically use pH-neutral mountboards and backboards to prevent buckling, shipping frames ready to hang.
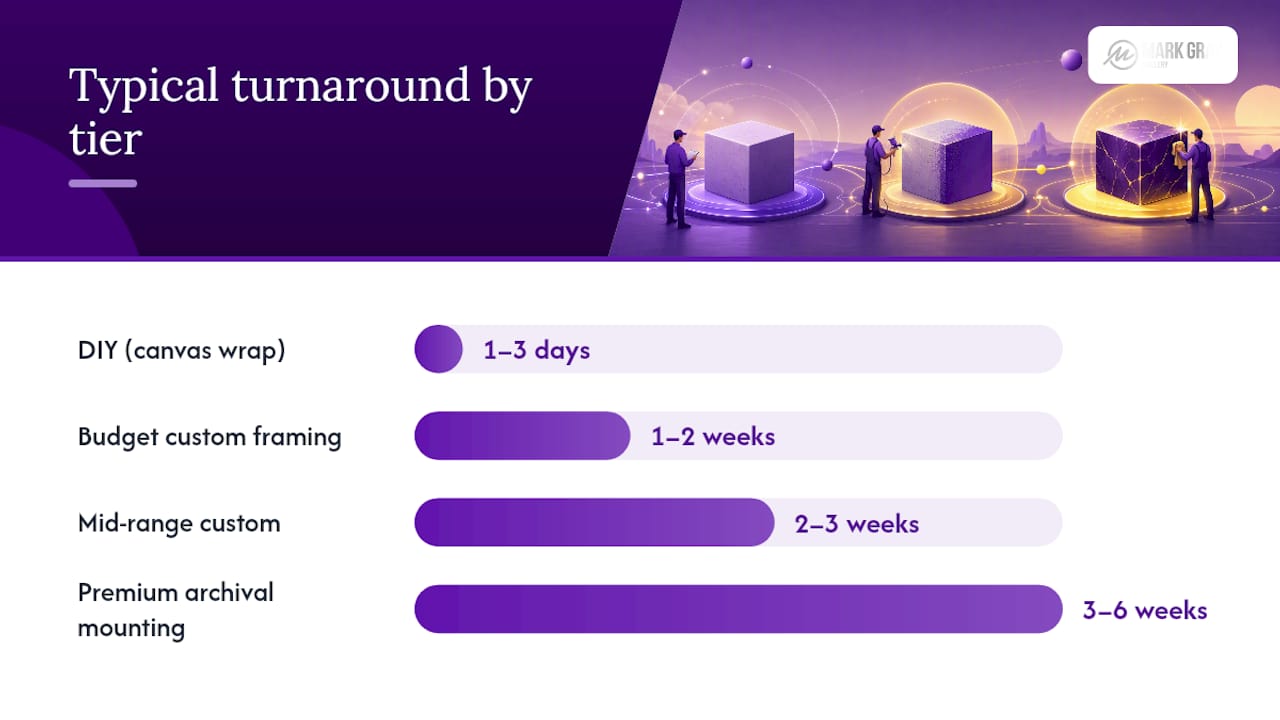
| Approach | Typical cost range | Turnaround | Best for |
|---|---|---|---|
| DIY (canvas wrap, block mount) | Low | 1–3 days | Casual display, budget-conscious buyers |
| Budget custom framing | Low-moderate | 1–2 weeks | Standard prints, non-archival needs |
| Mid-range custom framing | Moderate | 2–3 weeks | Quality prints, home collectors |
| Premium archival mounting | High | 3–6 weeks | Limited-edition, investment-grade prints |
Red flags that indicate professional framing is the only sensible choice: the print is a limited edition with a certificate of authenticity, the piece has significant monetary value, the dimensions exceed 100cm on the long edge, or the display environment has strong natural light. For collector-grade photography prints, cutting corners on framing is a false economy.
How do you choose the right framing option for your panorama?
Work through these decisions in order, and the right method becomes clear quickly.
Step 1: Define the display location and lighting. Strong natural light demands UV-protective glazing or an inherently UV-resistant substrate like acrylic face-mount or metal. Low-light rooms give you more flexibility. Hallways and stairwells favor lightweight options because installation access is often restricted.
Step 2: Set your preservation priority. A print you intend to keep for decades, or one that has collector value, warrants archival materials. A decorative print for a rental property or a frequently refreshed space does not need museum-grade framing.
Step 3: Decide your budget range. Gallery wrap and block mounting sit at the accessible end. Custom framing with conservation materials is a meaningful investment. Acrylic face-mount and metal printing occupy the premium tier.
Step 4: Confirm aspect ratio and sizing. Measure the print and check whether any standard frame size matches. For most panoramas, custom sizing is the practical answer because off-the-shelf proportions rarely align with 2:1 or 3:1 ratios.
Questions to ask a framer:
- What mountboard material do you use, and is it acid-free and pH-neutral?
- What glazing options do you offer, and which provides UV protection without significant reflection?
- How do you attach the print to the mount (T-hinge, V-hinge, or adhesive)?
- What backing board do you use, and does it prevent buckling on long spans?
- Do you offer a warranty on materials and workmanship?
- Can you handle delivery and professional installation for large pieces?
Red flags in a framer's quote: acidic or non-specified mountboard, no UV glazing option for a light-exposed location, adhesive dry-mounting proposed for a limited-edition print, and no mention of backing board for a wide piece.
Frame color and profile shape the emotional register of the finished piece. Neutral off-white or warm white mounts are the reliable default because they recede and let the image lead. Darker mounts, charcoal or black, add drama and suit bold, high-contrast landscapes. Thin frame profiles emphasize the panorama's width; thicker mouldings add gravitas but can visually compress a wide image. NexFoto's framing guidance notes that mount color choice significantly alters the emotional effect of a panorama, with darker mounts creating a more intense, gallery-like atmosphere.
For landscape photography display ideas that go beyond a single print, a curated gallery wall of two or three panoramic pieces at different scales can be more compelling than one large piece in isolation.
What does Mark Gray Gallery recommend for collector panoramic prints?
For collectors and serious buyers, three configurations cover the most common display scenarios.
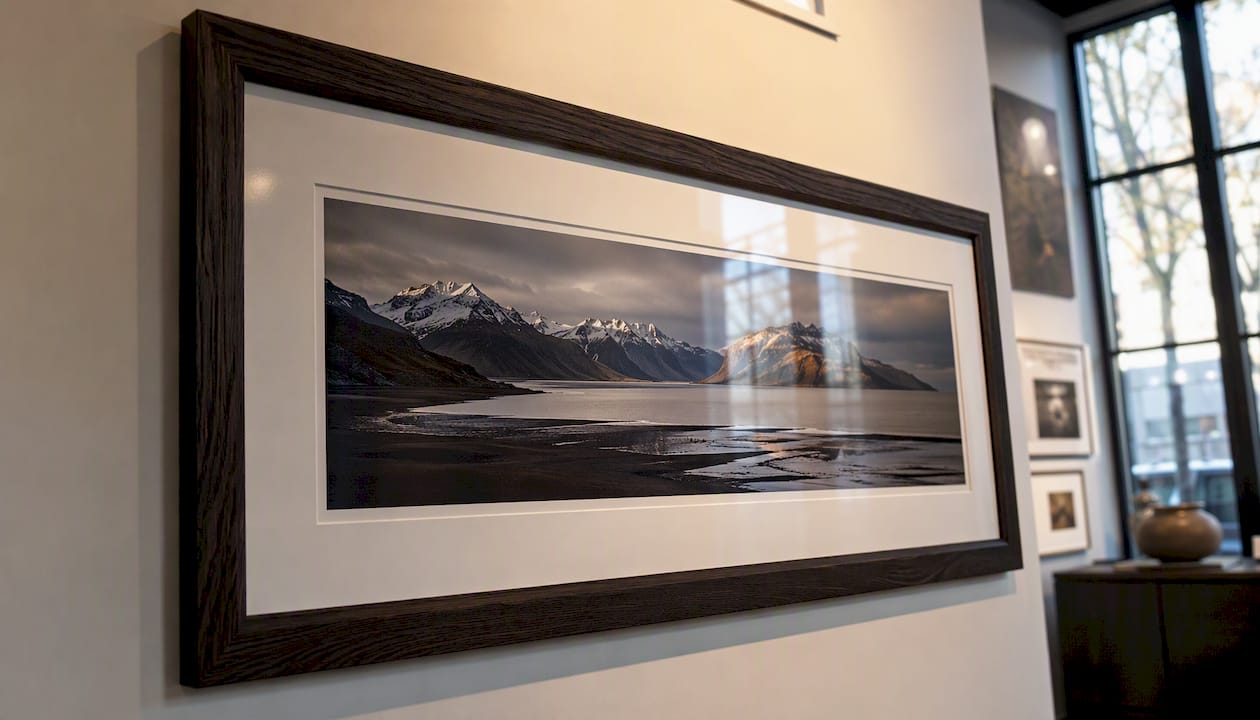
Collector configuration: Custom timber moulding in a neutral or dark finish, acid-free double mat with bottom-weighting, T-hinge or V-hinge attachment, and anti-reflective UV glass. This setup meets conservation standards, protects the print from light degradation, and presents the image with the formal authority a limited-edition work deserves. The First4Frames guide confirms that a well-cut mount with bottom-weighting and anti-reflective glazing is the recommended approach for gallery-quality panoramic presentation.
Modern display configuration: Acrylic face-mount on an aluminum substrate, no frame, hung with a concealed float mount system. The result is a frameless, luminous panel that suits contemporary interiors and makes colors appear with exceptional depth. This configuration requires professional installation and robust wall fixings, but the visual impact in a well-lit room is unmatched by any other method. For fine-art travel and landscape work, the acrylic face-mount is the presentation format that most closely replicates the experience of viewing a print in a commercial gallery. Ken Jones NYC's fine-art travel photography demonstrates how this format elevates landscape and travel panoramas in professional presentation contexts.
Casual display configuration: Gallery-wrapped canvas on a quality stretcher bar, no glazing, hung with two D-rings and braided wire. Accessible, lightweight, and warm in character. Best suited for prints that are decorative rather than investment-grade, and for spaces where the informal texture of canvas suits the room.
For displaying large-format photography prints at collector standard, the materials chosen at the framing stage determine how the work ages over years and decades.
A photographer's note on framing panoramas
The frame is not decoration around the image. It is the first and last thing a viewer sees, and it sets the register for everything in between. A thin float frame on a wide landscape print tells the eye to keep moving horizontally, to follow the image rather than stop at the edge. A thick, ornate moulding does the opposite: it announces itself and competes. In my experience working with large-format landscape prints, the most common mistake is choosing a frame that is too heavy for the subject. The panorama's power is in its width, and the framing should honor that rather than interrupt it.
For anyone considering a limited-edition print as a long-term investment, conservation-grade materials are not optional. They are what protect the value of the work over time.
Mark Gray Gallery prints, framed and ready to display
Mark Gray Gallery offers a collection of premium limited- and open-edition landscape photography prints drawn from locations across Australia, New Zealand, Norway, Iceland, French Polynesia, Spain, and the United Kingdom. Each print is produced to gallery standards, and the team can advise on framing configurations, substrate choices, and sizing to suit your specific display environment.

Whether you need a ready-to-ship open-edition print or a bespoke limited-edition piece with custom framing consultation, the gallery handles both. Contact the team directly to discuss dimensions, framing specifications, and lead times. Bespoke orders typically require additional time for custom framing; open-edition prints ship on a faster schedule. Reach out via Markgray to request sizing advice or a custom framing consultation.
Sources
- Matting and framing for works on paper and photographs — NEDCC
- Apple support — photo printing guidance
- Frames for Panoramic Photos — EasyFrame