
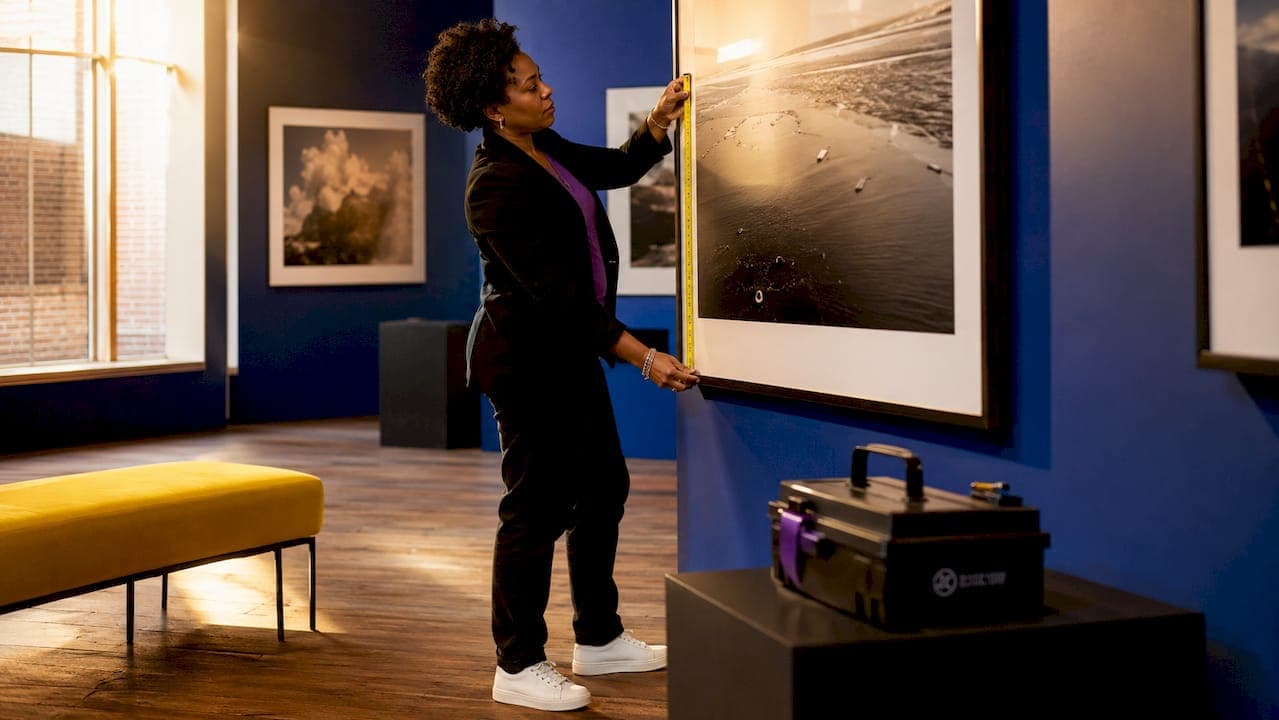
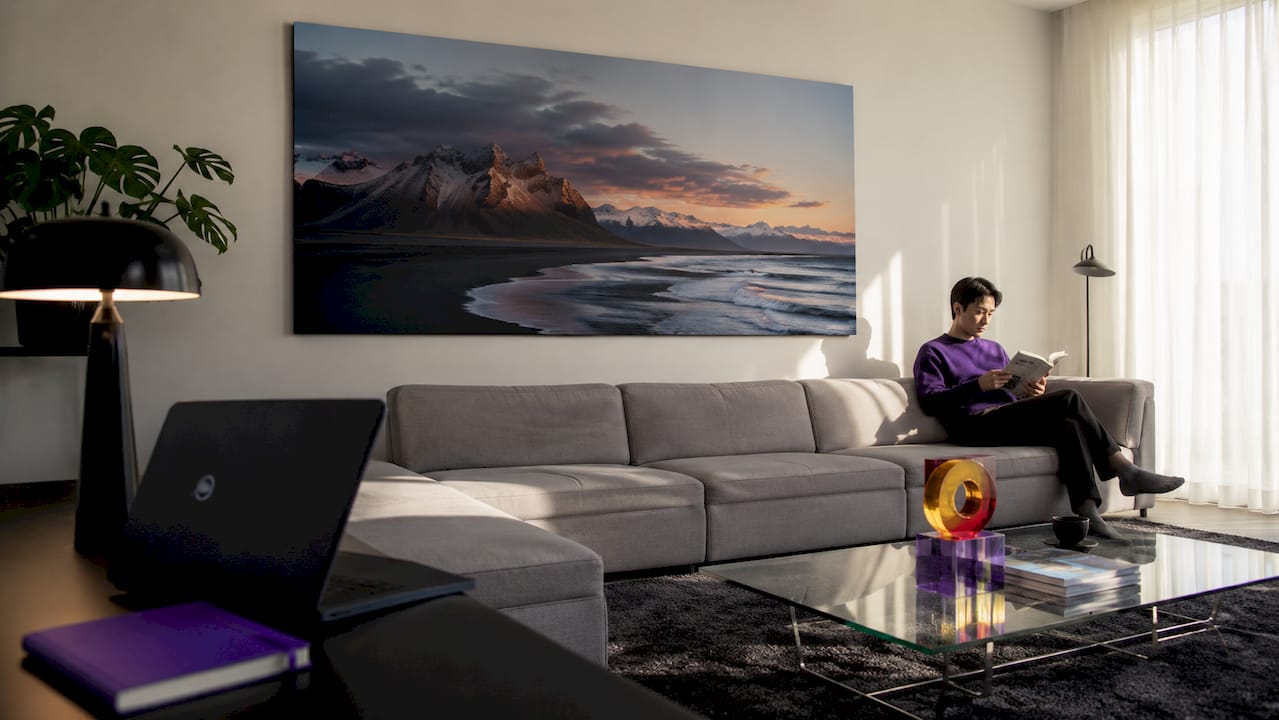
Displaying large format photography prints is defined as the practice of selecting, positioning, framing, and mounting oversized photographic works to create a balanced, gallery-quality presentation in residential or commercial spaces. In the photography and interior design industries, this practice is also called large format art installation. The two terms describe the same discipline, and both apply whether you are hanging a single statement piece above a sofa or building a multi-print arrangement across a hotel lobby wall. Getting it right requires more than choosing a beautiful image. Size ratios, hanging heights, frame materials, and wall anchors all determine whether a print commands a room or simply occupies it.
How to choose the right size for displaying large format photography prints
Print size is determined by the wall and the furniture below it, not personal preference alone. The recommended size ratio for art displayed above furniture is 60–75% of the furniture's width. A sofa measuring 84 inches wide calls for a print between 50 and 63 inches wide. This ratio creates visual balance and prevents the print from looking either cramped or disconnected from the furniture below.
Viewing distance is the second major factor. A 10–16 foot viewing distance suits large prints in living rooms and dining areas. Lobbies, hallways, and commercial spaces with sightlines beyond 16 feet need oversized prints to maintain proportional impact. A print that reads beautifully at 10 feet becomes visually thin at 25 feet.
Pro Tip: Measure your wall width and furniture width with a steel tape measure before ordering. Dimension variations of up to 0.25 inches are common between packaging labels and actual frame sizes, so precise measurement prevents costly mismatches.
Print size categories and their best applications:
- Statement prints (24x36 to 40x60 inches): Ideal for living rooms, master bedrooms, and mid-sized commercial reception areas with standard ceiling heights.
- Oversized prints (40x60 inches and above): Best suited for open-plan spaces, commercial lobbies, galleries, and feature walls with high ceilings.
- Medium large prints (18x24 to 24x36 inches): Work well in home offices, hallways, and dining rooms where wall space is defined but not expansive.
For gallery-quality landscape prints, the image itself must also support the size. Large format prints amplify every detail in the file. 300 DPI or above is the industry standard for gallery-quality output. Anything below that threshold produces visible pixelation at close range, which undermines the entire presentation.
What are the best practices for positioning and hanging large prints?
Placement is where most people make their first mistake. The standard gallery hanging height centers the print at 57–60 inches from the floor. This aligns with average eye level and mirrors the approach used in professional galleries worldwide. Hanging a print too high is the single most common error in residential spaces.
When a print sits above furniture, the gap between the bottom of the frame and the top of the furniture matters. Professional advice places this gap at 6–12 inches. A gap smaller than 6 inches crowds the furniture. A gap larger than 12 inches makes the print appear to float, disconnected from the room's composition.
For grouped or paired prints, alignment is non-negotiable. Treat the group as a single unit and apply the 57–60 inch center rule to the arrangement as a whole, not to each individual piece. Consistent spacing between prints in a group, typically 2–4 inches, creates a clean, intentional look.
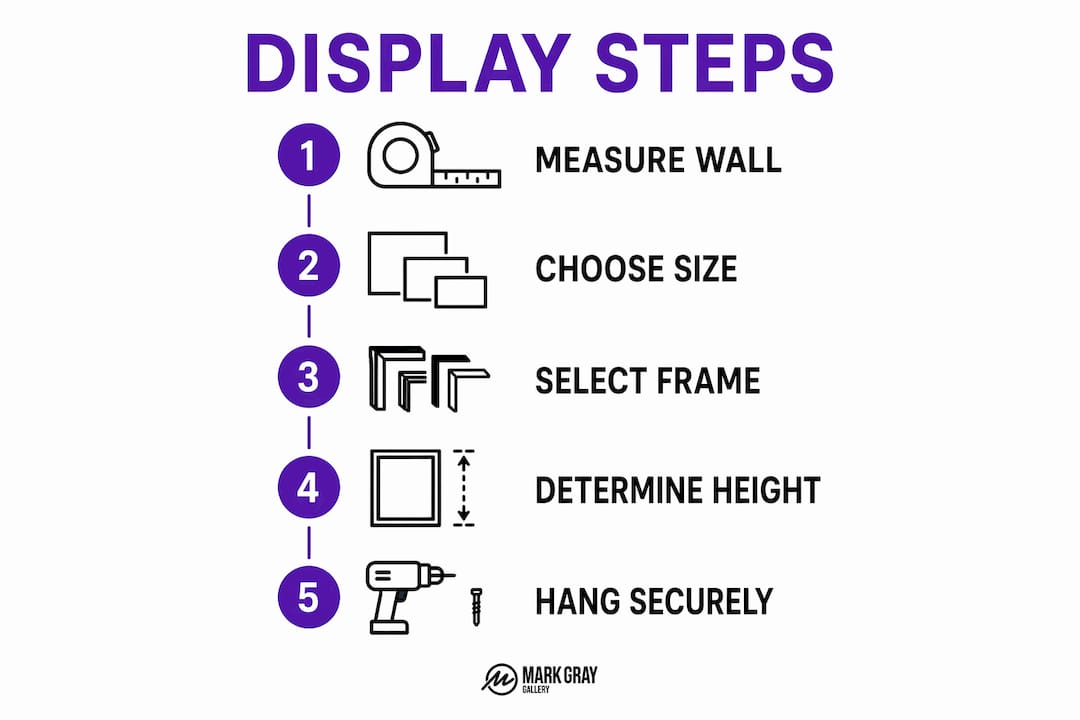
A practical hanging sequence for large format prints:
- Measure the wall width and mark the horizontal center with a pencil.
- Calculate the hanging height: measure 57–60 inches from the floor and mark the center point of where the print will sit.
- Locate wall studs with a stud finder and mark their positions.
- Select picture hooks or wall anchors rated for the print's weight, with a safety margin of at least 20%.
- Use a spirit level to confirm the hook or anchor is perfectly horizontal before driving it into the wall.
- Hang the print and check level again before releasing it fully.
- Attach adhesive strips on bottom corners to prevent the print from shifting due to air currents or accidental contact.
Pro Tip: For wire-hung prints, measure the distance from the top of the frame to the wire at full tension. Add that measurement to your desired top-of-frame height to find the exact hook placement. This eliminates the guesswork that causes crooked first attempts.
Selecting frames and mounting options for large photography prints
Frame selection directly affects both the visual impact and the structural integrity of a large print. The wrong frame material on a large print bows, warps, or fails at the joints within months. Prints larger than 18x24 inches require frames with rigid joints and a substrate that resists flexing over time. High-quality wood and aluminum are the two materials that consistently meet this standard.
Frame materials compared
| Material | Best for | Key advantage |
|---|---|---|
| Solid wood | Traditional, warm interiors | Natural look, strong at large sizes |
| Aluminum (metal) | Modern, minimal spaces | Slim profile, lightweight, rigid |
| Acrylic (frameless) | Contemporary gallery displays | UV filtering, shatter-resistant |
| Canvas wrap | Casual or rustic settings | No frame needed, lightweight |
Aluminum frames are the preferred choice for large format art installation in commercial spaces. Their slim profile does not compete with the image, and their rigidity prevents the bowing that affects wood frames in humid environments. For residential spaces, solid wood frames with a deep rabbet provide both strength and a warmer aesthetic.
Mounting style shapes the overall presentation as much as the frame itself. An oversized mat with a slim black frame creates a dramatic, gallery-quality effect that draws the eye directly to the photograph. This approach works particularly well for fine art landscape prints where the image deserves maximum visual focus. Floating frames, where the print appears to hover inside the frame, suit bold, graphic images and contemporary interiors.
Pro Tip: Professional framers recommend conservation-grade acrylic glazing for UV protection and weight reduction over glass for large prints. Acrylic is significantly lighter than glass at large sizes, which reduces wall anchor load and makes the print safer to hang and handle.
Key considerations when selecting frames and mounting options:
- Match frame weight to wall anchor capacity before purchasing.
- Choose UV-filtering glazing for prints displayed in rooms with direct sunlight.
- Keep frame proportions consistent with print size. A thin frame on a very large print looks fragile and undersized.
- For a gallery-style presentation, explore custom framed poster alternatives that combine archival materials with contemporary profiles.
How to hang large format prints safely: a step-by-step guide
Safe hanging starts with the right tools. Attempting to hang a large, heavy print without a stud finder, spirit level, and weight-rated hardware is the fastest way to damage both the print and the wall.
Required tools:
- Steel tape measure
- Pencil
- Spirit level (at least 24 inches long for large prints)
- Stud finder
- Drill and drill bits
- Picture hooks or toggle wall anchors rated for the print's weight
- Adhesive strips (for bottom corner stabilization)
The step-by-step process:
- Confirm the wall type (drywall, plaster, masonry) before selecting anchors. Toggle anchors work in drywall; masonry anchors or rawl plugs are required for brick or concrete.
- Weigh the framed print. Select hooks or anchors rated for at least 1.5 times that weight.
- Mark the stud locations across the planned hanging area.
- Mark the exact hook position using your calculated measurements from the positioning section above.
- Drive hooks into studs where possible. Use toggle anchors for positions between studs.
- Hang the print and verify level immediately.
- Press adhesive strips firmly onto the bottom two corners of the frame, then press the corners against the wall for the manufacturer's recommended bonding time before walking away.
Pro Tip: For very large or heavy prints, use a two-person team. One person holds the print while the other checks level and alignment. Attempting to hang an oversized print alone risks damaging the frame, the wall, or the print itself.
Troubleshooting common problems:
- Crooked print after hanging: Re-check hook placement. A single hook slightly off-center causes persistent tilt. Two hooks at equal height solve this for wide prints.
- Frame bowing at the center: The frame material is insufficient for the print size. Upgrade to aluminum or add a backing board to redistribute tension.
- Print shifting over time: Adhesive strips on the bottom corners, applied correctly, eliminate this problem in most cases.
Key takeaways
Displaying large format photography prints successfully requires matching print size to furniture width and viewing distance, centering the print at eye level, and selecting frame materials that support the print's weight and scale without warping.
| Point | Details |
|---|---|
| Size ratio rule | Art should cover 60–75% of the furniture width below it for visual balance. |
| Hanging height standard | Center prints at 57–60 inches from the floor to align with gallery eye level. |
| Furniture gap | Leave 6–12 inches between the bottom of the frame and the furniture top. |
| Frame material matters | Prints larger than 18x24 inches need rigid wood or aluminum frames to prevent bowing. |
| Stabilize bottom corners | Adhesive strips on bottom corners prevent large prints from shifting over time. |
What I've learned from years of printing and displaying large landscape work
The most common mistake I see is choosing a print size based on the image alone, without measuring the wall or the furniture first. A stunning photograph can look completely wrong in a space if the proportions are off. The room always sets the terms.
The second lesson took me longer to accept. Technical constraints are not the enemy of artistic vision. Knowing that a particular wall is drywall with no studs in the right position changes the framing decision, the mounting method, and sometimes the print size. Working within those constraints produces better results than ignoring them.
I have also seen collectors underinvest in framing after spending significantly on the print itself. A premium landscape photograph deserves a frame that protects it from UV damage, humidity, and physical stress. Conservation-grade materials are not a luxury for large prints. They are the minimum standard for preserving the work over decades. You can explore photography print quality considerations to understand what separates a print that lasts from one that fades.
My honest advice: hang one large print before committing to a gallery wall arrangement. Live with it for a week. Adjust the height, try different lighting, and observe how the room responds. The best large format art installation is one that feels inevitable, as if the print was always meant to be exactly there.
— Mark
Premium large format prints for your space
Com's collection of award-winning landscape photography prints spans locations across Australia, New Zealand, Norway, Iceland, French Polynesia, Spain, and the United Kingdom. Every print is produced to gallery standards, with limited edition numbering and archival materials that meet the preservation benchmarks discussed throughout this guide.

Whether you are furnishing a private residence or a commercial space, the Mark Gray landscape photography collection offers large format prints sized and produced for serious display. Each work is available in multiple sizes, making it straightforward to match the 60–75% furniture width ratio for your specific space. For personalized advice on sizing, framing, and placement, the Com team is available to assist directly through the website.
FAQ
What size print works best above a sofa?
A print covering 60–75% of the sofa's width creates the best visual balance. For a standard 84-inch sofa, that means a print between 50 and 63 inches wide.
How high should a large format print be hung?
Center the print at 57–60 inches from the floor. This aligns with gallery eye level and applies regardless of ceiling height.
What is the best frame material for large photography prints?
Aluminum and solid wood are the two strongest choices for prints larger than 18x24 inches. Aluminum is lighter and resists humidity; solid wood offers a warmer aesthetic for residential spaces.
How do I stop a large print from shifting on the wall?
Attach adhesive strips to the bottom two corners of the frame and press them firmly against the wall. Allow the full manufacturer-recommended bonding time before leaving the print unattended.
What resolution do large format prints need?
Large format prints require a minimum of 300 DPI to avoid visible pixelation. Lower resolution files show detail flaws clearly at large sizes and close viewing distances.