
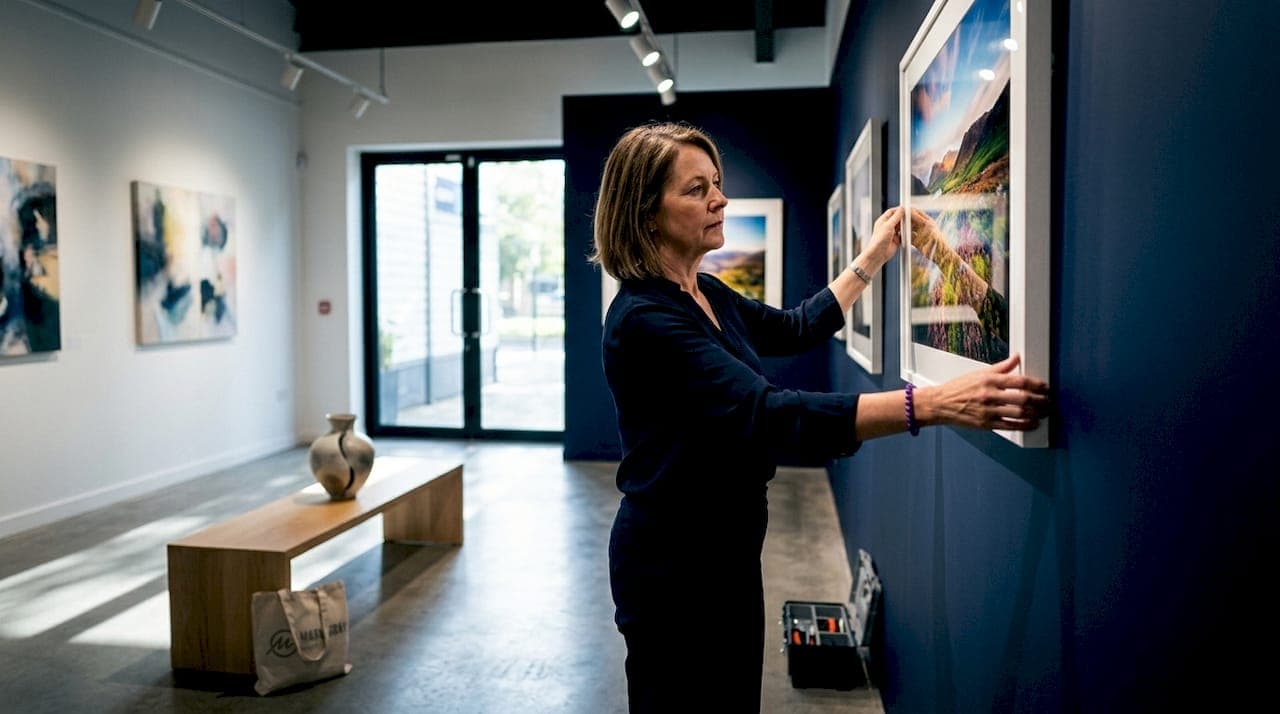
Hanging landscape photography prints correctly means centering each piece at eye level, matching your hardware to the wall type and print weight, and positioning the artwork in deliberate relationship to your furniture. The industry standard for residential and gallery display places the center of the frame at 57–60 inches from the floor. That single measurement eliminates the most common mistake homeowners make: hanging prints too high. Get the height right, choose the correct hardware, and your landscape prints will look like they belong in a gallery rather than an afterthought.
How to hang landscape photography prints correctly: height and placement
The center of your print should sit at approximately 57–60 inches from the floor. This is the museum standard for eye-level display, and it works in residential spaces for the same reason it works in galleries. Your eye naturally settles at that height, so the image reads without effort.
Household height variations do require small adjustments. If everyone in your home is significantly taller or shorter than average, shift the center point up or down by 2–3 inches. The goal is comfort, not rigid compliance with a number.
Placement relative to furniture matters as much as height. The bottom edge of the frame should sit 4–6 inches above a sofa, console, or bed headboard. That gap creates a visual connection between the print and the furniture below it. Without that connection, the print appears to float, disconnected from the room.
Print width relative to furniture width is the other critical proportion. Choose a print or grouping that spans about two-thirds the width of the furniture beneath it. A wide panoramic landscape print above a narrow console will look top-heavy. A small print above a long sofa will look lost.
- Center the frame at 57–60 inches from the floor as your starting point.
- Position the bottom edge 4–6 inches above any furniture below the print.
- Select a print width that covers roughly two-thirds the width of the furniture beneath it.
- Adjust height by 2–3 inches for households where the average eye level differs significantly.
Pro Tip: Tear a piece of kraft paper to the exact size of your frame and tape it to the wall before driving a single nail. This lets you test height, centering, and proportion without any commitment.
What hanging hardware works best for different wall types?
The best way to hang prints is to match your hardware to both the wall material and the weight of the frame. Using the wrong combination risks damage to the wall, the print, or both.
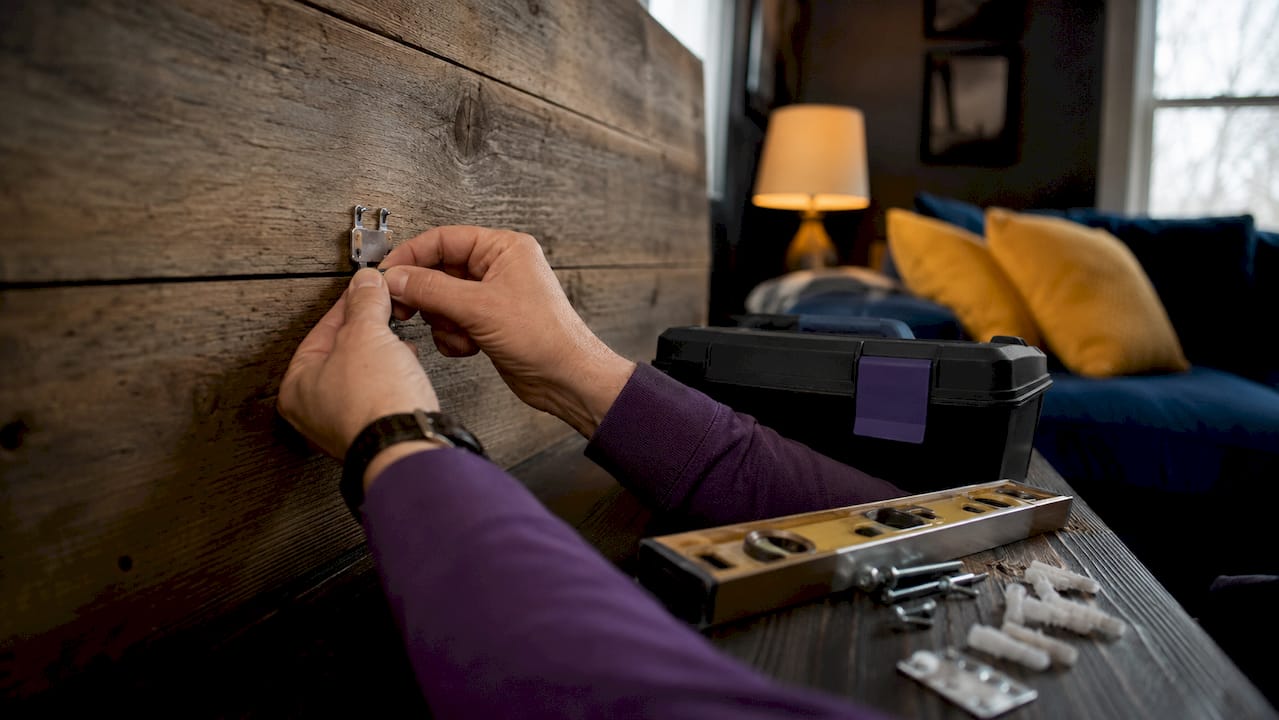
Drywall
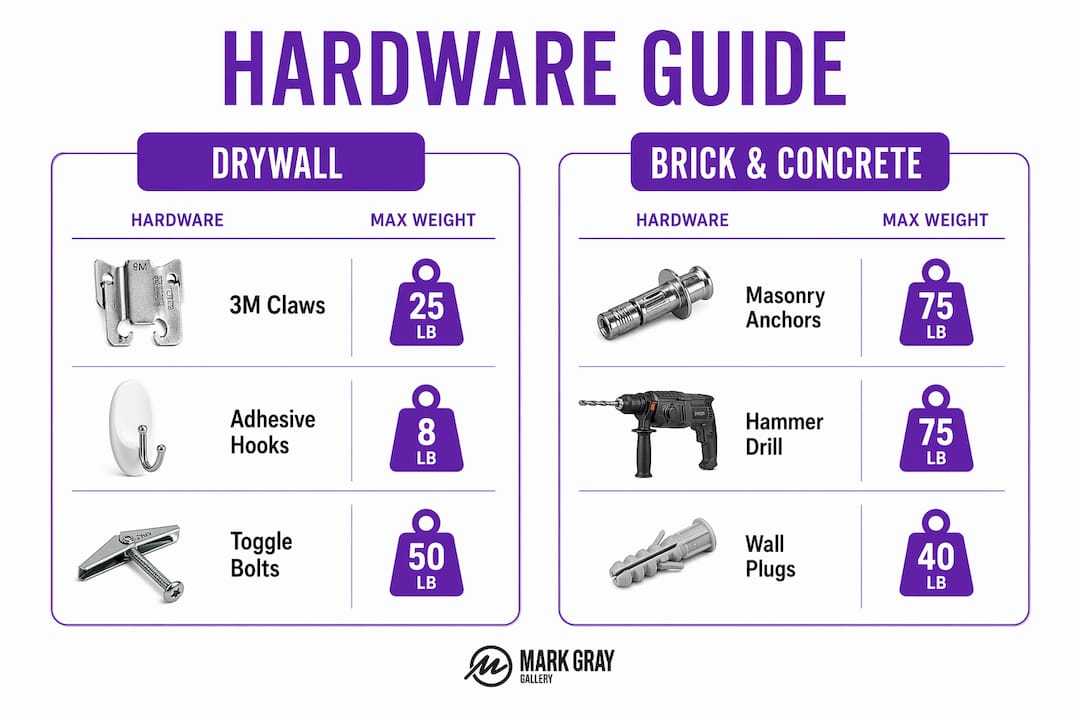
Drywall is the most forgiving surface for hanging artwork. For prints weighing between 15 and 65 pounds, specialized drywall claws grip the wallboard internally without requiring you to locate a stud. The 3M Claw system is the most widely used product in this category. It uses a small penetration point that spreads pressure across the board rather than concentrating it at one spot. For lighter prints under 15 pounds, adhesive strips like 3M Command strips work well and leave no wall damage on removal.
Plaster
Plaster walls are brittle and require more care. Tap picture-hanger claws gently into plaster rather than driving them hard, since aggressive force causes surface cracks. For heavier prints, locate the wooden lath beneath the plaster and drive a wood screw directly into it. A stud finder rated for plaster walls will help you locate lath reliably.
Brick and concrete
Masonry walls require a hammer drill, masonry bit, and a wall anchor rated for the print weight. Standard nails and adhesive strips will not hold on brick or concrete. French cleats, which are interlocking wooden or aluminum rails, distribute weight across a wider surface and are the preferred solution for very heavy or oversized prints on masonry.
| Wall type | Recommended hardware | Max weight | Tools required |
|---|---|---|---|
| Drywall | 3M Claw, adhesive strips | Up to 65 lbs | Hammer or hand pressure |
| Plaster | Picture-hanger claws, wood screws | Up to 50 lbs | Hammer, stud finder |
| Brick | Masonry anchors, French cleats | 80+ lbs | Hammer drill, masonry bit |
| Concrete | Masonry anchors, French cleats | 80+ lbs | Hammer drill, masonry bit |
Pro Tip: Weigh your framed print on a bathroom scale before buying hardware. Most homeowners underestimate frame weight by 30–40%, which leads to hardware failures within months.
How should you arrange landscape prints for a curated look?
Arranging prints well is the difference between a wall that looks considered and one that looks accidental. The principles that apply to gallery walls also apply to single statement pieces.
Single statement prints
A single large landscape print works best as a focal point above a primary piece of furniture. The panoramic format common in landscape photography suits wide walls and wide furniture. Align the center of the print with the center of the furniture below it, both horizontally and vertically. Mixing sizes and layering prints with the eye-level rule applied flexibly often looks more intentional than rigid symmetry.
For inspiration on how professional prints translate to real home environments, the landscape photography display options at Mark Gray's blog show a range of placement approaches worth studying before you commit to a layout.
Gallery walls
Gallery walls require consistent spacing to feel intentional rather than crowded. Frame spacing of 2–3 inches creates a tight, gallery-style feel. Spacing of 4–6 inches produces a more relaxed, residential look. Choose one spacing and apply it consistently across the entire arrangement. Mixing 2-inch and 5-inch gaps in the same gallery wall reads as unplanned.
The center point of the entire grouping, not each individual frame, should align with the 57–60 inch eye-level mark. Treat the gallery wall as a single large artwork for placement purposes.
- Group prints by theme, color palette, or tonal range for a cohesive look.
- Use kraft paper templates on the floor to plan the arrangement before touching the wall.
- Keep frame styles consistent or deliberately varied. Mixing one style with one exception looks like a mistake; mixing three or more styles intentionally reads as eclectic.
- Consider leaning larger prints against a wall or shelf rather than hanging them. Leaning framed artwork creates a layered, relaxed aesthetic that works well in living rooms and bedrooms.
Lighting your prints
Thoughtful lighting enhances color vibrancy and detail in landscape photography. Directional picture lights or adjustable track lighting positioned at a 30-degree angle to the wall surface illuminate prints without creating glare. Avoid placing prints directly opposite large windows. Reflected glare from glass-fronted frames flattens the image and makes detail disappear.
Contrasting mats and matching frame styles, as noted in professional framing practice, enhance visual separation and emphasis in landscape photographs. A white or off-white mat around a landscape print draws the eye into the image rather than to the frame edge.
What mistakes should you avoid when displaying prints?
Most hanging errors fall into a small number of repeating patterns. Recognizing them before you start saves you from patching walls and rehinging prints.
- Hanging prints too high. The single most common mistake in residential display. When in doubt, go lower rather than higher. A print hung at 65 inches center height will feel like it belongs on the ceiling.
- Using inadequate hardware for the weight. A single adhesive strip rated for 5 pounds will not hold a framed print weighing 20 pounds. Always check the weight rating on your hardware against the actual weight of your framed print.
- Ignoring wall type. Driving a standard nail into brick accomplishes nothing. Driving a drywall anchor into plaster risks cracking the surface. Match the hardware to the wall material every time.
- Poor spacing in gallery arrangements. Inconsistent gaps between frames make a gallery wall look unplanned. Measure every gap with a tape measure rather than estimating by eye.
- Placing prints in direct sunlight. Direct sunlight causes irreversible fading over time. UV-protective glass slows the process, but avoiding direct sun exposure is the only reliable protection for fine art prints.
- Skipping the level. A print that is even slightly off-level reads as wrong to most viewers. Use a spirit level or a digital level app on every hang, not just the ones that feel tricky.
- Mixing incompatible frame styles without intention. One black frame and one natural wood frame in a two-print arrangement looks like an accident. Three or more varied frame styles in a larger grouping reads as a deliberate design choice.
Key takeaways
Hanging landscape photography prints correctly requires eye-level placement at 57–60 inches, hardware matched to wall type and print weight, and deliberate spacing that connects the artwork to the furniture and room around it.
| Point | Details |
|---|---|
| Eye-level placement | Center your print at 57–60 inches from the floor for comfortable, gallery-standard viewing. |
| Furniture relationship | Position the frame bottom 4–6 inches above furniture and match print width to two-thirds of furniture width. |
| Hardware selection | Match hardware to wall type and weigh your framed print before purchasing hangers or anchors. |
| Gallery wall spacing | Use 2–3 inches between frames for a gallery feel or 4–6 inches for a relaxed residential look. |
| Sunlight protection | Keep prints out of direct sunlight and use UV-protective glass to prevent irreversible fading. |
What I have learned from hanging prints in real homes
The 57–60 inch rule is a starting point, not a law. I have hung prints in rooms with 9-foot ceilings and rooms with 7-foot ceilings, and the same number produces very different results in each space. The ceiling height, the furniture scale, and the natural light all shift what feels right. My advice is to use the standard as your anchor and then trust your eye from across the room.
The mistake I see most often is not about height or hardware. It is about the relationship between the print and the light source. A stunning landscape photograph of Iceland or Norway, printed at gallery quality, can look flat and lifeless if it sits opposite a window that throws glare across the glass. Move the print, or change the lighting, and the same image becomes the most compelling thing in the room.
I also think homeowners underestimate the power of leaning. A large landscape print leaned against a wall on a shelf or sideboard has an immediacy that a hung print sometimes lacks. It feels considered without feeling permanent. For anyone who is unsure about committing to a nail hole, leaning is not a compromise. It is a legitimate display choice.
Investing in a good spirit level and a proper stud finder before you start pays for itself the first time you avoid a crooked hang or a hardware failure. The tools cost less than the framing on most quality prints.
— Mark
Fine art landscape prints worth displaying at home
The right print makes every hanging decision feel worthwhile. Com, the Mark Gray Gallery, offers a collection of limited edition landscape prints from Australia, New Zealand, Norway, Iceland, French Polynesia, Spain, and the United Kingdom. Each print is produced at gallery quality, which means the color depth, tonal range, and detail reward careful display rather than casual placement.

If you are looking for inspiration before you commit to a layout, the gallery quality landscape prints showcase from Com gives you a clear sense of how these images translate from screen to wall. Mark Gray's work is available as limited edition prints, and gift certificates are also available for anyone who wants to give the gift of fine art photography.
FAQ
What is the correct height to hang a landscape photo?
The center of the frame should sit at 57–60 inches from the floor, which aligns with the museum standard for eye-level display. Adjust by 2–3 inches for households where the average eye level differs significantly.
How far above a sofa should a landscape print hang?
Position the bottom edge of the frame 4–6 inches above the sofa back. This gap creates a visual connection between the artwork and the furniture and prevents the print from appearing to float.
What hardware should I use to hang a heavy print on drywall?
For prints weighing 15–65 pounds on drywall, specialized drywall claws like the 3M Claw system grip the wallboard internally without requiring stud location. Always weigh your framed print before selecting hardware.
How much space should I leave between frames on a gallery wall?
Use 2–3 inches between frames for a tight, gallery-style feel, or 4–6 inches for a more relaxed residential arrangement. Apply your chosen spacing consistently across the entire wall.
Does direct sunlight damage landscape photography prints?
Direct sunlight causes irreversible fading over time. UV-protective glass slows the damage, but the most reliable protection is avoiding direct sun exposure entirely when choosing where to hang your prints.