
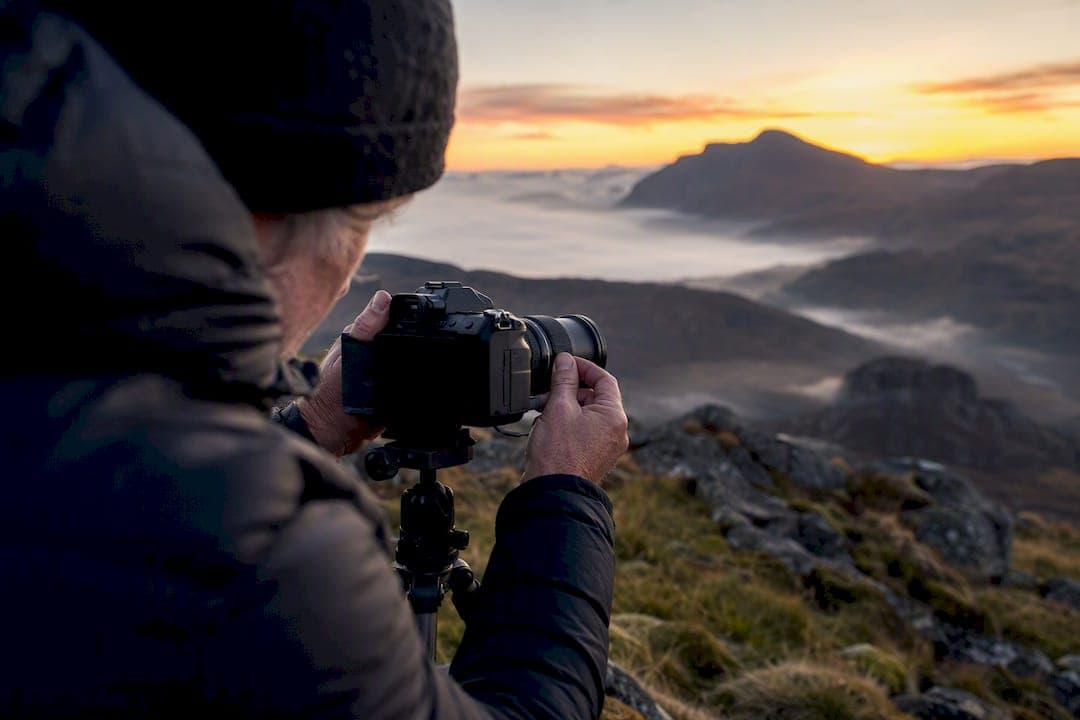
Focus at the hyperfocal distance and everything from half that distance to infinity comes out acceptably sharp. The fastest field rule: judge the distance to your nearest important foreground element, then focus roughly double that distance. One caveat before you touch the aperture ring: stopping down past f/16 introduces diffraction that softens the whole frame, so f/8 to f/11 is the sweet spot for most landscape work.
- Focus at the hyperfocal point rather than on the horizon or your main subject.
- Estimate the nearest foreground distance and focus roughly double that distance as a practical shortcut.
- Keep your aperture between f/8 and f/11 unless the scene demands otherwise.
Key Takeaways
Sharp landscapes depend on focusing at the correct hyperfocal point, not the subject, using a balanced aperture, and verifying that focus at 100% before you break down the tripod.
| Point | Details |
|---|---|
| Focus at the hyperfocal point | Not the horizon, not the subject. Half that distance to infinity stays acceptably sharp. |
| Use the double-distance shortcut | Estimate the nearest foreground distance and focus roughly twice as far when you lack a calculator. |
| Stay near f/8 to f/11 | Avoid f/16 and beyond unless the scene truly needs the extra depth, since diffraction softens the whole frame. |
| Verify before you leave | Magnify live view 100% on both foreground and horizon after every aperture or focal length change. |
| Build the skill hands-on | Mark Gray's landscape workshops pair hyperfocal technique with direct field feedback on location. |
Table of Contents
- What Does Hyperfocal Distance Actually Mean?
- How Do You Calculate Hyperfocal Distance in the Field?
- How Do You Set Focus at the Hyperfocal Point?
- Which Aperture and Focal Length Give You the Sharpest Landscapes?
- When Should You Skip Hyperfocal Focusing Entirely?
- What Mistakes Wreck Hyperfocal Shots, and How Do You Fix Them?
- What Is a Reliable Hyperfocal Workflow for Landscape Shoots?
- What Do Workshop Sessions Teach That Charts Don't?
- When Do I Trust Hyperfocal Over Other Focus Methods?
- Ready to Practice Hyperfocal Focusing Under Real Conditions?
- Sources
What Does Hyperfocal Distance Actually Mean?
Hyperfocal distance is the closest point you can focus on while keeping everything from half that distance all the way to infinity looking sharp, for a given focal length and aperture combination. It is not a creative choice. It is a mechanical outcome of your lens, your aperture, and how large you plan to print or display the image.
Here is where a lot of photographers get it wrong. The popular "focus one third into the scene" advice is a rough approximation, and it only holds up loosely for certain focal-length and aperture combinations. Push a wide lens to f/16, or shoot a mid-telephoto at f/5.6, and the one-third rule can put your focus point in the wrong place entirely. It also ignores something more fundamental:
Hyperfocal distance is independent of where your subject sits in the frame. Its entire purpose is maximizing usable depth of field, not centering focus on whatever looks interesting.
That distinction trips up beginners constantly. You do not focus on the rock in the foreground because it looks important. You focus at the hyperfocal point because it mathematically stretches your zone of sharpness as far as your aperture and focal length allow.
A few things worth remembering before you rely on any hyperfocal number:
- "Acceptable sharpness" is tied to circle of confusion, which shifts with sensor size and how large or close the viewer will stand from the final print.
- A hyperfocal distance calculated for a web-sized image will not hold up under scrutiny on a 40-inch gallery print.
- The near limit of sharpness sits at exactly half the hyperfocal distance. If you focus at 10 feet, your zone of acceptable sharpness starts at 5 feet, not zero.
If you sketch it out, picture three markers on a line: the lens, the near focus limit at half the hyperfocal distance, and the hyperfocal point itself, with everything beyond stretching to infinity. That mental diagram is worth more than memorizing the math.
How Do You Calculate Hyperfocal Distance in the Field?
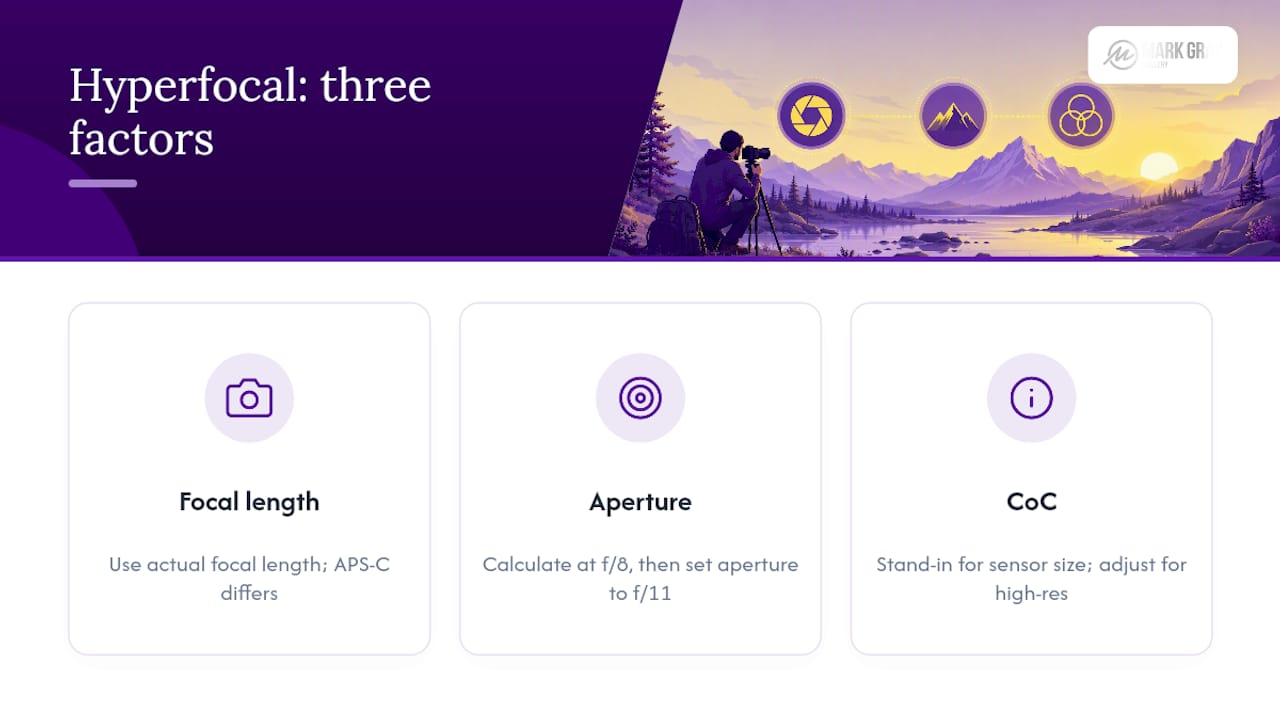
Three numbers drive every hyperfocal calculation: focal length, aperture, and circle of confusion, which is really a stand-in for sensor size and your sharpness standard. You do not need to solve the formula by hand. What you need is a reliable way to pull the number up fast, in the wind, in the cold, before the light changes.
PhotoPills remains the standard for photographers who want a hyperfocal number tied to their exact camera body, with an augmented-reality overlay that shows the near and far focus limits directly through your phone's camera. DOFMaster offers a free web-based calculator and downloadable, printable charts organized by focal length and aperture, which makes it the better choice for a static reference sheet you can laminate and keep in your camera bag. Both tools draw on the same underlying math that B&H's technical guide walks through, and both let you adjust the circle of confusion for high-resolution sensors where the default setting runs too lenient.
Build your own shortcut before you ever leave the house. Print a DOFMaster chart for your two or three most-used lenses, laminate it, and clip it to your camera strap. Or save screenshots of your PhotoPills settings for f/8 and f/11 on your most common focal lengths, so you are not tapping through menus with numb fingers at sunrise.
One detail trips up more photographers than it should: enter your lens's actual focal length, not its full-frame equivalent. An APS-C sensor with a 24mm lens has a genuinely different hyperfocal distance than a full-frame body at 24mm, even though the field of view might look similar through the viewfinder.
Pro Tip: Calculate your hyperfocal distance for f/8, then physically set your aperture to f/11 before you shoot. That one-stop buffer absorbs small estimation errors without meaningfully increasing diffraction.
How Do You Set Focus at the Hyperfocal Point?
Getting the number is only half the job. Setting your lens precisely at that distance, standing on a windy ridge with the light dropping, is where most hyperfocal technique actually falls apart.
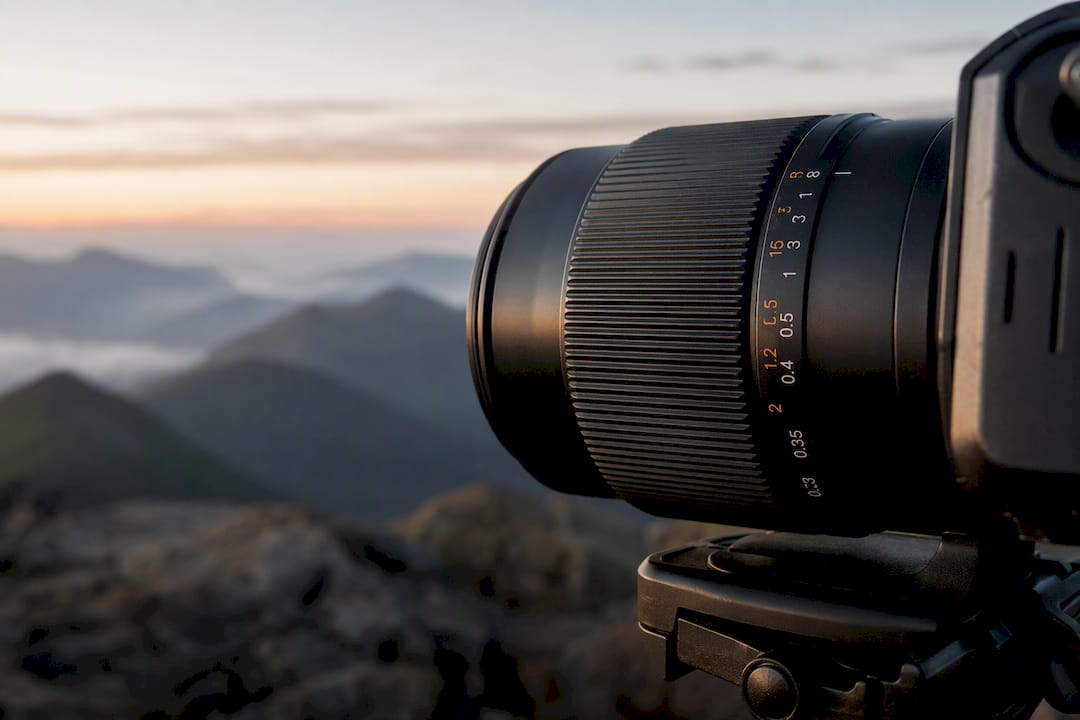
- Check for a distance scale on the lens barrel. Older primes and some modern manual lenses still print distance markings you can align directly with your calculated number.
- Switch to live view and magnify 10x on your foreground element. Confirm it looks sharp before you commit.
- Check the same magnified view on your farthest background element, ideally the horizon, and look for any softening.
- Use focus peaking if your camera supports it. The highlighted edges give you an immediate visual read on what is actually in focus versus what only looks sharp on a small screen.
- Fall back to a tape measure or laser rangefinder for tricky scenes with a critical foreground object, like a flower or a rock formation, sitting a specific number of feet from the lens.
The double-distance heuristic covers you when none of that gear is practical. Estimate the distance to the closest thing you need sharp, double it, and focus there. This works especially well on wide-angle lenses stopped to f/8 or f/11, and it tends to land you close enough to true hyperfocal that the difference is invisible in a final print.
When you are genuinely unsure whether you nailed the exact distance, focus slightly farther rather than slightly closer. The error is asymmetric: focusing too close pulls your infinity sharpness backward and produces an obviously soft horizon, while focusing a bit too far generally leaves your foreground only marginally softer, often still within acceptable range.
Pro Tip: Autofocus can hunt or lock onto the wrong plane in low light or flat scenes with little contrast. Switch to manual focus for hyperfocal work every time, even if your lens handles autofocus well elsewhere.
Many modern lenses ship without printed distance scales, which makes the live view and peaking methods your primary tools rather than a backup plan.
Which Aperture and Focal Length Give You the Sharpest Landscapes?
Aperture and focal length both shift your hyperfocal distance, and getting either one wrong undoes the whole exercise before you even set focus, as explained in Allcitygraphixny.
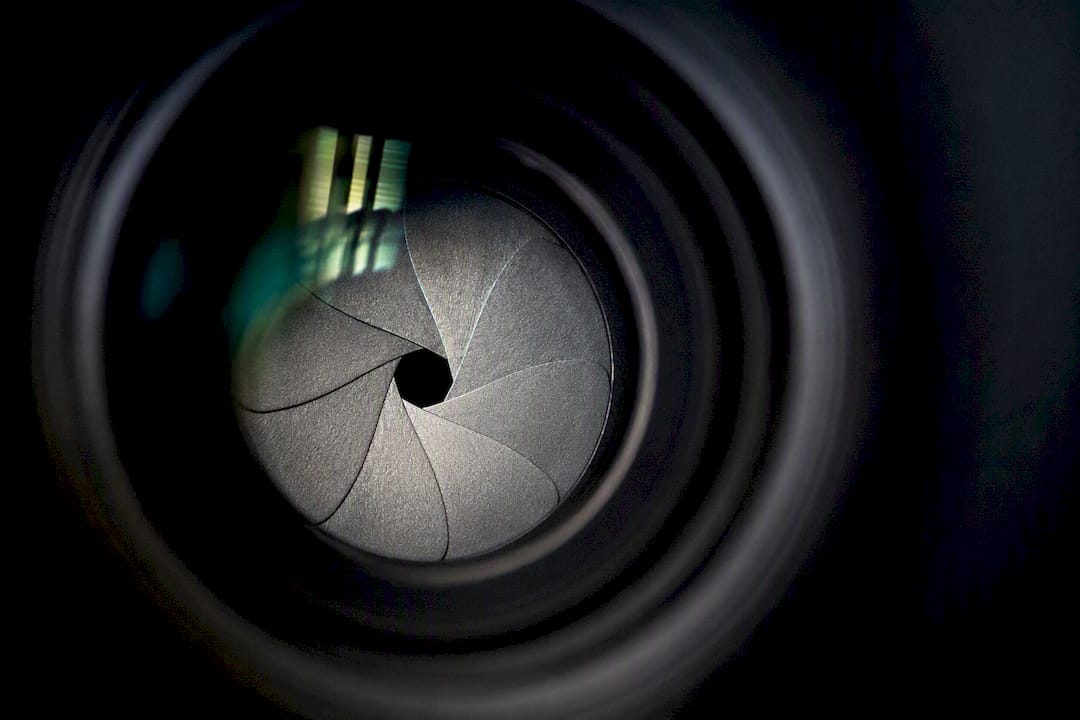
Stopping down increases depth of field, but it comes at a cost. Narrow apertures like f/16 or f/22 introduce diffraction, a softening effect that spreads across the entire frame rather than just the out-of-focus areas. Most landscape photographers settle on f/8 to f/11 as the point where depth of field and overall sharpness balance out. Push past that only when a scene genuinely demands more depth than f/11 can deliver, such as an extreme close foreground paired with a distant mountain range.
Focal length changes the equation just as much. Shorter, wider lenses produce a shorter hyperfocal distance at any given aperture, which is exactly why ultra-wide lenses make front-to-back sharpness so much easier to achieve. A 16mm lens at f/8 might hyperfocal around 3 feet. A 50mm lens at the same aperture can push that number out to 30 feet or more, a tenfold difference that reshapes how you compose the shot entirely.
Sensor size matters too, through its effect on circle of confusion:
- Full-frame sensors generally need a slightly farther hyperfocal distance than cropped sensors at matching apertures and focal lengths.
- APS-C sensors shift the calculation because of their smaller circle of confusion.
- Micro Four Thirds systems shift it further still, in favor of shorter hyperfocal distances at a given aperture.
None of this is optional detail. Enter the wrong sensor size into a calculator and every downstream number is wrong.
When Should You Skip Hyperfocal Focusing Entirely?
Hyperfocal distance is a tool for a specific job, not a universal answer for every landscape frame. It earns its place in scenes where the composition genuinely stretches from a near foreground to a distant horizon, and it starts to strain when the foreground gets uncomfortably close.
- If your foreground element sits within a few inches or a foot of the lens, hyperfocal calculations often cannot hold both ends of the frame sharp at any usable aperture.
- If you are printing large or the final image will get scrutinized up close, pixel-level sharpness can matter more than a single-frame hyperfocal compromise allows.
- If the light is changing fast and you only get one frame, hyperfocal is still your fastest route to acceptable sharpness across the whole scene.
Focus stacking is the standard alternative for the first two situations: shoot several frames at different focus points, from near foreground to far background, then blend them in software like Helicon Focus or Photoshop. The tradeoff is time. Stacking demands a stable tripod, a static scene with no wind-blown grass or moving water, and several extra minutes of shooting plus real processing work afterward.
Sometimes the right call is neither. If your composition is built around one striking subject rather than an edge-to-edge landscape, deliberately throwing the background soft with a wider aperture is a legitimate creative choice, not a technical failure.
What Mistakes Wreck Hyperfocal Shots, and How Do You Fix Them?
The same handful of errors show up again and again in landscape shoots, and every one of them is fixable in under thirty seconds if you catch it before you pack up.
- Focusing on the main subject instead of the hyperfocal point. Fix it by re-focusing using live view or your distance scale, then recomposing.
- Stopping down to f/16 or f/22 out of habit. Fix it by opening back up to f/8 or f/11 unless the scene truly demands the extra depth.
- Misreading a distance scale that is imprecise or entirely absent. Fix it with a magnified live view check instead of trusting barrel markings.
- Forgetting to re-check focus after zooming or changing aperture. Both actions shift your hyperfocal distance, and your old focus point may no longer apply.
- Letting camera shake nudge the focus ring. Use a two-second timer or remote release so your hands are off the camera at the moment of exposure.
If either looks soft, nudge focus slightly farther out, adjust your aperture by one stop, or shoot a quick focus-stack sequence as insurance.
What Is a Reliable Hyperfocal Workflow for Landscape Shoots?
Memorize this sequence once and it becomes automatic within a handful of shoots.
- Pick your aperture first, generally f/8 to f/11, because every other number in this workflow depends on it.
- Calculate or estimate your hyperfocal distance using PhotoPills, a DOFMaster chart, or the double-distance heuristic if you have no tools handy.
- Set focus manually using live view magnification, focus peaking, or the lens distance scale if it is present and reliable.
- Verify at 100% magnification on both your closest foreground element and your farthest background detail.
- Adjust if either end looks soft, shifting focus slightly farther rather than closer, per the asymmetric error rule.
- Shoot a focus-stack bracket instead if the foreground sits too close for any single-frame hyperfocal setting to cover it.
Each step exists to catch a specific failure mode from the list above. Skip step four and you will not know your shot failed until you are back home, staring at a soft foreground on a 27-inch monitor with no way to reshoot the scene.
What Do Workshop Sessions Teach That Charts Don't?
Charts and apps get you a number. What they cannot teach is judgment, and that only comes from repetition. Practicing hyperfocal focusing at home on a tripod, using live view and magnification on ordinary objects around the yard, builds real intuition. After a dozen or so deliberate trials, most photographers can eyeball a reasonably accurate hyperfocal distance without reaching for a phone.
Workshops accelerate that curve because you get immediate feedback on a real scene, under real light, instead of guessing at home and finding out later whether the shot held up.
The photographers who improve fastest are the ones who check their focus at 100% on location, every time, rather than trusting a calculation and hoping it held.
Whether you favor a razor-sharp foreground or a slightly softer one comes down to intent. A wildflower meadow shot for a gallery-scale print demands foreground precision most web images never need.
Pro Tip: If a scene has both an extremely close foreground and a compressed telephoto background, stop debating aperture settings and just shoot a focus stack. No amount of hyperfocal math beats multiple focus points blended in post for that kind of composition.
When Do I Trust Hyperfocal Over Other Focus Methods?
Hyperfocal focusing earns its place when you need one clean frame and the scene will not wait, a fast-moving sky, a tide line, light that is already fading. For large prints or a foreground that sits inches from the lens, I lean on focus stacking instead, because no single-frame compromise beats stacked precision at that scale. Field practice, repeated across enough tripod sessions, is what turns the math into instinct.
Ready to Practice Hyperfocal Focusing Under Real Conditions?
Reading about hyperfocal distance gets you halfway there. The other half comes from standing on a ridge at first light, checking your live view against a shifting horizon, with someone beside you who can tell you immediately whether your focus point actually held. That immediate, on-location feedback is the one thing no calculator or chart can replicate.

Mark Gray's landscape photography workshops build hyperfocal technique directly into the shooting schedule, alongside composition and light. If you want the skills a hands-on workshop actually teaches, check current dates and locations on the Mark Gray Gallery site and book a session before the next shoot window opens.
Sources
- Hyperfocal Distance
- Calculating hyperfocal distance in photography (B&H Explora)
- Hyperfocal Distance for Sharp Landscapes | Fstoppers
- Hyperfocal distance (Canon Australia glossary)