Capturing a compelling landscape photograph takes more than pointing a camera at a beautiful scene. The skills learned in landscape photography courses transform that instinct into craft, giving you the technical knowledge, compositional awareness, and creative confidence to produce images that genuinely move people. Whether you are shooting the rugged coastlines of Australia or the volcanic peaks of Iceland, structured learning accelerates what would otherwise take years of trial and error. This article breaks down every major skill category covered in quality courses so you can walk in knowing exactly what to expect.
Table of Contents
- Key takeaways
- 1. Skills learned in landscape photography courses: mastering the exposure triangle
- 2. Focusing techniques: hyperfocal distance and focus stacking
- 3. Tripods, ND filters, and essential gear
- 4. Composition and creative vision
- 5. Escaping the wide-angle trap
- 6. Post-processing and editing skills
- 7. Planning and pre-shoot preparation
- 8. Patience, mindset, and ethical fieldwork
- 9. Comparing skills: where to focus your learning
- My honest perspective on learning landscape photography
- Take your landscape photography to the next level
- FAQ
Key takeaways
| Point | Details |
|---|---|
| Technical mastery comes first | Understanding the exposure triangle and focusing techniques builds the foundation every other skill depends on. |
| Composition separates good from great | Creative vision and compositional tools distinguish a snapshot from a photograph worth printing. |
| Post-processing refines, not rescues | Editing strengthens a well-captured image but cannot fix poor technique at the point of capture. |
| Planning multiplies great opportunities | Apps, location scouting, and weather awareness dramatically increase your chances of capturing extraordinary light. |
| Mindset is a teachable skill | Patience, persistence, and ethical awareness are developed deliberately in courses, not just picked up over time. |
1. Skills learned in landscape photography courses: mastering the exposure triangle
Every strong landscape photograph begins with a correct exposure. Courses dedicate significant time to the relationship between aperture, shutter speed, and ISO because getting this wrong makes everything else irrelevant.
For sharpness across an entire scene, optimal aperture sits between f/8 and f/11, where most lenses perform at their peak without the diffraction softness that creeps in at f/16 and beyond. You will also learn that ISO 100 preserves maximum detail, keeping noise at its lowest for large prints and fine detail work.
Shutter speed gets its own focused attention. At dawn over still water, a longer exposure smooths the surface into glass. In a storm, a faster shutter freezes spray into precise droplets. Courses teach you to read the scene and choose deliberately rather than rely on automatic modes.
Pro Tip: Set your camera to aperture priority mode initially to focus on composition, then switch to manual when you want precise control over both depth of field and motion blur simultaneously.
2. Focusing techniques: hyperfocal distance and focus stacking
Sharp focus across a wide scene is one of the most technically demanding landscape photography skills to learn, and courses address it methodically.
Hyperfocal distance is the focusing point at which everything from half that distance to infinity appears acceptably sharp. Understanding it means you stop guessing and start calculating, which produces consistently crisp results. Many courses teach you to use dedicated apps or charts in the field so the calculation becomes second nature.
Focus stacking takes sharpness further by capturing multiple frames focused at different points, then merging them in editing software. This technique allows you to shoot at the optimal aperture of f/8 rather than stopping down to f/22 and accepting the diffraction penalty. The result is edge-to-edge sharpness without any compromise in lens quality.
3. Tripods, ND filters, and essential gear
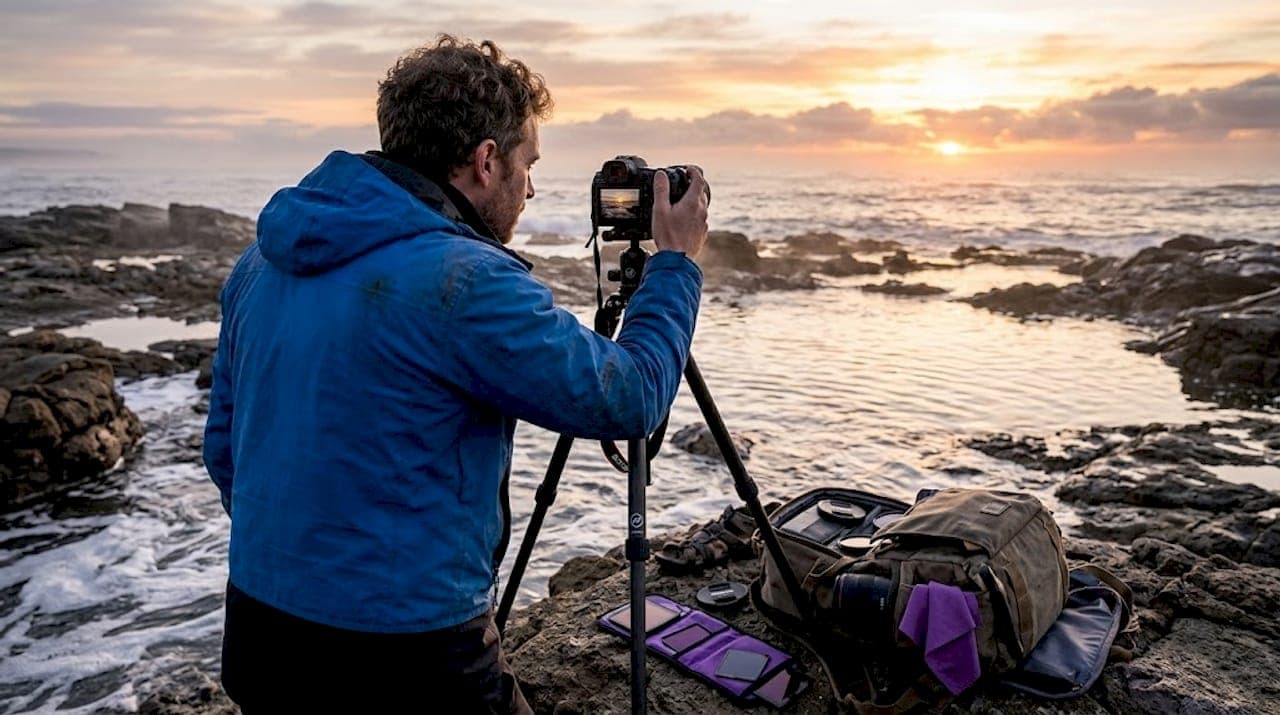
Courses are direct about one thing: a tripod is not optional for serious landscape work. It provides the stability required for long exposures, focus stacking sequences, and precise compositional adjustments that handheld shooting simply cannot replicate.
Neutral density filters receive equal emphasis. ND filters block light and enable multi-second exposures in bright conditions, which is how photographers smooth waterfalls, blur moving clouds, and turn an ordinary seascape into something atmospheric. Courses typically introduce two-stop, six-stop, and ten-stop filters along with how to calculate exposure adjustments for each.
You will also learn to use built-in camera tools like the histogram, focus peaking, and electronic level to reduce guesswork in the field. These tools improve the keeper rate significantly and reduce time spent correcting avoidable problems in post.
4. Composition and creative vision
Technical skills get your image in focus and properly exposed. Composition is what makes someone stop scrolling. Composition techniques like rule of thirds, leading lines, framing, and negative space are not arbitrary rules. They are tools for directing the viewer's eye and creating a sense of order within a complex natural scene.
Courses teach layering as one of the most powerful depth-creation tools available. A strong foreground subject, a defined middle ground, and a compelling background work together to pull the viewer into the frame rather than across it. This is what gives a flat image genuine three-dimensional presence.
Pro Tip: Before pressing the shutter, identify the single most compelling element in the scene. If you cannot name it, keep adjusting until you can. Strong compositions always have a clear point of focus.
- Lead the eye with natural curves, paths, rivers, and fences rather than placing the main subject dead center
- Use negative space deliberately to create breathing room and emphasize isolation or scale
- Frame subjects within natural arches, overhanging branches, or rock formations to add depth
- Experiment with low angles for dramatic foreground detail and sky dominance
5. Escaping the wide-angle trap
Most beginners default to the widest lens they own and try to include everything the scene offers. Courses address this directly, because strong compositions often isolate a subject rather than capture every element available.
A telephoto lens compresses the layers of a landscape, stacking distant mountains against a textured foreground in a way a wide-angle physically cannot. A 200mm shot of a single peak reflecting in a lake can carry more visual weight than a 16mm shot trying to show the entire range. Learning to see through different focal lengths is a creative shift, and courses provide the exercises and feedback to make it happen.
Explore landscape photography techniques to see how professional approaches vary by focal length and environment.
6. Post-processing and editing skills
Post-processing is treated in serious courses as a separate craft, not a correction session. You learn to shoot in RAW format from the start because it captures the full dynamic range the sensor records, giving you far more latitude in editing than a JPEG provides.
Editing RAW photos with local adjustments and color grading is the professional standard. Global adjustments affect the entire image at once. Local adjustments let you brighten a shadowed foreground independently of a bright sky, which is where realistic drama comes from. Courses walk you through masking, graduated filters, and luminosity selections until these become instinctive.
You also cover:
- Panorama stitching for wide scenes that exceed a single frame
- HDR blending for high-contrast lighting situations
- Removing distracting elements while keeping the image authentic
- Color grading to deepen blues, warm golden hour tones, and separate tones by zone
7. Planning and pre-shoot preparation
The photographers who consistently capture extraordinary light are rarely lucky. They are prepared. Courses teach pre-shoot planning using apps like PhotoPills to track the exact position of the sun and moon, predict tides, and forecast weather months before a shoot.
Location scouting is equally emphasized. Visiting a site during off-peak light lets you study the terrain, identify foreground options, and plan exactly where to stand when the golden hour arrives. How weather shapes your landscape photography is a topic covered in depth in skilled courses because stormy skies, mist, and dramatic cloud formations often create the most memorable images.
Here is a practical planning sequence taught in most structured courses:
- Research the location using satellite imagery and photography apps
- Identify the sun or moon position at the desired time using PhotoPills or a similar tool
- Scout the location in person or via high-resolution street and aerial views
- Check detailed weather forecasts within 48 hours of the shoot
- Arrive at least 30 minutes before golden hour begins
Pro Tip: Screenshot your planned shooting angle with the sun position overlay in PhotoPills. When you arrive in the field before dawn, you will know exactly where to stand without wasting precious light.
8. Patience, mindset, and ethical fieldwork
Patience is a learned technical skill in landscape photography, and courses make this explicit rather than leaving it as vague inspiration. Waiting for a cloud to pass, for wind to calm, or for the exact moment when sidelight catches a rock face is not passive. It is strategic.
Courses also address the ethical responsibilities that come with working in natural environments. Staying on established paths, avoiding disturbance to wildlife, and not removing natural elements for a cleaner composition are all taught as professional standards. Photography that harms the environment in pursuit of an image is never worth it.
Building creative vision beyond technical mastery is the long-term goal. Courses encourage you to develop a personal photographic style by studying the work of photographers whose images resonate with you, then practicing the decisions that produce similar results with your own perspective applied.
9. Comparing skills: where to focus your learning
Different skills provide different returns at different stages. This comparison helps you decide where to invest your time first.
| Skill area | Impact level | When to prioritize |
|---|---|---|
| Exposure triangle and camera control | Very high | From day one. No other skill works without this. |
| Composition and creative vision | Very high | Immediately alongside technical skills. Transforms results fast. |
| Focusing techniques (hyperfocal, stacking) | High | Once exposure is solid. Adds professional-level sharpness. |
| Post-processing and editing | High | After field skills are established. Refines captured images. |
| Planning and app use | Medium to high | As you pursue specific shots. Multiplies success rate dramatically. |
| Patience and mindset | High (compounding) | Ongoing. Improves every session regardless of skill level. |
Good composition with basic gear outperforms sloppy composition with advanced equipment. Start with the exposure triangle and composition, build your technical precision in focusing and gear, and let editing and planning layer on top as your field work matures.
Courses taught at photography workshops across regional Australia often structure their curriculum in exactly this progression, which is one reason structured learning accelerates growth so effectively.
My honest perspective on learning landscape photography
I have spent years photographing locations from the Australian outback to the fjords of Norway, and the single most consistent observation I can offer is this: new photographers obsess over gear when they should be obsessing over light and composition.
When I reflect on what courses do best, it is breaking the craft into discrete, learnable parts. Trying to absorb everything at once produces paralysis. Isolating one skill, practicing it deliberately, and building confidence before adding the next layer is how genuine improvement happens. I have seen photographers with entry-level cameras produce prints worth displaying in galleries because their understanding of composition and light was exceptional.
Patience and timing are the skills I see most underestimated. Waking at 4am and waiting 90 minutes for the right cloud formation is not suffering. It is the practice. The photographs that matter most to me personally are the ones where I waited. Not the ones I captured in the first five minutes.
My honest advice to anyone considering a structured course is this: arrive prepared to be challenged on your assumptions about what makes a good image. The most exciting growth happens when a skilled instructor reframes how you see, not just how you operate your camera.
— Mark
Take your landscape photography to the next level
The skills covered in this article are precisely what Mark Gray's courses and workshop tours are designed to teach. Whether you are ready to commit to a one-day photography course across Australia or a multi-day landscape photography workshop tour to destinations like Iceland, New Zealand, or French Polynesia, every session is built around hands-on learning in spectacular locations.
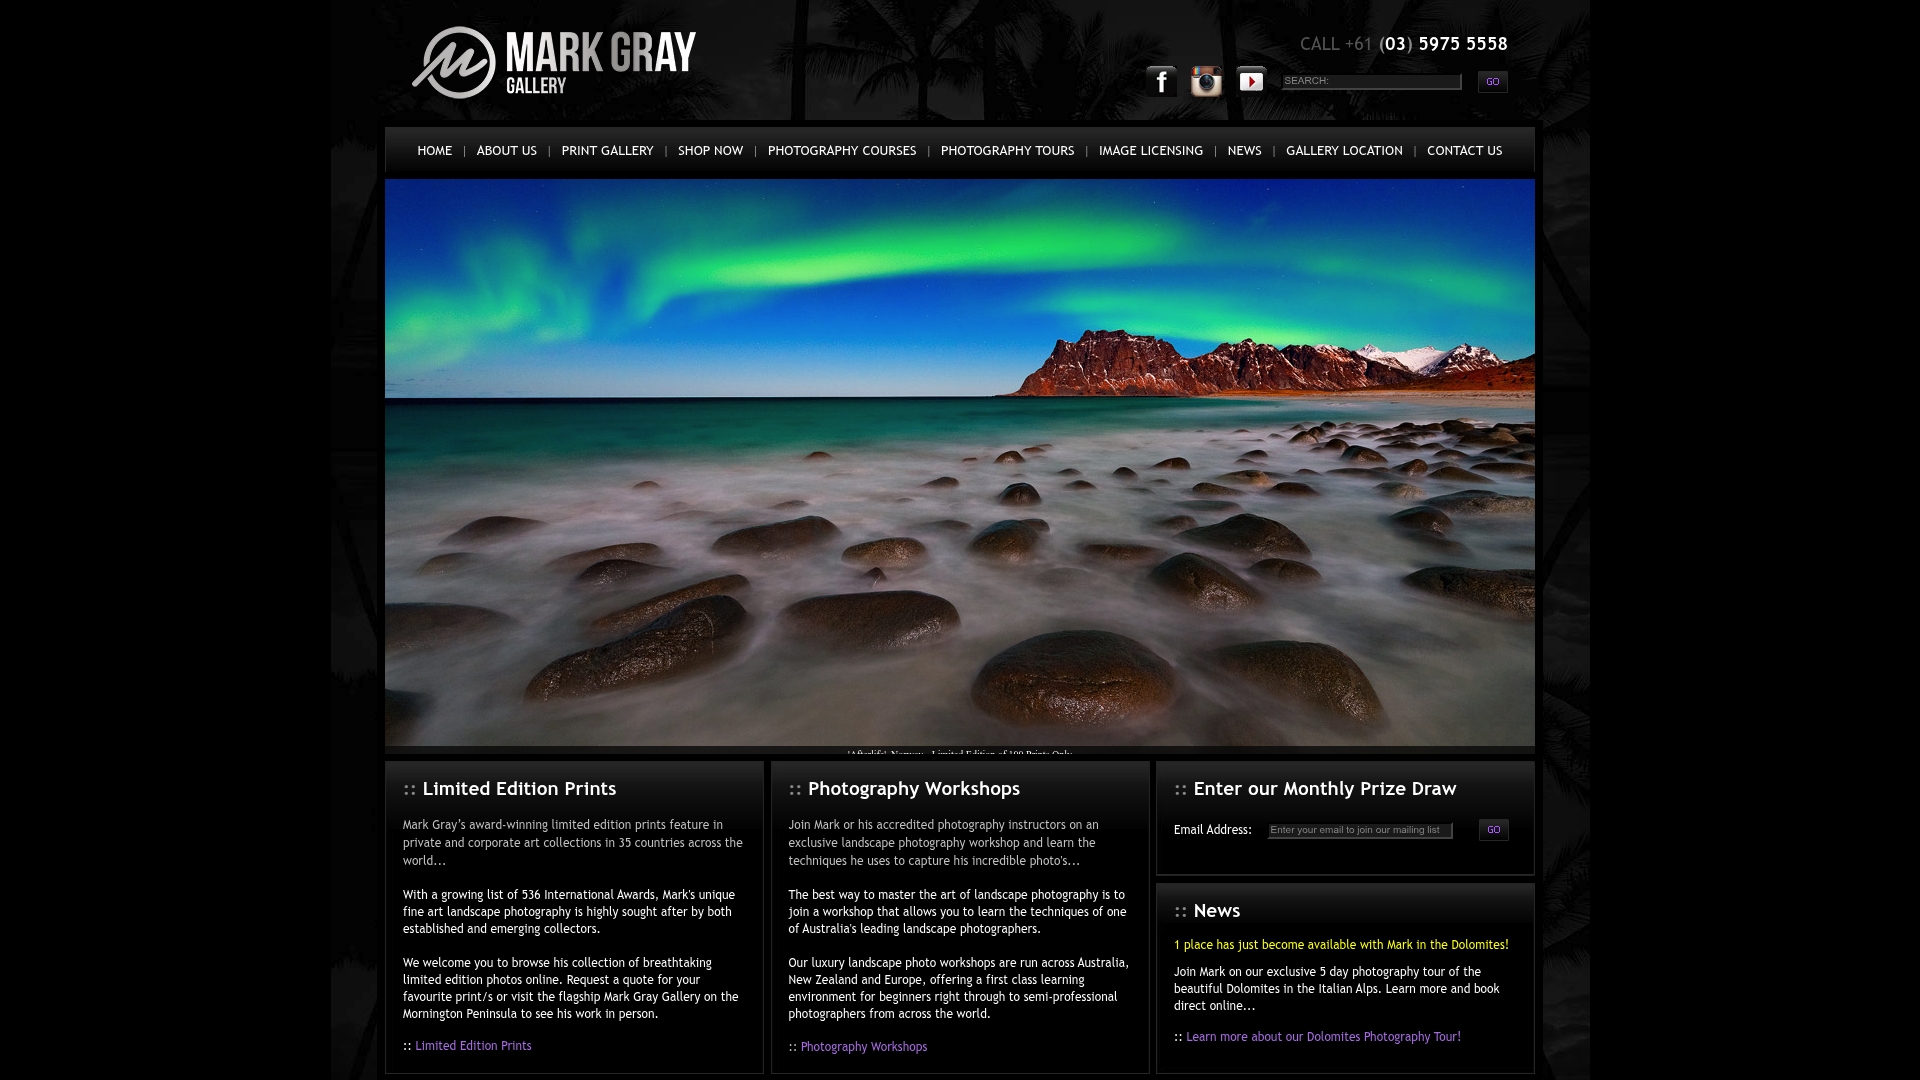
Mark Gray is an internationally renowned, award-winning Australian photographer whose limited edition prints have been exhibited and collected worldwide. Exploring his landscape photography portfolio gives you an inspiring benchmark for what dedicated skill development produces over a serious career. From technical mastery to creative vision, the journey starts with the right instruction.
FAQ
What are the first skills taught in landscape photography courses?
Most courses begin with the exposure triangle, covering aperture, shutter speed, and ISO, because these controls form the foundation for every other technique. Composition principles are typically introduced in parallel during the first sessions.
Do I need expensive gear to benefit from a landscape photography course?
No. Gear matters far less than composition and creative vision, and a good instructor will help you maximize results with the equipment you already own.
What is focus stacking and why is it taught in courses?
Focus stacking merges multiple images focused at different distances to achieve front-to-back sharpness. It allows shooting at the optimal aperture of f/8 rather than stopping down to narrow apertures that cause diffraction softness.
How much does post-processing matter in landscape photography?
Post-processing is necessary for professional results, particularly when working with RAW files that require color grading and local adjustments. However, it refines a good capture rather than correcting a flawed one.
What apps do landscape photography courses recommend for planning?
PhotoPills and The Photographer's Ephemeris are the most widely recommended tools. They track sun and moon positions precisely, allowing photographers to plan exact shooting angles and timing well in advance.