
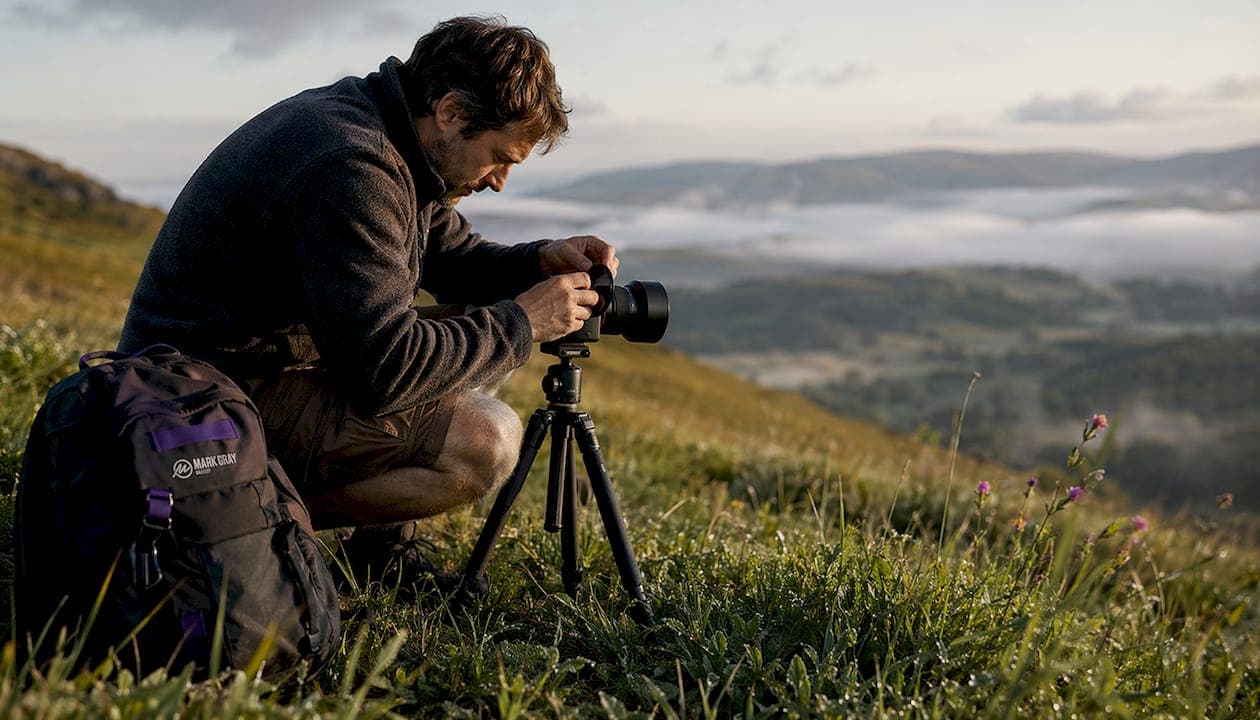
A sturdy tripod, a circular polarizer filter, extra batteries, and quality lenses form the core of any landscape photography gear essentials list. These four items directly improve image sharpness, color accuracy, and shooting reliability in the field. A beginner landscape kit in 2026 typically includes a camera with a kit lens, a tripod costing $70–$120, one circular polarizer, two spare batteries, and several microfiber cloths. That combination covers the vast majority of shooting situations without requiring a large upfront investment. Every item on this list earns its place by solving a real problem you will face outdoors.
1. The landscape photography gear essentials list starts with a tripod
A tripod is the single most impactful purchase a landscape photographer can make. Tripod stability outperforms camera body quality when it comes to image sharpness. A cheap tripod introduces micro-vibrations that blur images even when paired with a high-resolution sensor.
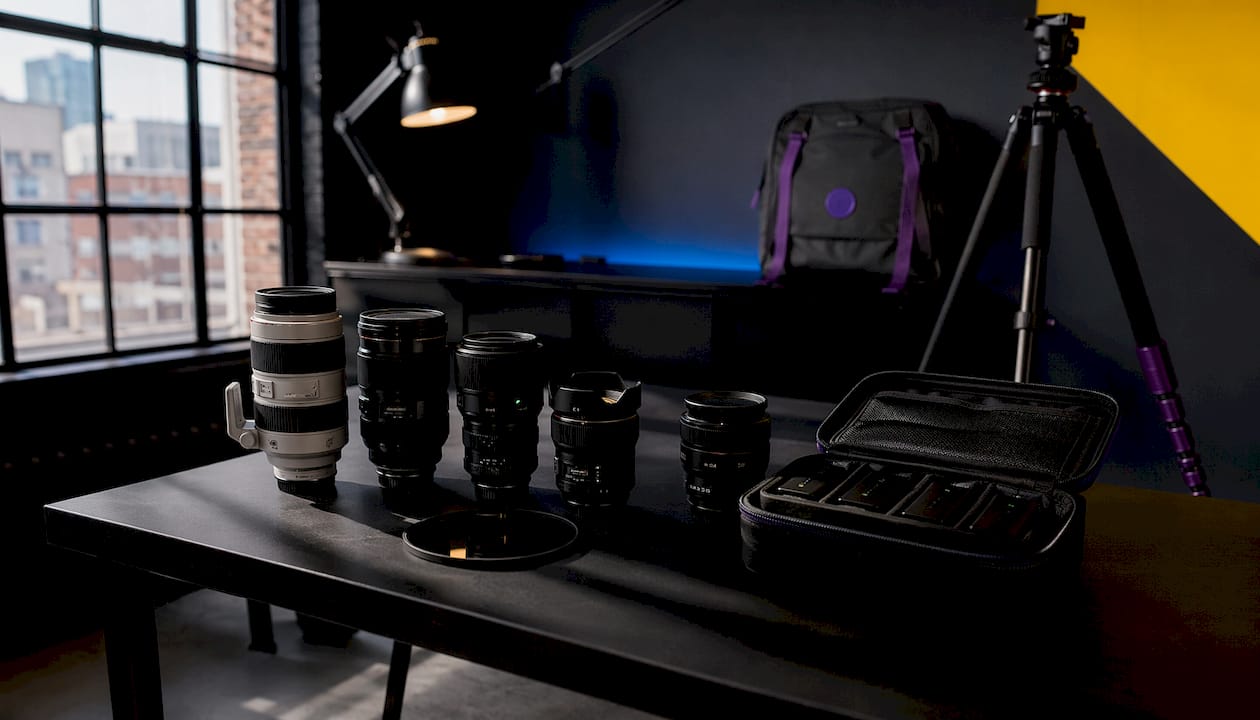
Budget matters here. Tripods under $50 consistently cause micro-vibrational blur. Spending $70–$120 on an entry-level name-brand tripod delivers stable results with any mid-range camera.
Material choice also affects your kit's weight and durability:
- Aluminum tripods cost less and handle rough conditions well, but they add weight to your pack.
- Carbon fiber tripods weigh significantly less and absorb vibration better, but they cost more.
- Ball heads vs. pan-tilt heads: Ball heads allow faster repositioning, which suits landscape work where you adjust quickly for changing light.
Pro Tip: Extend the thicker leg sections first and leave the center column as low as possible. A raised center column acts like a lever and amplifies vibration, undermining everything the tripod is designed to do.
2. Why a circular polarizer belongs on every must-have gear list
A circular polarizer filter is the one piece of glass that post-processing software cannot replace. Circular polarizers reduce glare and improve color saturation directly at the point of capture. Rotating the filter cuts reflections off water and wet rocks, and it deepens blue skies in a way that no editing slider replicates.
The filter works best when the sun sits at roughly 90 degrees to your shooting direction. At sunrise and sunset, its effect is minimal. That is worth knowing before you rely on it as your only filter.
Key filter options to understand:
- Screw-in circular polarizers attach directly to your lens thread. They are compact, affordable, and the right starting point for most photographers.
- Square filter systems use a holder that mounts to the lens. They allow stacking multiple filters and are preferred by photographers who also use ND filters regularly.
- ND filters (neutral density) reduce the amount of light entering the lens. They enable long exposures in bright conditions, creating silky water effects and dramatic cloud movement.
Pro Tip: Buy your circular polarizer to fit your largest lens diameter, then use step-up rings to fit it on smaller lenses. That approach costs less than buying multiple filters.
3. Why lenses matter more than camera bodies
Investing in lens quality yields better image results than upgrading camera bodies past approximately 24 megapixels for landscape work. Better glass improves sharpness across the frame, corner clarity, and color rendering. A higher megapixel body paired with a soft lens produces softer images at higher resolution.
Wide-angle lenses dominate landscape photography for good reason. Focal lengths in the 16mm–35mm range capture expansive scenes, foreground detail, and dramatic skies in a single frame. A 24mm or 28mm prime lens is a strong starting point for photographers on a budget.
Lens selection by experience level:
- Beginners: A kit zoom lens covering 18mm–55mm handles most situations. Prioritize learning composition before spending on specialty glass.
- Intermediate photographers: A dedicated wide-angle zoom such as a 16–35mm f/4 delivers noticeably sharper corners and better flare control than kit lenses.
- Advanced shooters: Tilt-shift lenses correct perspective distortion in architectural landscapes and allow focus stacking without moving the camera.
Avoid changing lenses in the field. Moisture, dust, and salt air contaminate your sensor the moment the body is open. Mount your chosen lens before leaving the car and pre-attach your tripod's quick-release plate at the same time. That habit protects your gear and saves time when the light changes fast. Learning landscape photography techniques helps you choose the right focal length before you even leave home.
4. Accessories and field gear that keep you shooting
Reliable field gear separates a productive shoot from a frustrating one. Cold temperatures drain batteries faster than most photographers expect. Carrying 2–3 fully charged batteries and multiple fast, high-capacity memory cards prevents early shoot termination when conditions get demanding.
A remote shutter release eliminates camera shake at the moment of exposure. When shooting on a tripod with a long exposure, even the act of pressing the shutter button introduces vibration. A wired or wireless remote, or the camera's built-in self-timer set to a 2-second delay, solves this completely.
Beyond camera-specific tools, field preparedness directly affects shoot outcomes:
- Microfiber cloths: Carry at least two. Lens cleaning in the field is constant, especially near water or in humid conditions.
- Weather-appropriate clothing: Layering is non-negotiable for pre-dawn shoots. Cold, wet, or uncomfortable photographers make poor creative decisions.
- Sturdy footwear: Ankle support matters on uneven terrain. Waterproof boots keep you stable near streams and tidal zones.
- Physical maps and a compass: Phone GPS fails in remote areas. Analog navigation tools are reliable backups.
- A purpose-built camera bag: Padded dividers protect gear during hikes. Look for bags with rain covers and hip belts for longer walks.
Pro Tip: Keep a spare battery in an inside jacket pocket during cold shoots. Body heat maintains battery performance far better than leaving it in your bag.
5. How to prioritize gear upgrades for maximum impact
Gear upgrades deliver the most value when they follow a deliberate order. Expert consensus places the tripod first in the upgrade sequence, followed by the circular polarizer, extra batteries, a wide-angle lens, an ND filter, and finally the camera body. This order reflects where each dollar produces the most visible improvement in your images.
The reasoning behind this sequence is straightforward:
- Tripod first. Camera shake is the most common cause of soft landscape images. Fixing it costs $70–$120 and immediately improves every shot.
- Circular polarizer second. No software replicates what this filter does in the field. A quality polarizer costs $50–$100 and transforms how skies and water render.
- Extra batteries third. Missing the best light because of a dead battery is avoidable. Two or three batteries cost less than $100 total and eliminate the problem.
- Wide-angle lens fourth. This is where image quality takes a significant step forward. A dedicated wide-angle lens outperforms a kit zoom in sharpness and corner clarity.
- ND filter fifth. Once you have mastered composition and exposure, ND filters open up creative long-exposure techniques that elevate your work.
- Camera body last. A new body rarely improves images as much as photographers expect. Upgrade the body only after the rest of the kit is solid.
Field experience accelerates this process. Photographers who spend time shooting with basic gear develop a clear sense of what is actually limiting their images. That clarity makes every subsequent upgrade purposeful rather than speculative. A beginner photography checklist helps you track where you are in this progression.
Key takeaways
The most effective landscape photography kit prioritizes tripod stability, optical filters, and reliable power before any camera body upgrade.
| Point | Details |
|---|---|
| Tripod first, always | Spend $70–$120 on a name-brand tripod to eliminate micro-vibrations and sharpen every image. |
| Filters cannot be replicated | A circular polarizer improves color and cuts glare in ways no editing software can match. |
| Power redundancy is non-negotiable | Carry 2–3 charged batteries and multiple memory cards, especially in cold conditions. |
| Lenses beat bodies | Investing in quality glass past 24 megapixels delivers more visible improvement than a new camera body. |
| Upgrade in order | Follow the sequence: tripod, polarizer, batteries, lens, ND filter, then camera body for maximum return. |
What I've learned from years of shooting in the field
The gear list matters, but the mindset behind it matters more. I have shot in Iceland in sub-zero temperatures, on tidal flats in Australia at 4:00 AM, and on clifftops in Norway where the wind made a tripod feel almost pointless. Every one of those experiences taught me something that no equipment review ever could.
The biggest mistake I see enthusiasts make is packing too much. A heavy bag changes how you move, where you go, and how long you stay. I now carry only what I know I will use for that specific shoot. Careful logistical planning including packing only necessary gear, monitoring conditions, and timing shoots properly is what separates productive outings from exhausting ones.
Gear protection is also underestimated. Salt air near the coast is aggressive. Rain arrives without warning. I always carry a rain cover for my bag and a dry cloth for my lens. A camera that fails in the field is worse than no camera at all.
My honest recommendation: spend less on gear early and more on time in the field. The photographers who improve fastest are the ones who shoot constantly, not the ones who own the most expensive kit. When you are ready to deepen your skills, structured learning through landscape photography courses accelerates what field time alone takes years to teach. You can also explore photography submission opportunities to get your work seen once your kit and skills are ready.
— Mark
Award-winning landscape photography to inspire your next shoot
Mark Gray's work spans Australia, New Zealand, Norway, Iceland, French Polynesia, Spain, and the United Kingdom. Each location demanded a different approach to gear, light, and timing. Seeing how professional results emerge from disciplined preparation gives you a clear picture of what your own kit can achieve.

The Mark Gray Gallery offers limited edition landscape photography prints, photography courses across Australia, and multi-day workshop tours worldwide. Whether you want to study composition through world-class prints or develop your technique alongside an award-winning photographer, the gallery is a direct path from enthusiast to confident landscape shooter. Gift certificates and a curated gift range are also available for photographers at every level.
FAQ
What is the most important piece of landscape photography gear?
A sturdy tripod is the single most impactful piece of gear for landscape photographers. It eliminates camera shake, which is the most common cause of soft images in low-light and long-exposure shooting.
Can a circular polarizer be replaced with editing software?
No. A circular polarizer cannot be replicated in post-processing. It physically blocks reflected light at the point of capture, which software cannot recreate after the fact.
How many batteries should I carry for a landscape shoot?
Carry at least 2–3 fully charged batteries. Cold weather drains batteries faster, so redundancy is especially important for early morning or winter shoots.
What focal length is best for landscape photography?
Wide-angle focal lengths in the 16mm–35mm range suit most landscape work. They capture expansive scenes and foreground detail that longer focal lengths compress out of the frame.
Should I upgrade my lens or my camera body first?
Upgrade your lens first. Better glass outperforms a higher-resolution body for landscape image quality, particularly for sharpness and corner clarity across the frame.