
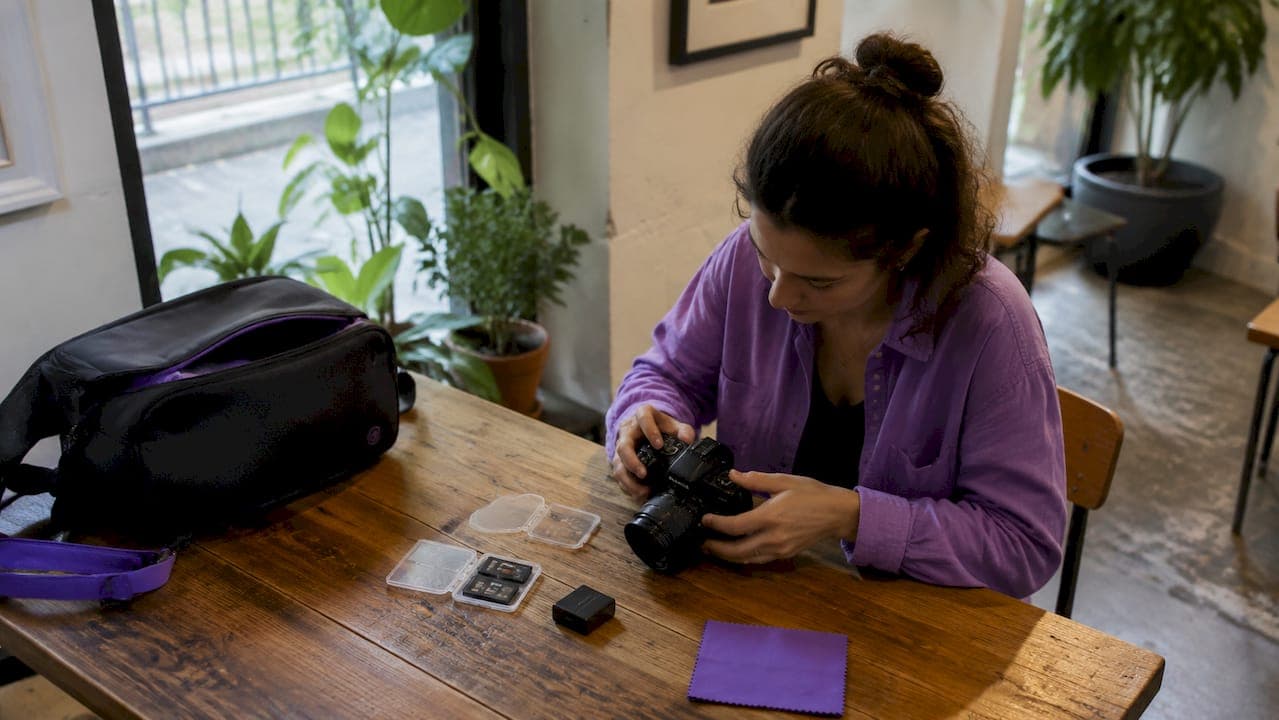
A photography course checklist for beginners is a structured list of gear, settings, and mindset steps that ensures you arrive at your first course ready to learn rather than troubleshoot. Most beginners lose valuable course time to dead batteries, wrong camera modes, or cluttered compositions. A solid checklist prevents all three. The industry term for this preparation framework is a "pre-course readiness checklist," and it covers everything from your physical kit to how you think about light. This guide breaks down each component so you can focus on building real photography skills from day one.
1. Essential gear checklist for beginner photography courses
The 2026 beginner starter kit costs under $1,000 and covers every piece of equipment you need for a structured course. That budget ceiling is realistic and deliberate. Spending more before you understand your needs wastes money and adds confusion.
Your core beginner photography gear list includes:
- Entry-level mirrorless or DSLR camera with manual mode capability
- Kit zoom lens (typically 18–55mm or equivalent)
- Two 64GB UHS-I SD cards so you always have a backup
- Spare battery fully charged before every session
- Tripod for low-light and long-exposure practice
- Padded camera bag that fits your body and lens together
- Cleaning kit including a blower, microfiber cloth, and sensor swabs
Equipment checks matter as much as the equipment itself. A pre-shoot routine covering gear checks and camera configuration takes under 15 minutes. That 15 minutes prevents the most common beginner failures: dead batteries, full memory cards, and corrupted files.
Pro Tip: Never just delete files from your memory card. Reformat the card in-camera before every session. Deleting leaves the file system intact and risks write errors that corrupt future shots.
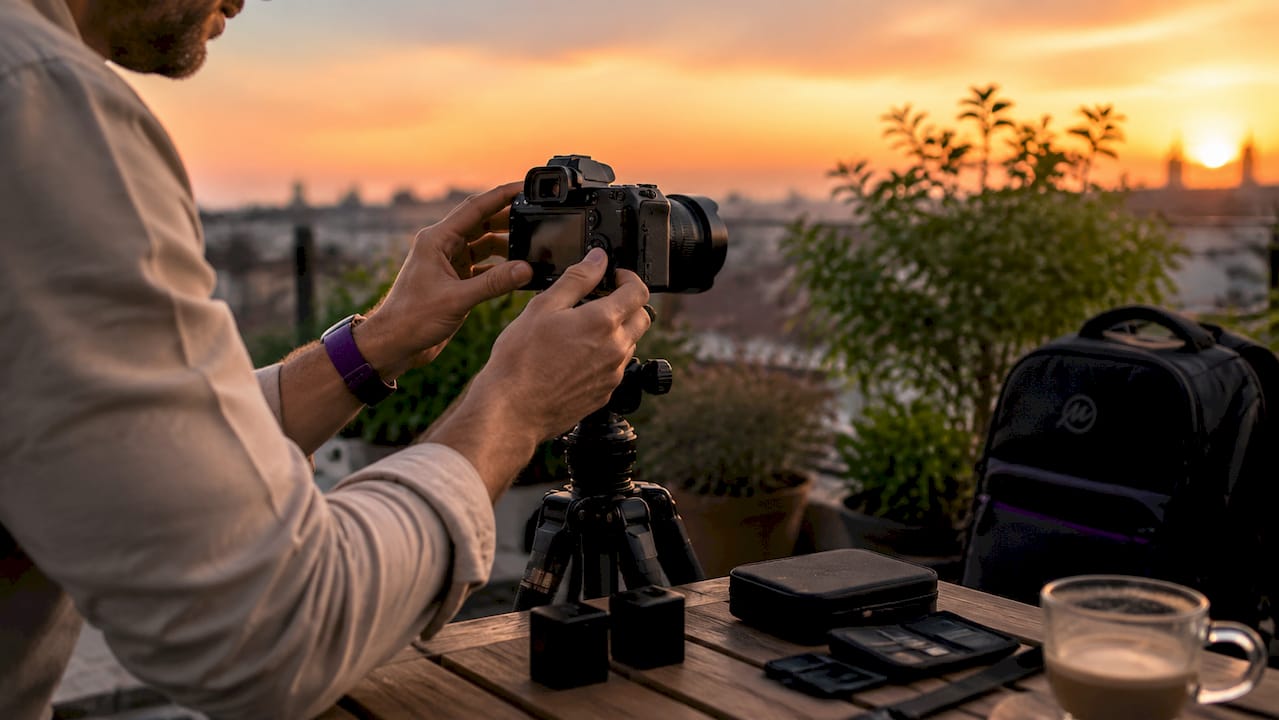
2. Must-know camera settings for your first course
Camera settings are the technical foundation of every photograph. Arriving at your course without knowing your camera's basic controls wastes instruction time that should go toward creative development.
Check these settings at the start of every session:
- Shooting mode: Start with Aperture Priority (Av or A on the dial). Aperture Priority mode gives you creative control over depth of field while the camera manages shutter speed. Move to full Manual mode once you feel confident.
- ISO: Set to Auto ISO initially, then learn to control it manually as you progress.
- White balance: Set to Auto White Balance for most course conditions. Adjust to a specific preset (Cloudy, Shade, Tungsten) when the light source is fixed.
- Focus mode: Use Single AF (AF-S or One-Shot) for still subjects. Switch to Continuous AF (AF-C or AI Servo) for moving subjects.
- Metering mode: Evaluative or Matrix metering works for most beginner scenes.
- Image format: Shoot in RAW if your course covers post-processing. Shoot JPEG if it does not.
One overlooked setting check is the physical autofocus switch on your lens barrel. Autofocus switches get knocked into manual mode during transport. Always check the lens barrel switch when you arrive at a shooting location. Missing focus on every frame because of a bumped switch is a frustrating and entirely avoidable problem.
3. Composition and lighting principles to practice
Composition and lighting are the two skills that separate memorable photographs from forgettable ones. You can learn them before your course starts, and doing so accelerates everything your instructor teaches.
See the light first
Identifying light direction and quality before choosing your subject or settings is the single most important habit a beginner can build. Ask yourself: where is the light coming from, is it hard or soft, and is it flattering the scene? Answering those three questions before raising your camera changes how you see every situation. This skill is what separates photographers who understand light quality in landscapes from those who rely on luck.
Simplify your frame
Professional photographers recommend keeping composition intuitive rather than rule-bound. The most effective starting point is "less is more." Remove distractions from the frame before pressing the shutter. Ask what the single strongest element in the scene is, then build the frame around it. Overcrowded frames dilute impact, and beginners consistently make this mistake.
Your composition checklist for each shot:
- Identify the main subject clearly
- Remove or reposition to eliminate background clutter
- Check the edges of the frame for distracting elements
- Use natural framing (doorways, trees, rock formations) when available
- Vary your shooting angle rather than always shooting from eye level
4. How to prepare mentally and logistically for your first course
Gear and settings preparation covers the technical side. Mental and logistical preparation determines how much you retain and how quickly you progress.
Set a clear goal before you arrive
Write down one specific skill you want to improve by the end of the course. "Get better at photography" is not a goal. "Understand how aperture affects background blur" is. Specific goals direct your attention during instruction and give you a benchmark to measure progress against.
Follow a structured practice plan
A 30-day practice plan divides skill-building into four focused weeks: manual operation in week one, the Exposure Triangle in week two, composition in week three, and lighting plus post-processing in week four. This structure prevents the common beginner mistake of practicing the same comfortable skills repeatedly while avoiding harder ones.
- Read your camera manual before the course starts. Focus on the sections covering shooting modes, autofocus, and metering.
- Shoot at least 30 minutes every day in the week before your course. Familiarity with your camera's physical controls reduces cognitive load during instruction.
- Back up all existing files from your memory cards so you arrive with formatted, empty cards ready to use.
- Charge all batteries the night before. Bring the charger as a backup.
- Research the shooting location or studio environment if the course details are available.
Pro Tip: Embrace mistakes during your course. Every blurred shot, blown highlight, or missed focus point is a data point. Photographers who improve skills fastest treat errors as feedback, not failure.
5. Mastering your existing gear before buying more
New gear does not solve creativity problems. Mastering current equipment consistently produces better results than upgrading prematurely. This is the insight most beginners resist and most experienced photographers confirm.
The entry-level mirrorless and DSLR cameras available in 2026 are technically capable of producing award-winning images. The limiting factor is almost never the camera. Beginners who spend their first six months with one camera body and one lens develop a depth of understanding that gear-switchers rarely achieve. You learn the quirks, the strengths, and the limitations of your specific tool. That knowledge transfers directly to better photographs.
Resist the urge to buy a new lens before your course ends. The kit lens that came with your camera covers the focal lengths most beginners need. Learning landscape photography techniques with a kit lens forces you to move your feet, change your angle, and think creatively rather than relying on a zoom to solve compositional problems.
6. Choosing the right course for your readiness level
Not every photography course suits every beginner. Matching the course to your current skill level and goals determines how much value you extract from the experience.
A one-day introductory course suits beginners who have never used a camera in manual mode. Multi-day workshop tours suit beginners who have completed an introductory course and want to apply skills in diverse real-world environments. Reviewing photography workshop selection criteria before booking helps you avoid enrolling in a course pitched above or below your current level.
Ask the course provider three questions before booking: What camera experience does the course assume? What is the student-to-instructor ratio? Does the course include post-processing instruction? The answers tell you whether the course matches your checklist of needs.
Key takeaways
A complete photography course checklist for beginners covers gear preparation, camera settings, composition awareness, and mental readiness before the first session begins.
| Point | Details |
|---|---|
| Gear preparation | Bring two formatted SD cards, a spare battery, and a cleaning kit to every session. |
| Pre-shoot routine | A 15-minute gear and settings check prevents dead batteries and corrupted cards. |
| Camera settings | Start with Aperture Priority mode and check your lens autofocus switch on arrival. |
| Composition mindset | Remove distractions from the frame and identify your main subject before shooting. |
| Practice plan | Follow a structured 30-day plan covering manual operation, exposure, composition, and light. |
What I've learned about checklists after years in the field
The most common mistake I see beginners make is treating the checklist as a one-time task rather than a repeating habit. They prepare thoroughly for their first course, then abandon the routine once they feel comfortable. That is exactly when the checklist matters most.
The second thing I have noticed is that beginners consistently undervalue the lighting check. They arrive at a location, see a beautiful subject, and immediately start adjusting settings. The light has not been assessed at all. Every strong photograph I have made started with reading the light, not the histogram. Teaching beginners to pause and observe light before touching the camera is the single highest-value habit I can pass on.
Gear anxiety is real, and I understand it. But the photographers I have watched grow fastest are the ones who commit to one camera and one lens for at least six months. They stop thinking about equipment and start thinking about images. That mental shift is worth more than any upgrade.
The checklist is not a crutch. It is a foundation. Once the preparation becomes automatic, your attention is fully available for the creative work. That is when photography becomes genuinely rewarding.
— Mark
Mark Gray's photography courses put this checklist into practice
Arriving prepared is only the beginning. The real growth happens when you apply your checklist in the field alongside an experienced guide who can show you what to look for in real time.

Mark Gray's award-winning photography courses are designed specifically for beginners who want structured, hands-on instruction across Australia's most inspiring locations. Each one-day course covers gear readiness, exposure fundamentals, composition, and light reading in a practical outdoor environment. Multi-day workshop tours extend that foundation across diverse landscapes, from coastal seascapes to dramatic inland terrain. Every session is built around the same principles covered in this checklist, so you arrive with a plan and leave with real skills.
FAQ
What gear do I need for a beginner photography course?
The essential beginner kit includes an entry-level mirrorless or DSLR camera, a kit zoom lens, two 64GB SD cards, a spare battery, and a tripod. The full kit costs under $1,000.
What camera mode should beginners use in a photography course?
Start with Aperture Priority mode. It gives you control over depth of field while the camera handles shutter speed, making it the best bridge between automatic and full Manual mode.
How do I prepare my memory cards before a photography course?
Reformat your memory cards in-camera before every session rather than just deleting files. Reformatting clears the file system and prevents write errors that can corrupt images.
How long does a pre-shoot checklist take?
A thorough pre-shoot checklist covering gear, battery charge, memory cards, and camera settings takes under 15 minutes. That time investment prevents the most common beginner failures.
Do I need to buy new gear before enrolling in a photography course?
No. Mastering your existing camera produces better results than upgrading before you understand your needs. Most beginner courses are designed around entry-level equipment.