
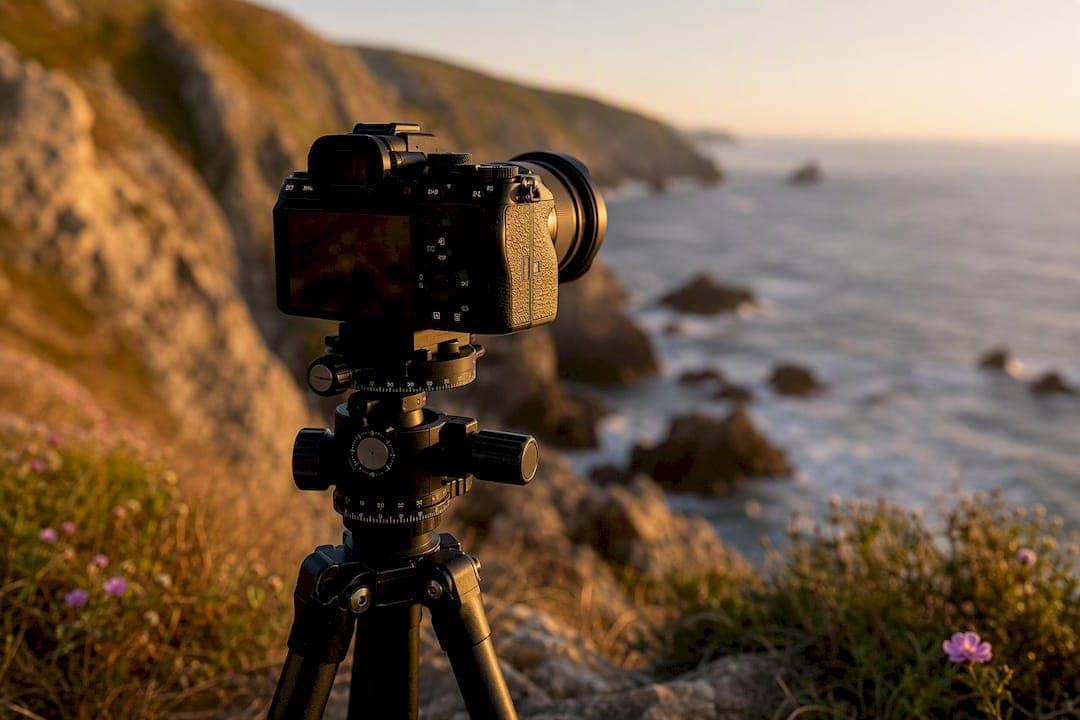
Shoot RAW, lock manual exposure, white balance, and focus, overlap each frame by 30 to 50 percent, and favor portrait orientation. Stitch ordinary panoramas in Lightroom or Photoshop; save Hugin or PTGui for multi-row, gigapixel, or 360-degree work. Rotate around your lens's nodal point whenever a close foreground object is in the frame, and never trust auto exposure across a sequence.
- Settings: RAW format, manual exposure, manual white balance, manual focus
- Overlap: 30–50% between consecutive frames
- Orientation: Portrait, for cropping room
- Software: Lightroom/Photoshop for single-row; Hugin/PTGui for complex scenes
- Watch for: Parallax from foreground objects and exposure drift between frames
TL;DR:
- Lock manual exposure, white balance, and focus on all frames to avoid seams and color shifts during stitching.
- Use 30 to 50 percent overlap between frames, especially in low-detail areas like sky or water, to ensure proper alignment.
- Capture panoramas in portrait orientation to maximize vertical cropping space and perspective correction flexibility for large prints.
- Match scene complexity with software: Lightroom or Photoshop for simple panoramas, Hugin or PTGui for multi-row or gigapixel work.
- Practice thorough field techniques, including level tripod setup, nodal point calibration, and careful handling of moving subjects, for optimal results.
Table of Contents
- Essential Gear and Camera Settings for a Reliable Panorama Stitching Guide
- Shooting Technique: Overlap, Orientation, and Sequence
- Stitching Software and Step-by-Step Workflows
- Post-Processing: Blending, Ghost Removal, and Export
- Troubleshooting Common Stitching Problems
- Workshop-Tested Tips and Checklist From Mark Gray
- Handling Moving Subjects During Panorama Capture
- Calibrating and Using Panoramic Heads for Precise Rotation
- Tips for Capturing Panoramas Without a Tripod
- Best Practices for Overlapping Images in Challenging Light
- A Note From Behind the Lens
- Workshops and Resources: How Mark Gray Can Help You Master Panoramas
- Key Takeaways
- Sources
Essential Gear and Camera Settings for a Reliable Panorama Stitching Guide
Every stitching failure traces back to a decision made before the shutter ever clicked. Shoot RAW at your camera's base ISO (usually 100 or 200) to preserve the widest dynamic range for exposure blending later. A narrower aperture, typically f/8 to f/11, keeps depth of field consistent across the whole scene and avoids the softness that creeps in at wider or extremely small apertures.
Set exposure and white balance manually before your first frame and leave them untouched for the entire sequence. Locking these three settings is the single habit that prevents visible seams and color shifts that no software can fully repair after the fact. Switch to manual focus once you have set it on your subject; autofocus hunting between frames will throw off sharpness consistency.
- Choose a standard or mild telephoto lens (35mm to 85mm equivalent) over an ultra-wide, which introduces distortion that fights the stitching algorithm.
- Remove polarizing filters, since they darken sky unevenly across a rotating frame.
- Level your tripod head using its bubble level before shooting a single frame.
- For scenes with near foreground elements, identify your lens's nodal point and rotate around it, not around the tripod's center column.
- Invest in a panoramic head only once you are shooting multi-row or architectural panoramas regularly. For simple horizontal sweeps, a leveled tripod head does the job.
Pro Tip: Tape down your lens's zoom ring if you are using a zoom lens. A focal length that drifts mid-sequence will wreck alignment even when everything else is locked down.
Shooting Technique: Overlap, Orientation, and Sequence
Getting the capture right in the field saves hours of frustration at the computer. Overlap between about one-third and one-half gives stitching software enough shared detail to find matching points; anything under roughly one-fifth routinely causes alignment failure. In the field, estimate overlap by watching a fixed object drift from one edge of your frame to somewhere past the middle before you shoot the next.
- Rotate the camera to portrait orientation before you start. It roughly doubles your frame count for the same field of view but hands you far more vertical space for cropping and perspective correction later.
- Shoot two or three extra frames past where you think the panorama needs to end. Trimming excess is easy; a gap at the edge is not.
- Pick one rotation direction (left to right is standard) and stick with it through the entire sequence to avoid confusing the stitcher.
- For scenes taller than a single row can capture, plan a grid: shoot a full horizontal sweep at one tilt angle, then repeat at the next, keeping vertical overlap just as generous as horizontal.
- Handheld shooting works for casual panoramas, but rotate from your body's center rather than swinging the camera on your wrist, which introduces parallax.
- For high-contrast scenes, bracket each position with two or three exposures and blend them as HDR before stitching, or stitch first and blend second depending on your software's preference.
Portrait orientation and generous overlap cost you a few extra frames per panorama. That trade is almost always worth it once you are cropping a stitched file for a large print.
Stitching Software and Step-by-Step Workflows
No single program handles every panorama well. Software choice depends on scene complexity, and matching the tool to the job saves real time.
- Lightroom or Photoshop: Select your frames, use Photomerge (or Lightroom's Panorama Merge), choose a projection, and export. This is the fastest route for a standard single-row panorama with no complications, and it is the workflow most enthusiasts should default to.
- Hugin: A free option that gives you manual control points, lens calibration, and advanced blending through Enblend and Enfuse. Hugin's precision makes it the right tool once you are stitching multi-row sequences or scenes where automatic alignment keeps failing.
- PTGui: The professional standard for gigapixel panoramas, HDR blending, and full 360-degree spherical stitching. Photographers shooting complex, high-volume work tend to prefer PTGui because its automation handles large batches with less manual correction than Hugin requires.
- Microsoft ICE or phone panorama modes: Fine for a quick social share, but built-in phone stitching sacrifices resolution and dynamic range you will need for anything printed larger than a screen.
Projection matters more than most beginners realize. Cylindrical projection suits wide horizontal scenes, spherical fits full 360-degree captures, and perspective (rectilinear) projection works best for narrower panoramas where you want straight architectural lines to stay straight. Our own breakdown of the best panorama software for every kind of photographer goes deeper into matching tools to specific shooting scenarios.
Post-Processing: Blending, Ghost Removal, and Export
A clean stitch is only half the job. Most stitching programs include built-in exposure blending and vignette correction; run those before touching anything manually; they solve the majority of banding issues automatically. Where ghosting appears from a moving element, mask it out in Photoshop or use Hugin's masking tools to select the cleanest instance of that object across your frames.
- Straighten a curved horizon using the stitcher's leveling tool first, then fine-tune with Photoshop's ruler and straighten function if needed.
- Try Boundary Warp before auto-crop when irregular edges eat into your composition. It fills the frame using minimal distortion rather than cutting the image down.
- Reach for content-aware fill or the clone stamp only on small gaps; overuse creates visibly fabricated detail in a large print.
- Export as TIFF for anything headed to print, and JPEG for web use. Expect a large stitched TIFF to run anywhere from 50MB to 200MB depending on frame count and resolution.
Pro Tip: Flatten and save a full-resolution TIFF master before you crop or export a smaller web version. Once you flatten and downsize, you cannot easily recover the original pixel dimensions.
Our guide on post-processing in landscape photography covers exposure blending techniques in more depth if you are new to this area.
Troubleshooting Common Stitching Problems
Most panorama failures fall into a handful of recognizable categories, and each has a specific cause and fix.
- Visible seams or exposure banding: Almost always caused by auto exposure drifting between frames; reshoot with locked settings, or apply local exposure correction in post.
- Alignment failure: Usually insufficient overlap. Increase to 40 to 50 percent, especially over low-detail areas like open sky or calm water, or add manual control points in Hugin or PTGui.
- Parallax errors (doubled or smeared foreground objects): A sign you rotated around the wrong point. Diagnose by checking if a near object shifted position relative to the background between frames; software can mask minor cases but cannot fully fix severe parallax.
- Curved horizon or tilt: Level your tripod before shooting next time; correct existing files using your stitcher's horizon tool.
- Reshoot when parallax or motion has corrupted your only usable frames; rely on software fixes for exposure and minor alignment issues.
Workshop-Tested Tips and Checklist From Mark Gray
Across our landscape workshops, the panoramas that print beautifully almost always share one habit: the photographer left extra vertical breathing room by shooting in portrait orientation. That margin absorbs the crop and perspective correction every stitched image needs.
Before any panorama sequence, we run through this quickly:
- Manual exposure, white balance, and focus confirmed.
- Polarizing filters removed.
- Tripod leveled and nodal point checked if foreground objects are present.
- One test frame reviewed on the LCD for exposure and sharpness.
- Overlap estimated visually between each planned frame.
A dedicated panoramic head earns its cost once you are shooting multi-row or architectural panoramas regularly. For everyday landscape sweeps, practiced handheld or tripod technique gets you there.
Handling Moving Subjects During Panorama Capture
Water, foliage, clouds, and people rarely cooperate with a slow, multi-frame capture. The fix depends on what's moving and how fast.
For water and clouds, shoot quickly through your sequence to minimize how far the movement travels between frames. A faster shutter speed freezes waves better than a slow one, even though your exposure settings stay locked across the panorama. If a wave or cloud pattern still creates a visible seam, most stitching software lets you choose which frame's version of that region to use during blending, effectively picking the cleanest instance.
People walking through a scene present a tougher problem, since a person can appear twice, or vanish entirely, depending on their position when each frame fires. Wait for gaps in foot traffic where possible; a temporarily empty section of frame stitches far more cleanly than one with a half-visible figure. When a moving subject is unavoidable, shoot that region twice, once with the person in frame and once without, so you have a clean plate to blend in later using layer masks in Photoshop or masking tools in Hugin.
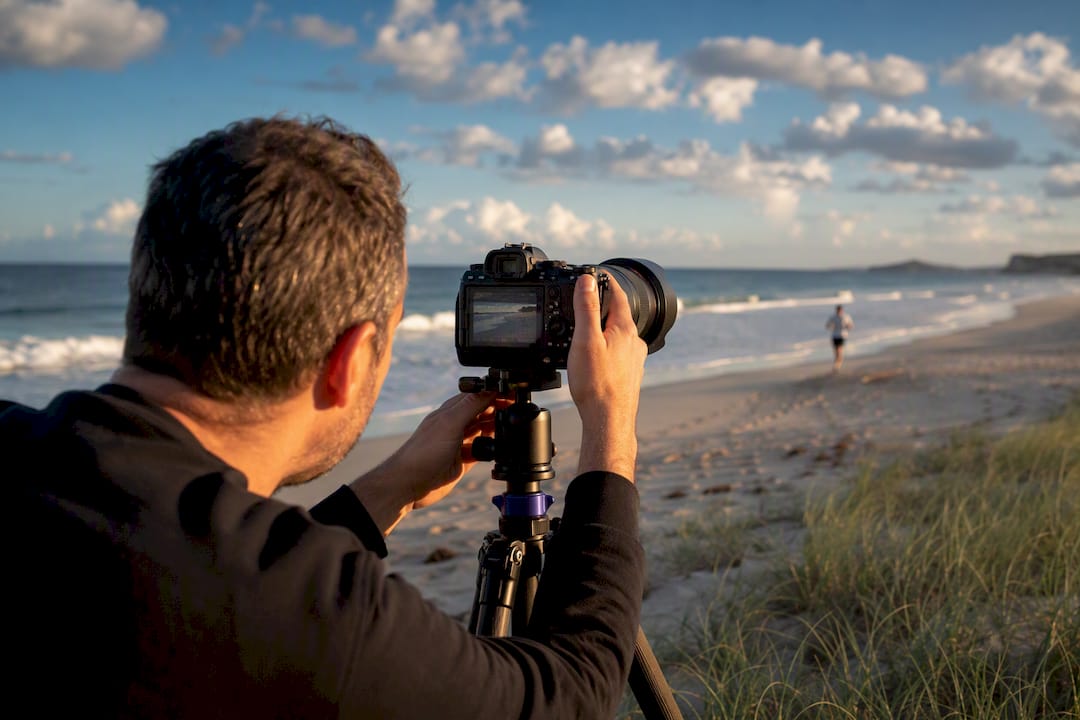
Fast-moving subjects like birds or vehicles almost always create ghosting or duplication if they cross between two overlapping frames. The most reliable fix is timing your shutter to catch them fully within one frame's field of view rather than split across two, since no amount of masking recovers a subject that's been cut in half by the seam. If duplication does happen, mask out the less useful instance rather than trying to blend both.
Calibrating and Using Panoramic Heads for Precise Rotation
A panoramic head exists to solve one problem: rotating your camera around its nodal point instead of around the tripod's center column, which eliminates parallax when foreground elements are close to the lens.
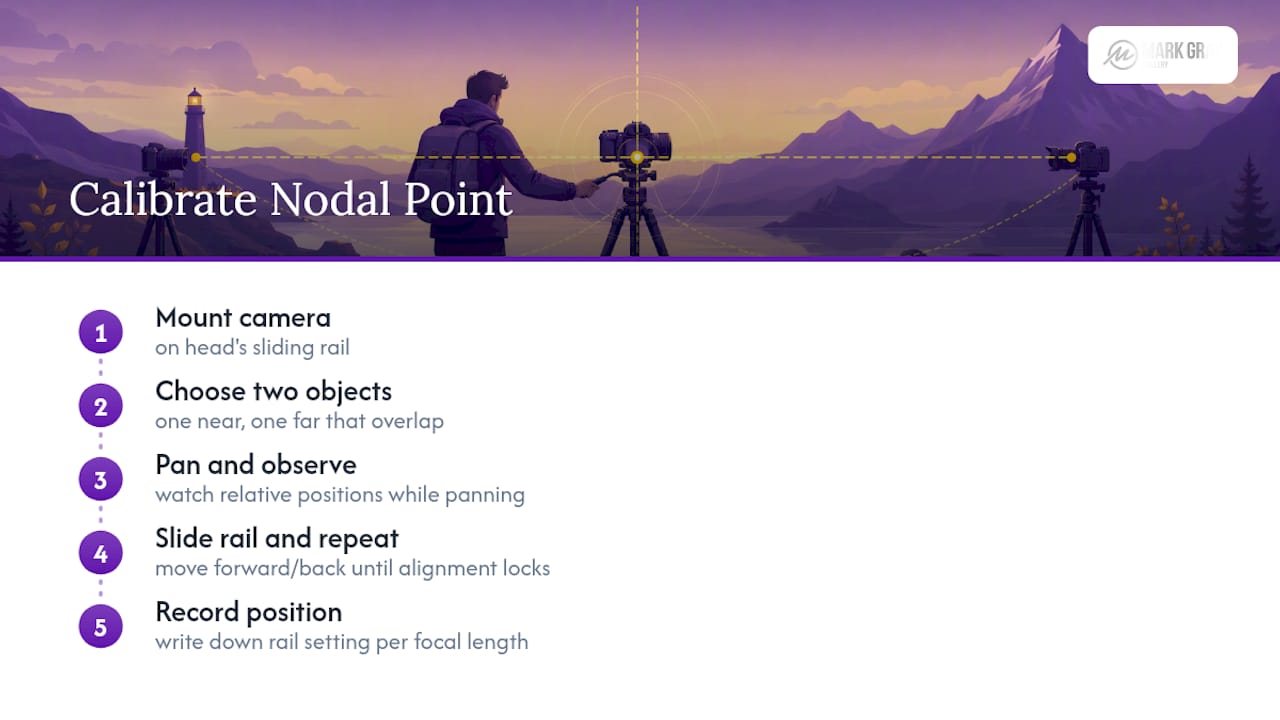
Calibration starts with finding that nodal point, sometimes called the no-parallax point, which sits somewhere inside the lens rather than at the camera body. Mount the camera on the head's sliding rail, pick two objects at different distances that overlap in your frame, and pan the camera left and right while watching whether their relative positions shift. If they drift apart as you pan, slide the camera forward or back along the rail and test again. Once the near and far objects stay locked in alignment through the pan, you've found the correct rail position for that lens, and it's worth writing it down since it changes with focal length.
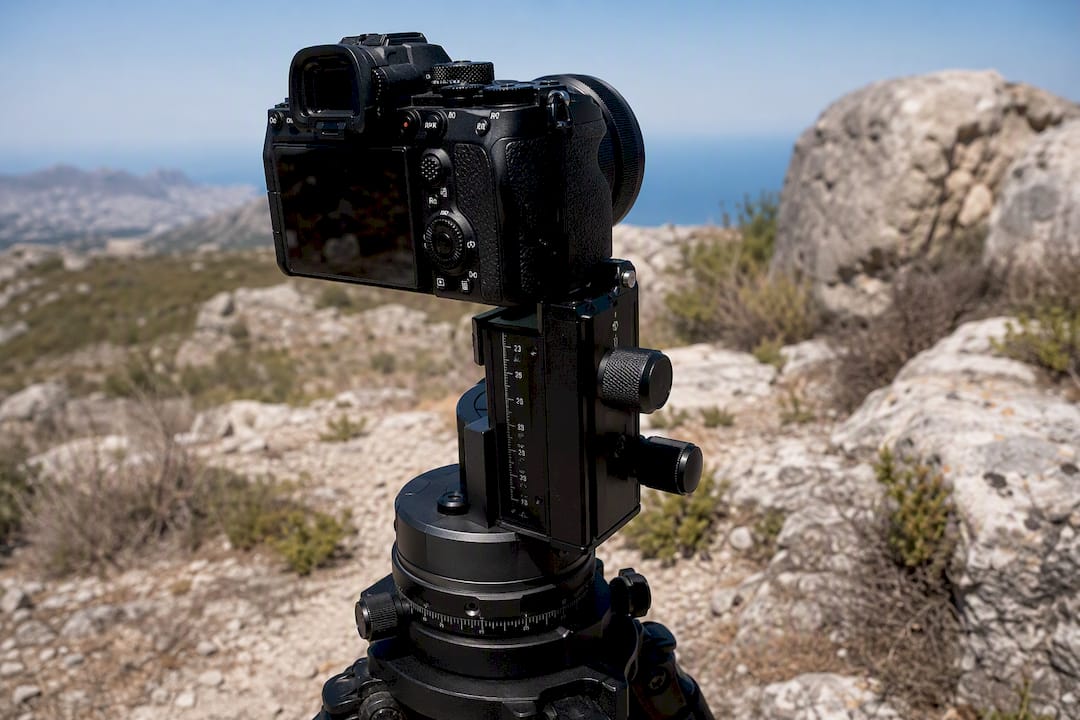
Most panoramic heads include click stops or a marked ring for consistent rotation increments, typically letting you choose 15, 30, 45, or 60 degrees between frames depending on your lens's field of view and desired overlap. Set the increment that keeps you comfortably within the 30 to 50 percent overlap range rather than guessing rotation by eye, which is where handheld panoramas usually lose precision.
For multi-row work, a panoramic head with a vertical tilt axis calibrated the same way lets you repeat identical horizontal sweeps at different tilt angles, which is what makes gigapixel and full spherical panoramas possible without gaps.
Tips for Capturing Panoramas Without a Tripod
A tripod is not mandatory for a stitchable panorama, though it does the leveling and consistent rotation work for you automatically. Shooting handheld just means you take on that job yourself.
Plant your feet, tuck your elbows against your body, and rotate from your waist and shoulders rather than swinging the camera outward from your wrist. Swinging from the wrist is the single most common cause of handheld parallax, since it moves the lens's nodal point through space instead of rotating around it. Keep your eye at the same height and distance from the viewfinder for every frame in the sequence.
A wider stance and a camera strap pulled taut against your neck can act as an improvised stabilizer, giving you a consistent pivot point similar to a monopod. Some photographers use a nearby wall, fence post, or vehicle roof to brace their elbows during the sweep, which noticeably steadies rotation compared to shooting fully freehand.
Because handheld sequences drift more than tripod-based ones, increase your overlap toward the higher end, closer to 50 percent, to give your stitching software more room to compensate for slight misalignment between frames. Shoot a couple of extra frames at each end of the sweep too, since handheld panoramas tend to bow slightly at the edges, and that margin gives you cropping room to fix it.
Avoid handheld technique entirely for scenes with close foreground objects, since parallax correction becomes nearly impossible without a fixed nodal point. Save handheld panoramas for distant landscapes, cityscapes, or scenes where nothing in the frame sits closer than several meters from the lens.
Best Practices for Overlapping Images in Challenging Light
Backlit scenes, sunsets, and interiors with bright windows all punish inconsistent exposure across a panorama sequence far more visibly than flat, even daylight does.
Meter for the brightest and darkest sections of your intended panorama before you start shooting, then set a single manual exposure that holds detail in both without clipping highlights or losing shadow information entirely. If the dynamic range is too wide for one exposure to handle, bracket two or three shots at each position and blend them as HDR either before or during the stitching process, depending on which stage your software handles blending better.
In these conditions, push your overlap toward 40 to 50 percent rather than the minimum. Wider overlap gives the stitcher more shared, well-exposed detail to match between frames, which matters more when contrast is already fighting against a clean blend. Watch for a bright sun or light source sitting near the edge of any single frame; that position tends to cause lens flare or localized overexposure that a wider overlap and slight repositioning can avoid.
Low-detail regions, like a plain sky at dusk or still water reflecting an even sunset, need extra attention regardless of lighting difficulty. Increase overlap in these low-feature areas and try to include some texture, a cloud edge, a ripple, a distant silhouette, in each frame so the stitching software has something concrete to match.
A Note From Behind the Lens
I've watched enough students at our workshops fight the same battle: a beautiful scene ruined by one skipped step, usually auto white balance left on, or a handheld sweep that swung from the wrist instead of the waist. The technical side of stitching software has gotten remarkably forgiving. What still separates a clean panorama from a frustrating one is almost entirely what happens before you press the shutter.
Try the checklist on your next local shoot before committing to anything complicated.
— Mark
Workshops and Resources: How Mark Gray Can Help You Master Panoramas
Reading through a stitching workflow gets you most of the way there, but nothing replaces standing beside someone who corrects your nodal point setup before you've wasted an afternoon on a ruined sequence. Mark Gray's landscape photography workshops walk you through the entire arc in the field: gear setup, exposure locking, overlap judgment, and then the stitching and printing side back at the computer, so you leave with finished, print-ready panoramas rather than just a memory card full of raw frames.

These sessions suit anyone from a beginner who has never attempted a multi-frame capture to an enthusiast ready to tackle gigapixel or 360-degree work. If you are already planning a large-format print from your panoramas, it is worth pairing your workflow with proper output equipment; studios producing gallery-scale prints often turn to large-format tools like the HP DesignJet XL 3600dr once resolution and color accuracy matter at scale. Check available dates and book a workshop through Mark Gray Gallery to put this guide into practice with feedback in real time.
Key Takeaways
Clean panoramas depend on locked manual camera settings, 30 to 50 percent frame overlap, and software matched to the scene's complexity.
| Point | Details |
|---|---|
| Lock settings first | Set manual exposure, white balance, and focus before the first frame to prevent seams. |
| Overlap generously | Keep 30 to 50 percent overlap between frames, higher in low-detail scenes like sky or water. |
| Shoot portrait orientation | Gain extra vertical room for cropping and perspective correction on printed panoramas. |
| Match software to complexity | Use Lightroom or Photoshop for single-row panoramas, Hugin or PTGui for multi-row and 360-degree work. |
| Get hands-on practice | Mark Gray's workshops teach the full shoot-to-print panorama workflow in the field. |
Sources
- Stitch images to create breathtaking panoramas - Adobe
- Photo Stitching: How to Create Panoramas and Mosaics - Pixotter
- Panorama Photography: How to Shoot & Stitch Perfect Panoramas - PhotographyIcon
- Hugin - Panorama photo stitcher