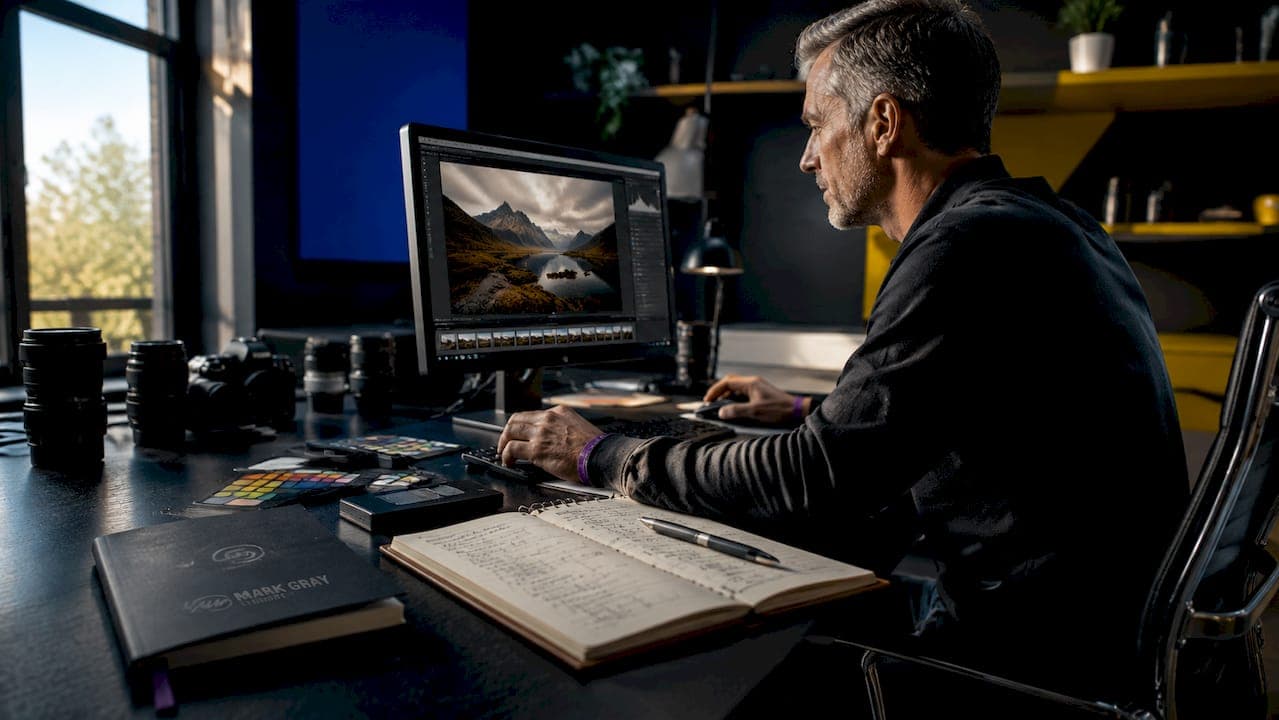
Post-processing in landscape photography is the technical and creative practice of refining raw image data into a final photograph that accurately reflects the depth, color, and tonal range of the original scene. The role of post processing in landscape photography extends far beyond basic brightness corrections. It is the discipline that separates a technically captured file from a visually compelling image. Tools like Adobe Lightroom and Photoshop are the industry standard for this work, and understanding how to use them with precision and restraint is what defines a photographer's ability to produce prints worthy of a gallery wall.
What are the fundamental post-processing adjustments for landscape photos?
Shooting in RAW format is the non-negotiable starting point for any serious landscape editing workflow. RAW files retain two or three extra stops of highlight detail and significantly more recoverable shadow data than JPEG. That latitude is what gives you room to work without degrading the image before you have even begun.
The foundational adjustments in Lightroom center on tonal balance rather than dramatic correction. Highlights and shadows sliders are your primary tools for managing dynamic range. Pulling highlights down recovers sky detail; lifting shadows opens foreground texture. The goal is not to make the histogram touch both walls. The Base Tone Method workflow deliberately preserves buffer zones between the histogram edges and your tonal values, maintaining room for later dodge and burn work without clipping artifacts.
Exposure, contrast, whites, and blacks form the structural layer of every edit. Adjust these globally before touching anything else. Resist the urge to push global contrast hard at this stage. Doing so compresses the mid-tones and reduces the tonal separation you will need when working locally.
Pro Tip: Set your Point Curve ceiling slightly below the top of the histogram rather than clipping to pure white. This acts as a structural gate that preserves highlight texture across the entire image, especially in bright skies over water or snow.
Key principles for foundational tonal work:
- Shoot RAW to preserve maximum highlight and shadow recovery latitude
- Use highlights and shadows sliders before touching the whites and blacks
- Avoid global overexposure corrections that consume your noise headroom
- Keep tonal gaps on the histogram as working room for local adjustments
- Apply white balance corrections before any tonal work to avoid compounding errors
How do local adjustments and masking enhance depth and naturalness?
Flat landscape images are one of the most common problems photographers face after global edits look correct on screen. Uniform mid-tone exposure across the entire frame removes the tonal gradients that the human eye uses to perceive spatial depth. The fix is not more contrast. It is localized tonal separation that mirrors atmospheric perspective.
Atmospheric perspective describes how objects lose contrast and shift slightly cooler in color as they recede into the distance. Recreating this in post-processing means darkening your foreground independently and allowing the background to hold slightly more brightness and less saturation. This is the difference between an image that reads as three-dimensional and one that looks like a flat graphic.
Lightroom's masking panel gives you the tools to do this with precision. Brush, linear gradient, radial gradient, AI Select Subject, and range masks each serve a specific purpose, and combining them is where the real control comes from. Here is a practical workflow sequence:
- Complete all global adjustments first, including exposure, white balance, and tone curve.
- Apply a linear gradient over the sky to recover any remaining highlight detail and add subtle cooling.
- Use a second linear gradient over the foreground to add depth through slight darkening and contrast.
- Refine both gradients with the brush tool to paint out areas where the mask crosses subject boundaries.
- Add a radial gradient to draw attention to your primary subject, such as a mountain peak or waterfall.
- Use AI Select Subject or range masks to isolate specific tonal zones for final refinement.
Applying local adjustments as refinements after global edits, rather than as primary corrections, produces a far more natural result. The global edit establishes the image's tonal foundation. The local work sculpts light within that foundation.
Pro Tip: When using the brush mask for dodging and burning, set flow to 10-15% and make multiple passes rather than one heavy stroke. Low flow brush settings produce buildable, realistic tonal transitions that look like natural light rather than digital manipulation.
Understanding landscape photography techniques at the capture stage also informs how you approach local adjustments in post. Knowing where the light fell and how the scene was composed helps you make masking decisions that feel intentional rather than arbitrary.
What are advanced color management and output considerations?
Color management is where technically strong edits either hold up or fall apart at the output stage. The most precisely edited file on screen can print with unexpected color shifts if your monitor is not calibrated and your export settings do not match your output medium.
Monitor calibration to D65/6500K white point and 2.2 gamma is the industry standard for photography. Without calibration, you are editing against an unknown reference. What looks warm and balanced on an uncalibrated screen may print cold and flat. Hardware calibration tools from brands like X-Rite and Datacolor remove this guesswork entirely.
Color space selection determines how much of the visible spectrum your file can represent:
- sRGB is the correct choice for web, social media, and any screen-based distribution. It is the smallest color space but the most universally supported.
- Adobe RGB captures a wider gamut, particularly in greens and cyans, making it preferable for professional print workflows where the printer can reproduce those colors.
- ProPhoto RGB is the widest gamut space and is best reserved for archival master files in Lightroom's internal processing pipeline. Exporting a ProPhoto RGB file to a standard printer without proper ICC profile management will produce significant color errors.
| Color space | Best use case | Key advantage |
|---|---|---|
| sRGB | Web and digital display | Universal compatibility |
| Adobe RGB | Professional print labs | Wider green and cyan gamut |
| ProPhoto RGB | Archival master files | Maximum color data retention |
Soft proofing is the final check before any file leaves your editing environment. Soft proofing against printer ICC profiles simulates how your image will appear on a specific paper and printer combination, revealing gamut clipping before it becomes a costly print error. A 30-second soft proof per file is a small investment against the cost of reprinting.
Common mistakes that undermine landscape post-processing quality
The most damaging errors in landscape editing share a common cause: overcorrection. Photographers who are new to post-processing often push adjustments until the image looks dramatic on screen, without accounting for how those adjustments interact with each other or with the output medium.
Crushed shadows are a frequent result of aggressive blacks and contrast sliders applied together. When shadow detail is lost, the image reads as artificially dark and loses the texture that gives foreground elements their sense of mass and presence. Clipped highlights in skies are equally destructive, replacing tonal gradients with featureless white.
Over-boosted global contrast is the single most common reason landscape edits look flat rather than deep. Tonal gradients aligned with atmospheric perspective create convincing spatial depth far more effectively than uniform contrast increases. Pushing the contrast slider compresses mid-tones and removes the subtle tonal variation that the eye reads as distance.
Brush technique errors in dodging and burning produce visible halos and unnatural light patches. Using too high a flow rate, or failing to feather the brush edge adequately, creates transitions that are obvious to any trained eye. Multiple low-opacity passes with a well-feathered brush solve both problems.
"Effective editing balances tones and guides viewer attention instead of creating artificial visual effects. The goal is invisibility: the viewer should feel the scene, not see the edit." DailyPhotoTips
Practical habits that protect edit quality:
- Check shadows and highlights with the clipping warning overlay before exporting
- Compare your edit against the original RAW file periodically to avoid drift
- Calibrate your monitor before every extended editing session
- Use the Base Tone Method to maintain tonal gaps throughout the editing process
- Step away from an edit for at least an hour before final review
Key takeaways
Post-processing in landscape photography requires tonal discipline, localized precision, and calibrated output workflows to produce images that are both technically accurate and visually compelling.
| Point | Details |
|---|---|
| Shoot RAW always | RAW files provide two to three extra stops of recovery latitude that JPEG cannot match. |
| Preserve tonal gaps | The Base Tone Method keeps histogram buffer zones intact for effective local editing. |
| Work globally before locally | Set exposure and white balance first, then refine with masks and gradients. |
| Calibrate your monitor | D65/6500K calibration aligns your screen with real color values before any print output. |
| Soft proof before printing | ICC profile soft proofing prevents gamut clipping and unexpected color shifts in final prints. |
Why subtlety is the hardest skill in post-processing
I have been making landscape photographs for decades, and the lesson that took the longest to absorb was this: the best edit is the one nobody notices. Early in my practice, I treated post-processing as a stage for correction and enhancement. Over time, I came to understand it as an extension of the original vision. If the capture was thoughtful, the edit should be restrained.
The photographers I respect most treat Lightroom and Photoshop the way a darkroom printer treated dodging and burning tools: with patience, precision, and a clear sense of what the image is trying to say. The skills developed through structured photography courses accelerate this understanding considerably, because they force you to articulate your intentions before you touch a slider.
What I find most photographers underestimate is the relationship between field preparation and editing quality. When you understand how weather shapes the tonal character of a scene before you shoot, your editing decisions become far more deliberate. You are not guessing at what the image should look like. You are revealing what you already knew was there.
The goal of invisible editing is not timidity. It is confidence. It takes more skill to make an image feel effortlessly real than to make it look dramatically processed. That discipline, built through practice and honest self-assessment, is what separates technically competent editing from genuinely expressive landscape photography.
— Mark
Explore Mark Gray's landscape photography and workshops
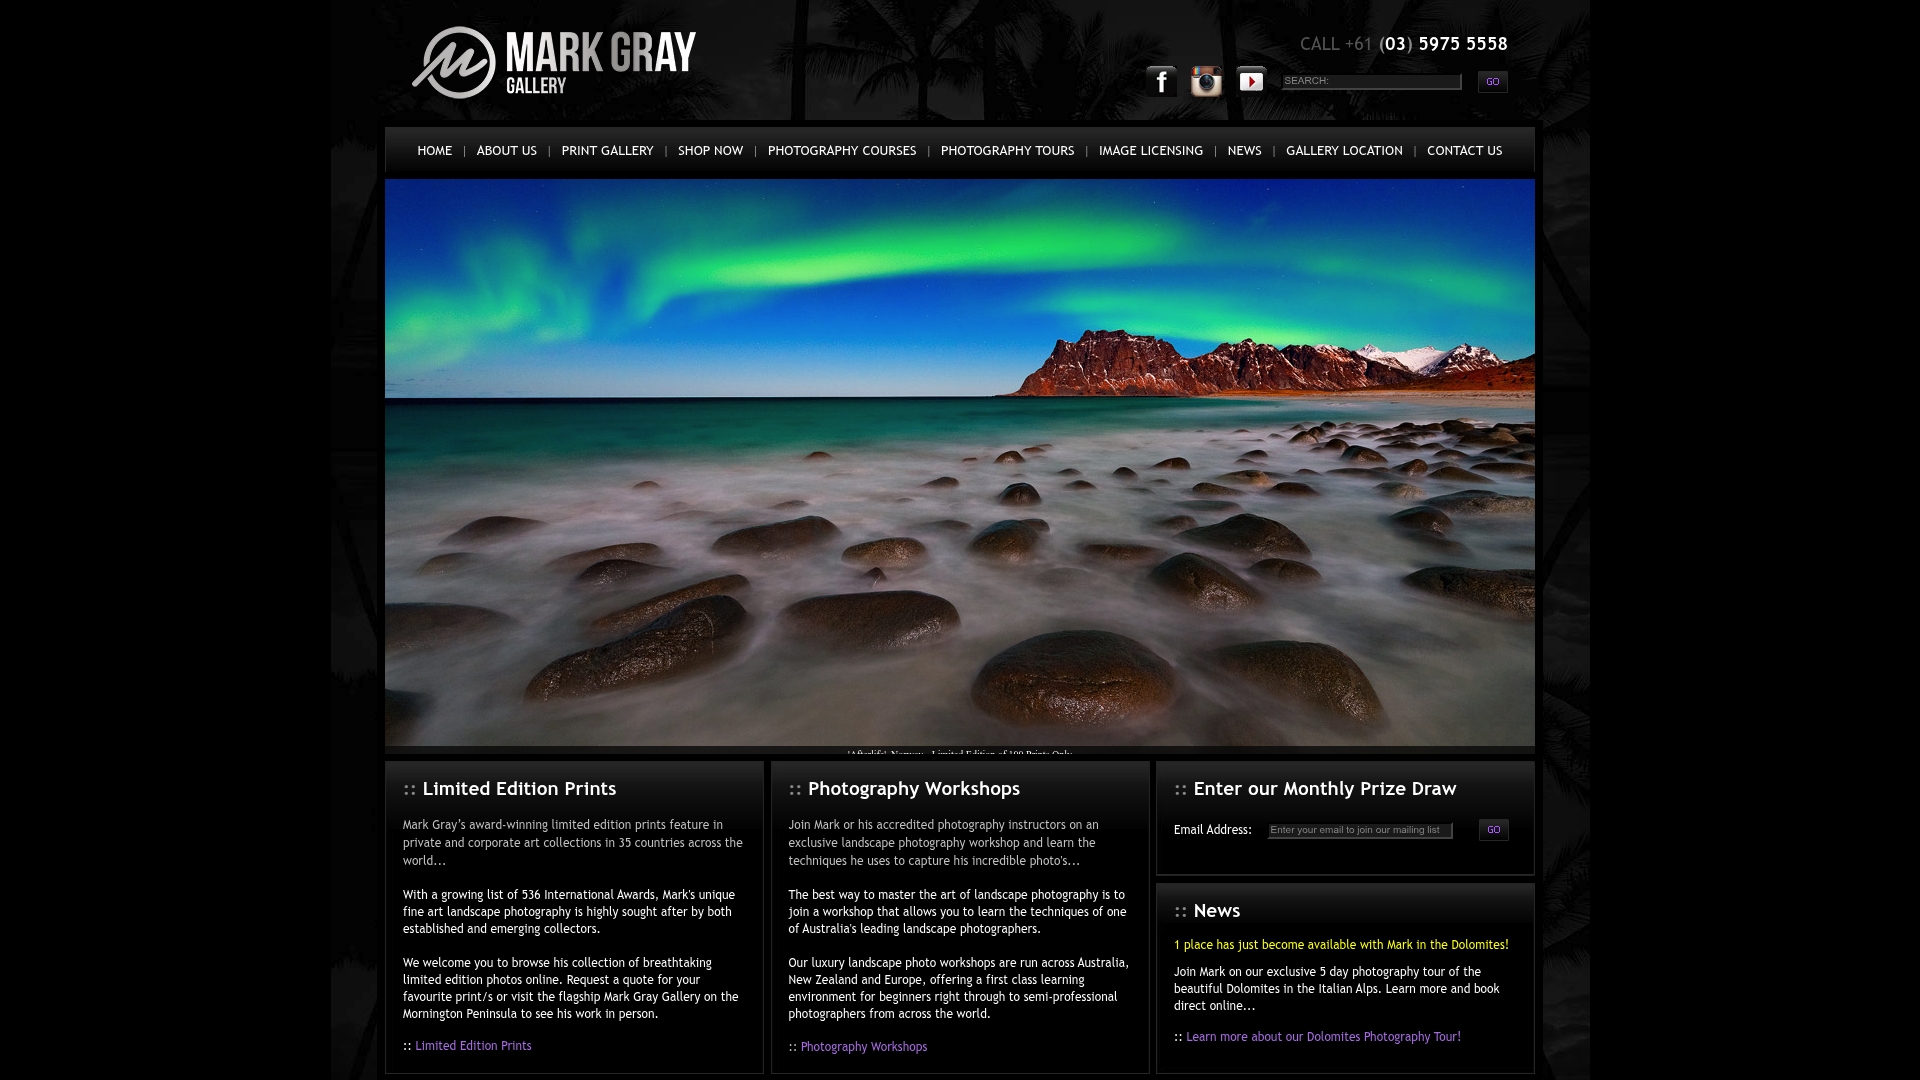
Mark Gray's award-winning landscape prints represent the full expression of a disciplined post-processing workflow applied to some of the world's most inspiring locations, from Iceland and Norway to the Kimberley and French Polynesia. Every limited edition print available through the Mark Gray Gallery reflects the tonal precision and color accuracy that this article describes. If you are serious about developing your own editing skills alongside your field craft, Mark's one-day photography courses and multi-day workshop tours across Australia and worldwide offer direct, hands-on instruction from one of Australia's most recognized landscape photographers. Explore the portfolio, browse the print collection, and discover what a fully realized post-processing workflow looks like in the finished work.
FAQ
What is the role of post-processing in landscape photography?
Post-processing refines raw image data into a final photograph by correcting tonal balance, recovering detail, and guiding the viewer's eye through localized adjustments. It is the stage where technical capture becomes expressive visual art.
Why is shooting RAW important for landscape editing?
RAW files retain two to three extra stops of highlight and shadow detail compared to JPEG, giving you the editing latitude to recover skies and foreground texture without image degradation.
What software is best for editing landscape photos?
Adobe Lightroom is the industry standard for landscape photo editing, offering non-destructive tonal adjustments, AI-powered masking tools, and a color management pipeline that supports professional print output.
How do I avoid flat-looking landscape edits?
Flat edits result from uniform mid-tone exposure across the frame. Apply localized tonal separation using linear gradients and brush masks to recreate atmospheric perspective, darkening foregrounds and allowing backgrounds to hold slightly more brightness.
What is soft proofing and why does it matter for prints?
Soft proofing simulates how your image will appear on a specific printer and paper combination using an ICC profile. It reveals gamut clipping before printing, preventing unexpected color shifts and saving the cost of reprinting.