
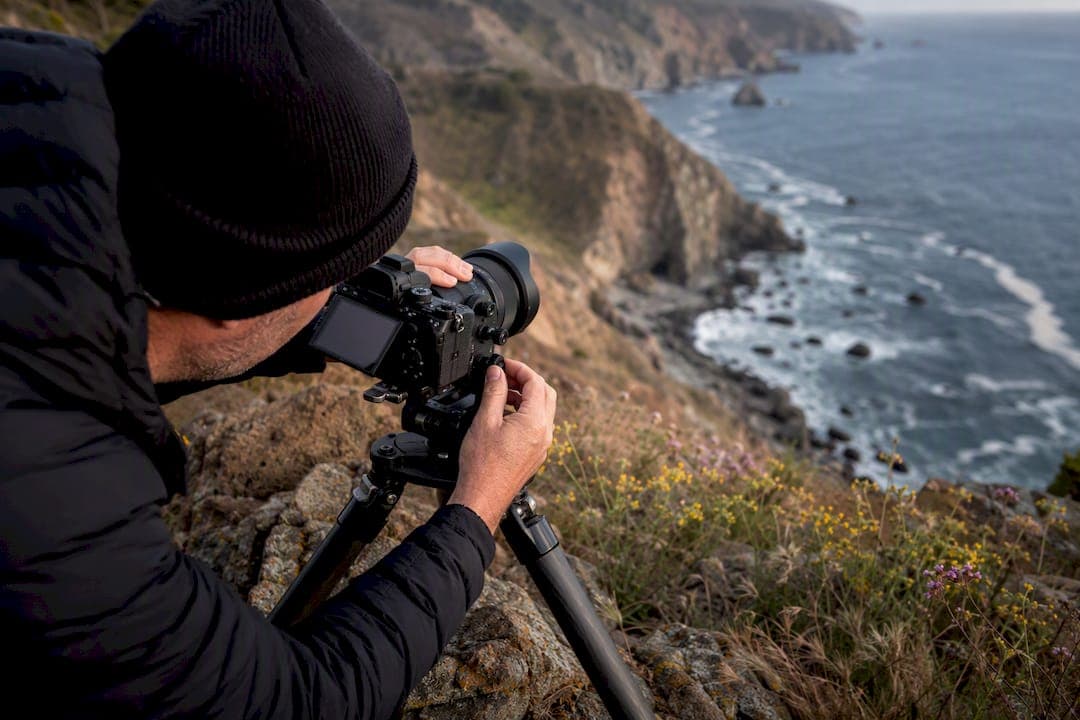
Tilt-shift photography gives landscape photographers two distinct tools in one lens: tilt rotates the plane of focus for front-to-back sharpness or a selective miniature look, while shift preserves verticals and stitches high-resolution panoramas. Neither trick relies on guesswork. For hobbyists, the lens is a powerful but optional creative instrument. For architectural and commercial landscape work, it can be close to essential.
TL;DR:
- Tilt-shift lenses are essential for precise perspective correction and high-resolution panoramas in professional landscape and architectural photography.
- Proper workflow demands leveling the tripod, adjusting movements before focusing, and practicing tilt and shift separately to avoid blurriness.
- Using a 17mm or 24mm lens is best for wide scenes, while 45mm to 50mm suits general landscapes, and 90mm focuses on details or miniature effects.
- Focus stacking and digital simulation are alternatives to optical tilt, with stacking suited for static scenes and software for quick creative effects.
- Renting or testing a tilt-shift lens during workshops offers better value for mastering techniques than immediate purchase.
Table of Contents
- How Tilt and Shift Movements Actually Work
- When to Use Tilt for Sharpness Versus the Miniature Look
- Choosing a Tilt-Shift Lens and Focal Length
- A Field Workflow That Actually Produces Sharp Results
- Focus Stacking and Software: When to Skip the Lens
- Using Shift to Build Panoramas and Fix Perspective
- Mistakes That Ruin Tilt-Shift Shots (And How to Avoid Them)
- What I Think Landscape Photographers Get Wrong About This Gear
- Learn Tilt-Shift Technique in the Field, Not from a Manual
- Sources
How Tilt and Shift Movements Actually Work
Tilt and shift solve two completely different optical problems, even though they live on the same lens barrel. Tilt rotates the lens relative to the sensor, which rotates the plane of sharp focus according to the Scheimpflug principle. Instead of a focus plane that sits parallel to your sensor, tilt lets that plane pivot to align with a receding subject, like a shoreline running from your boots to the horizon. Small tilt adjustments produce outsized changes in the focus plane, so precision matters more than muscle memory here.
Shift works on a different axis entirely. It slides the lens element parallel to the sensor without rotating anything, which keeps the camera level while eliminating the converging verticals you get when you tilt an entire camera upward to fit a tall building in frame.
Dedicated tilt-shift lenses commonly come in a handful of focal lengths, each suited to different landscape work:
- 17mm and 24mm for expansive scenes and architectural correction
- 45mm and 50mm for general landscape and product-style work
- 90mm for compressed, isolated details and long-lens miniature effects
When to Use Tilt for Sharpness Versus the Miniature Look
Tilt serves two opposite creative goals, and knowing which one you're chasing changes every decision you make in the field.
- Front-to-back sharpness. Angle the focus plane so it runs along your foreground rocks straight through to the mountains behind them. This lets you shoot at moderate apertures instead of stopping down to f/16 or f/22, where diffraction quietly softens fine detail across the whole frame.
- The miniature "toy world" effect. Shoot from an elevated vantage point, tilt aggressively, and let a narrow sharp band cut across the frame while everything above and below falls into soft blur. Rooftops overlooking a harbor or a ridge line above a valley floor both work well for this.
Coastal foregrounds with tide pools, layered mountain ridges, and cityscapes viewed from a rooftop are the three scene types where tilt earns its place in your bag most consistently. Overdo the blur gradient on the miniature look and the scene reads as fake rather than charming. A gentler gradient tends to look more convincing than a hard, cartoonish blur.
Choosing a Tilt-Shift Lens and Focal Length
Most landscape photographers gravitate toward one of three ranges depending on what they shoot most. A 17mm or 24mm handles wide scenes and perspective correction on buildings within a landscape. A 45mm or 50mm suits general compositions and closer foreground work. A 90mm compresses distant elements, which makes it useful for isolating a mountain face or picking a miniature scene out of a larger view.
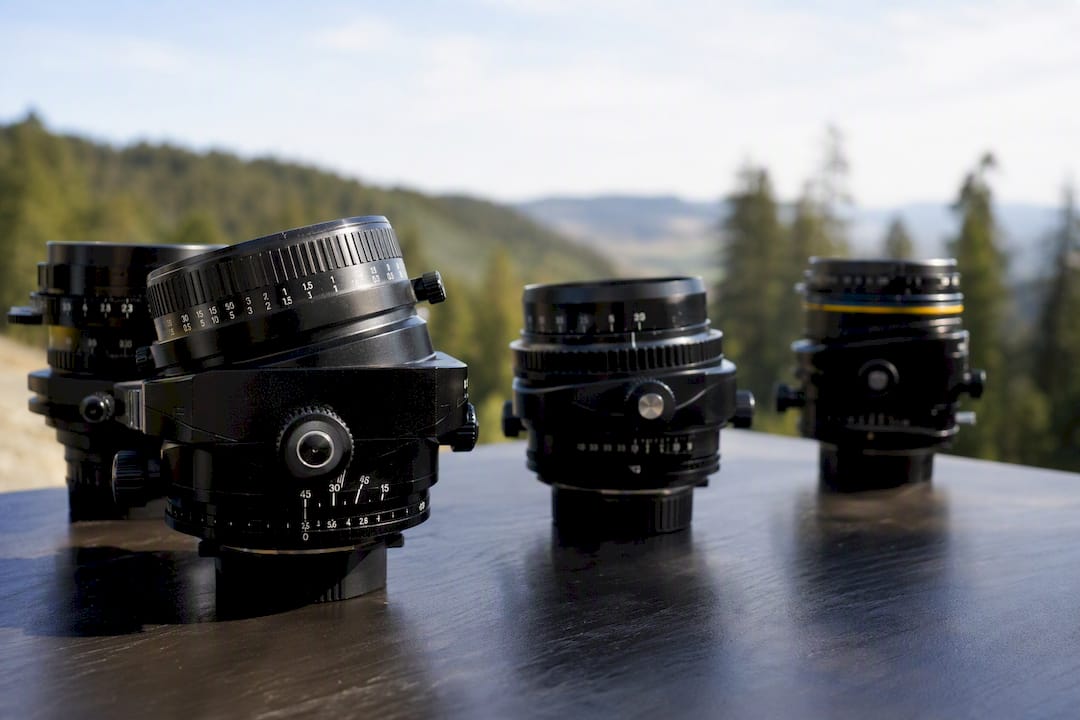
Canon's TS-E line, Nikon's PC-E series, and Samyang (sold as Rokinon in some markets) cover most of what's available new, and all three brands ship into Australia through camera retailers or direct import.
Price is the real gatekeeper here. Dedicated tilt-shift lenses typically run $700 to $2,500, well above a standard prime at similar focal lengths. If you're not certain the technique fits your regular shooting style, renting for a weekend or trying one during a workshop tells you more than reading another spec sheet ever will.
A Field Workflow That Actually Produces Sharp Results
Tilt-shift lenses punish a rushed workflow. Because they're manual focus and often manual aperture, skipping steps shows up immediately as blurry files you can't fix later. Follow this order every time:
- Level the tripod first. Any tilt in your camera setup compounds with the lens tilt and throws off your intended focus plane.
- Compose with extra foreground. Tilt-shift compositions often need more headroom or foreground than you'd frame with a standard lens, since movements shift what falls in the frame.
- Set your tilt or shift movement before you focus. Adjusting the lens movement after focusing throws the focal point off completely, since the geometry of the focus plane changes with every movement.
- Nail focus with Live View magnification or focus peaking, then lock exposure. Manual, deliberate focusing beats guessing through the viewfinder every time.
- Set aperture based on your goal. Aim for f/4 to f/5.6 for a convincing miniature look, and f/5.6 to f/11 for deep, front-to-back landscape sharpness without drifting into diffraction territory.
- Use low ISO and a heavy tripod, plus mirror lock-up if your camera has it, especially when you're shooting a sequence of shifted frames meant to stitch into one panorama.
Pro Tip: Practice tilt and shift as two separate skills before combining them on the same shot. Spend a session using only tilt to find your focus plane, then a separate session using only shift to correct verticals. Combining both before you've built intuition for either one usually means chasing your mistakes instead of your composition.
Focus Stacking and Software: When to Skip the Lens
Optical tilt isn't the only route to full-depth sharpness or a convincing miniature effect, and it isn't always the smartest one for your situation.
- Focus stacking blends multiple frames shot at different focus distances into one fully sharp image. It demands a static scene, a steady tripod, and patience in post, but it can outperform tilt for extreme depth ranges.
- Software simulation through Photoshop's Blur Gallery or phone apps recreates the miniature look convincingly and cheaply, though it can't optically correct perspective or preserve the resolution a real shift movement gives you.
- Choose based on the job. Software works for quick creative posts, stacking suits high-detail prints of static scenes, and a dedicated lens earns its cost for architecture and commercial work where perspective accuracy matters.
Using Shift to Build Panoramas and Fix Perspective
Shift's second job is stitching. Because the movement keeps the sensor plane fixed and simply slides the image circle across it, each frame you shift retains full sensor resolution, unlike a cropped wide shot pretending to be a panorama.
- Keep the camera level and lock exposure manually across every frame in the sequence.
- Shift in even increments with generous overlap between frames to give your stitching software room to work.
- Maintain consistent white balance throughout, since automatic settings drifting between frames create visible seams later.
Optical shift also reduces the parallax errors that creep in with pano heads on standard lenses, which matters most when you're printing large or shooting architecture within a landscape scene.
Mistakes That Ruin Tilt-Shift Shots (And How to Avoid Them)
The single most common error is adjusting focus before locking in your tilt or shift movement, which undoes your careful setup the moment you touch the focus ring again. Set your movement, then focus, every time, without exception.
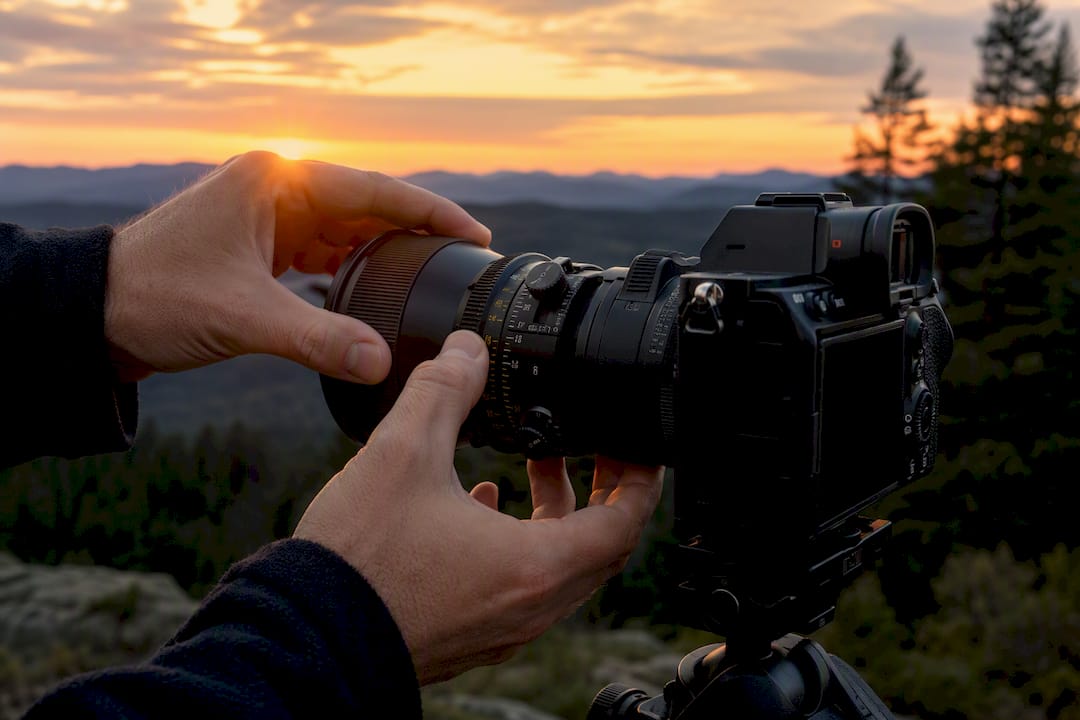
The second mistake is chasing an extreme blur gradient for the miniature effect. A heavy-handed blur reads as an obvious filter rather than a genuine optical trick, while a subtle gradient keeps the illusion believable.
Pro Tip: Before you invest in a lens, rent one for a weekend shoot or bring the technique into a hands-on workshop setting, and consider professional photography SEO services to grow your bookings. Renting exposes you to the slow, deliberate pace this style demands without the financial commitment of a $1,500 lens sitting unused in a bag.
What I Think Landscape Photographers Get Wrong About This Gear
Most photographers approach tilt-shift as a gimmick they'll use twice and forget. That's backwards. The miniature effect gets all the attention online, but the real professional value sits in the boring half: avoiding diffraction while holding a foreground-to-horizon scene in sharp focus without stopping down past f/11. I'd rather see a photographer rent a 24mm tilt-shift for a coastal trip and practice the focus-plane geometry on real terrain than buy one and let it collect dust after the novelty wears off. Deliberate practice beats gear ownership here, every time.
— Mark
Learn Tilt-Shift Technique in the Field, Not from a Manual
Reading about the Scheimpflug principle only gets you so far. The geometry clicks once you're standing on a ridge, tilting a lens, and watching the focus plane move in real time. Com runs one-day photography courses and multi-day landscape workshops built around exactly this kind of hands-on, deliberate practice.

You'll work through tilt and shift movements separately before combining them, use Live View and focus peaking under real field conditions, and get direct feedback instead of trial and error at home. If you're considering buying a tilt-shift lens, testing the technique during a workshop first is a more economical, smarter move. Check available dates and locations and book a spot before your next landscape trip.
Sources
For deeper technical grounding, see Cambridge in Colour's tilt-shift tutorial, Digital Photography School's guide, and Com's own focus stacking comparison.
- Tilt-Shift Photography: The Effect, the Lens and the Look
- Your guide to stunning tilt-shift photography | Digital Photography School
- Tilt Shift Lenses: Using tilt to control depth of field (Cambridge in Colour)