
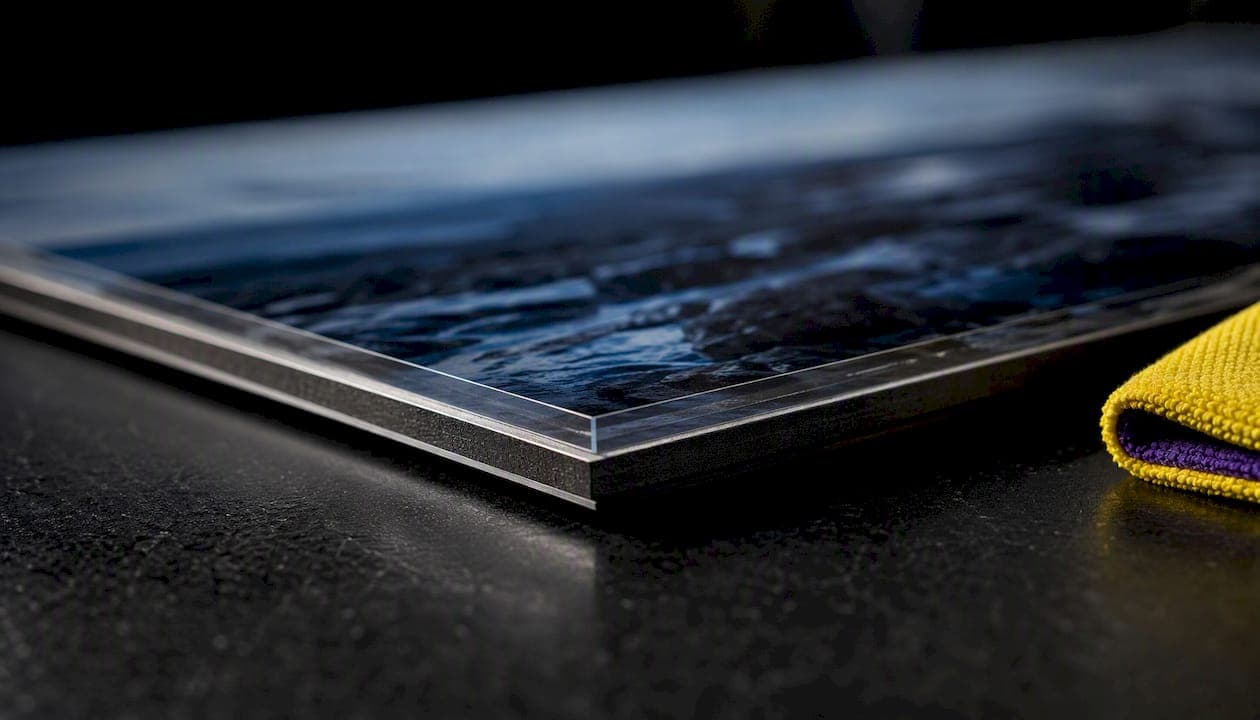
Acrylic face mounting bonds a photographic print permanently to the back of a clear acrylic sheet using an optically clear adhesive, eliminating the air gap that dulls color in traditional framing. The result is a frameless, gallery-style piece with noticeably richer saturation and a sense of depth you can see from across a room. It's the display method Mark Gray reaches for on large, high-impact prints and pieces destined for high-traffic walls, where standard glazing would flatten the image.
TL;DR:
- Using museum-grade, UV-filtering acrylic plus a rigid backing such as Dibond ensures the print remains vivid and free from fading for decades.
- Proper dust control and alignment during bonding are crucial, as trapped dust or a misaligned print become permanent flaws in the finished piece.
- Acrylic face mounting is ideal for large, high-impact, high-traffic displays due to its impact resistance, lightweight nature, and vibrant color rendering.
- Glossy finishes maximize color saturation but increase glare, so matte or anti-reflective options are recommended in bright or glare-prone environments.
- Large-format pieces should be shipped in rigid crates and installed with appropriate hardware like recessed subframes or standoffs for optimal float effects.
Table of Contents
- What Is Acrylic Face Mounting and How Is It Made?
- What Display Styles and Finishes Fit Your Space?
- Which Acrylic Grade and Backing Should You Choose?
- How Do You Hang and Install an Acrylic-Mounted Piece?
- Should You Choose Acrylic or Glass for Your Print?
- How Do You Clean and Maintain an Acrylic-Mounted Print?
- Why Mark Gray Recommends Acrylic for Gallery-Grade Prints
- Is Acrylic Face Mounting Overrated or Underrated?
- Ready to Order Your Own Acrylic Face-Mounted Print?
- Sources
What Is Acrylic Face Mounting and How Is It Made?
The term covers two related techniques. Pressure-sensitive film mounting uses an adhesive-backed film to join print and acrylic, while Diasec-style silicone bonding uses a liquid optical adhesive cured under pressure for an even tighter, bubble-free bond. Both aim for the same outcome: no visible air gap, no glare-catching surface between the image and the viewer's eye.
The production sequence follows a strict order, and skipping a step shows up permanently in the finished piece:
- Print preparation — the photograph is printed on archival media and inspected for defects before it ever touches acrylic.
- Adhesive application — a roller laminator spreads the optically clear adhesive evenly across the acrylic surface, as detailed in this studio photography portfolio covering production and finishing techniques.
- Bonding — the print is aligned and pressed into the adhesive, usually under controlled pressure to avoid trapped air.
- Trimming — excess print material is cut away flush with the acrylic edge.
- Backing application — a rigid panel is attached to the reverse for structural support.
- Edge polishing — the acrylic edge is diamond finished for a clean, glass-like line.
Dust control is not a nicety here, it's the difference between a $2,000 piece and a coaster. A single trapped speck at the bonding stage becomes a permanent blemish, which is why serious producers use ionized air blowers and anti-static tools during the face-mounting process rather than relying on a clean room alone. Alignment matters just as much. Once the print contacts the adhesive, there's no repositioning, no do-over, no second chance to nudge it half a millimeter.
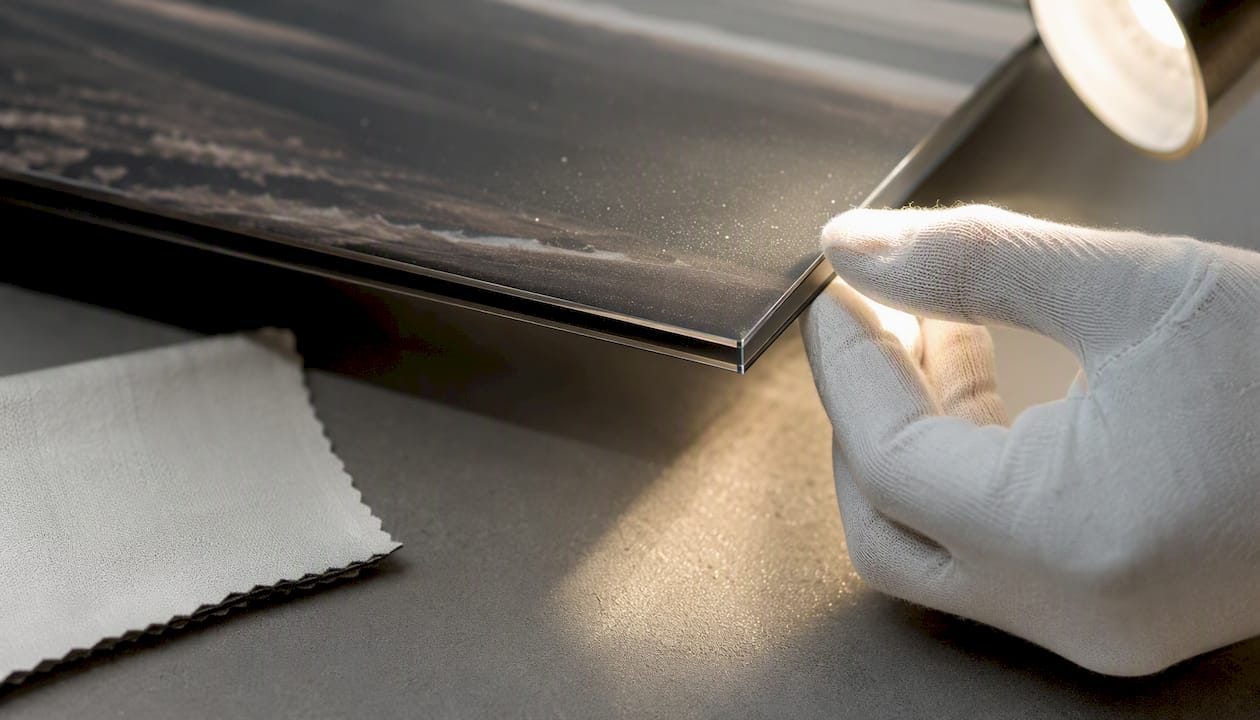
Expect a lead time of several business days for a properly made piece, since curing time and edge finishing can't be rushed without risking a visible flaw. Reputable producers run quality checks under raking light before a piece ships, checking for bubbles, dust, and edge consistency.
What Display Styles and Finishes Fit Your Space?
The bonding process is only half the presentation. How the piece is mounted and finished changes the entire visual effect, sometimes more than the image itself does.
- Float mount: the acrylic panel appears to hover off the wall with no visible frame, using a recessed subframe for depth and shadow.
- Shadow frame mount: a slim frame sits behind the acrylic edge, adding a subtle border without interrupting the frameless look.
- Photo block: a smaller, self-standing acrylic block suited to desks, shelves, or gift displays rather than wall installation.
- Diamond-polished edges: these catch light along the perimeter and reinforce the illusion of the image floating inside solid glass.
Finish choice matters just as much as mounting style. Glossy acrylic delivers maximum color punch but reflects light aggressively in bright rooms. Matte finishes tame glare but soften fine detail slightly. Anti-reflective, TruLife-style acrylic sits between the two, and premium anti-reflective grades essentially make the glazing visually disappear, which is the strongest fix for glare-prone rooms with skylights or facing windows.
Which Acrylic Grade and Backing Should You Choose?
Not all acrylic is created equal, and the grade you choose determines whether a print looks stunning for two years or twenty. Cast acrylic is the standard for face mounting because it's optically clearer and more dimensionally stable than extruded sheet. Museum-grade, UV-filtering acrylic goes a step further, screening out the light wavelengths that cause fading over time.
- Museum/conservation-grade acrylic: built for irreplaceable or limited-edition prints where fading is not an acceptable risk.
- Abrasion-resistant acrylic: worth the upcharge for pieces in hallways, offices, or anywhere hands might brush the surface.
- Backing options: Dibond (aluminum composite), Sintra, or a wood subframe, chosen for rigidity and how the piece will hang.
Backing rigidity isn't cosmetic. A flexible backing lets large panels bow over time, while a Dibond or aluminum composite panel keeps the piece flat for decades.
UV protection matters more than most buyers realize. Museum-grade anti-reflective acrylic and conservation glazing block roughly 97 to 99% of UV light, which is the single biggest factor in whether a limited-edition print still looks vivid in fifteen years.
How Do You Hang and Install an Acrylic-Mounted Piece?
Acrylic's biggest structural advantage shows up at installation, not on the wall. A recessed subframe glued to the backing creates the float effect and doubles as the mounting point, usually paired with a French cleat rated for the piece's weight. Larger formats sometimes use standoffs or bolted hardware instead, which suits a more industrial or gallery-loft aesthetic.
Because acrylic weighs roughly half as much as glass of the same thickness, oversized pieces that would be impractical in glass become manageable in acrylic, both for hanging hardware and for the two people carrying it up a staircase. Large-format shipments should always travel in a rigid crate with corner protection, never a soft-wrapped box, and a courier experienced with fine art crating is worth the extra cost. Reviewing large-format display guidance before ordering helps you plan wall space and hardware in advance.
- Ask your supplier what backing material they use and why.
- Confirm the recessed subframe's depth for the float effect you want.
- Get written crating and shipping details before you approve a large order.
Pro Tip: Measure your wall space and viewing distance before ordering. Face-mounted acrylic reads differently up close than from across a room, and a finish that looks perfect in a showroom under gallery lighting can behave very differently under a bright kitchen skylight.
Should You Choose Acrylic or Glass for Your Print?
Acrylic and glass solve the same problem in opposite ways, and the right choice depends on the piece, not personal preference alone.
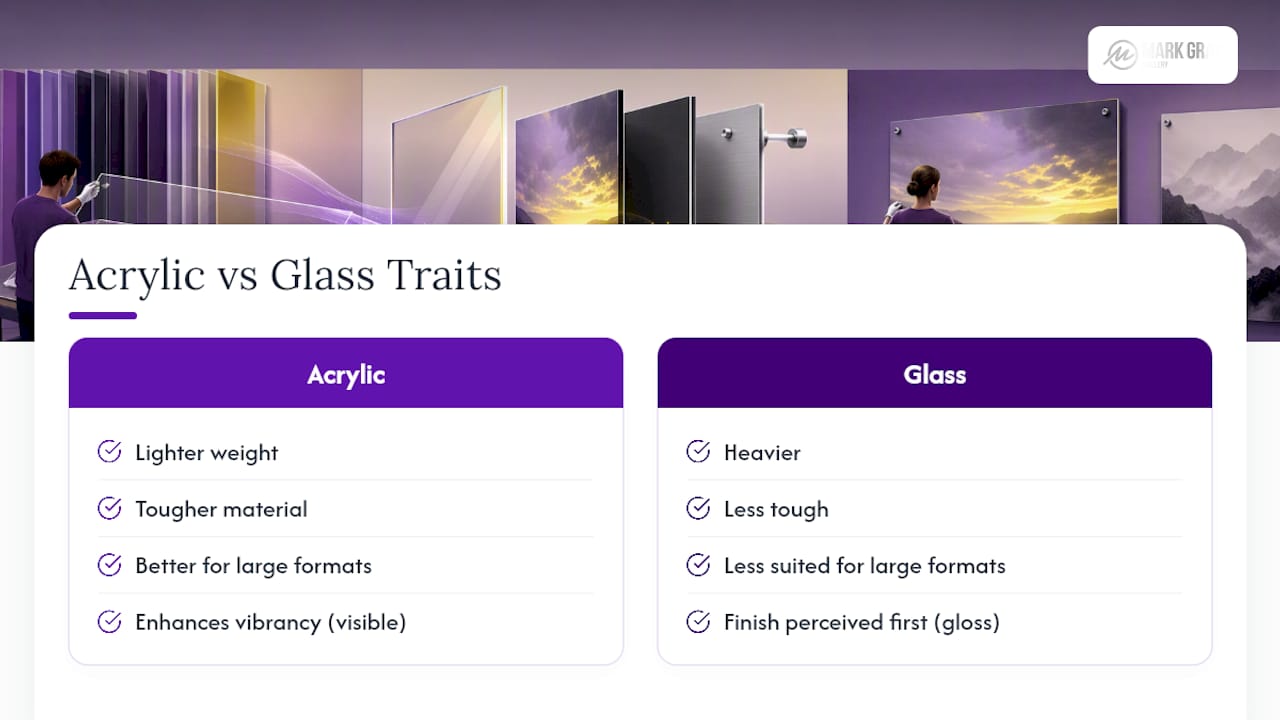
Acrylic wins on vibrancy, weight, and impact resistance, making it the better call for large or high-traffic pieces. Glass wins on scratch resistance and is the better choice for pastels or other powdery media that acrylic's static charge can disturb. Acrylic mounting is also irreversible, and cost runs higher than standard framing, both worth weighing before committing an irreplaceable print.
Three questions settle most decisions fast:
- Is the piece large or hung somewhere people brush past it?
- Is the medium a standard photographic print, or a powdery medium like pastel?
- Would you rather have a lighter, tougher panel or a scratch-resistant surface?
How Do You Clean and Maintain an Acrylic-Mounted Print?
Acrylic is durable, but it's not maintenance-free, and the wrong cleaner can undo a beautiful piece in seconds.
- Dust first with a clean, dry microfiber cloth to lift loose particles before they scratch the surface.
- Clean with mild soap and water or a plastic-safe cleaner, never an ammonia-based glass cleaner, which can craze or cloud acrylic permanently.
- Skip paper towels and abrasive sponges entirely, both leave micro-scratches over time.
- Do a visual inspection monthly for dust buildup and an annual check of hanging hardware and cleat security.
Acrylic's static charge attracts dust more than glass does, so a quick wipe-down more often beats a deep clean less often. For pieces that travel or get rehung frequently, our collector's guide to fine art care covers handling technique that prevents edge chipping during moves.
Why Mark Gray Recommends Acrylic for Gallery-Grade Prints
Mark Gray's landscape photography has traveled through international exhibitions and print sales across Australia, New Zealand, Iceland, and beyond, and that experience shapes a clear preference: for limited-edition prints intended to be the centerpiece of a room, acrylic face mounting with museum-grade, UV-filtering material is the standard worth insisting on.
The reasoning is practical, not aesthetic alone. A landscape print with deep shadow detail and saturated sky color, the kind Mark shoots in places like French Polynesia and Norway, loses impact behind standard glass. Face mounting removes the barrier between viewer and image entirely. Paired with a Dibond backing and diamond-polished edges, the result holds up structurally and visually for decades, not just for the first year on the wall.
For collectors weighing paper and backing options before committing to a piece, our guide on photographic versus fine art paper is a useful starting point, as is our guide to framing limited editions professionally. Readers ready to commission a piece can view available prints and consultation options at the Mark Gray Gallery.
Is Acrylic Face Mounting Overrated or Underrated?
The conventional advice on this topic treats acrylic face mounting as a purely aesthetic upgrade, a way to make a print look "premium." That undersells it. The real case for acrylic is structural: it's lighter, tougher, and better suited to the large formats that define serious landscape photography. Vibrancy is the visible benefit, durability is the practical one, and most buyers only hear about the first.
Where conventional advice actually falls short is UV protection. Buyers obsess over glossy versus matte finish and barely ask about the acrylic grade underneath it, yet UV exposure is what determines whether a print still looks alive in fifteen years. Grade matters more than gloss.
If you take one thing from this guide, prioritize the acrylic grade and backing rigidity before you worry about float effects or edge polish. Get the conservation fundamentals right first. The finish is where you express taste. The materials are where you protect the investment.
— Mark
Ready to Order Your Own Acrylic Face-Mounted Print?
Choosing between framing options can feel like a lot of decisions stacked on top of each other, backing, glazing, edge finish, before you even get to the image itself. Comau removes that guesswork by handling every one of those choices with the same museum-grade materials and production standards described throughout this guide, applied to Mark Gray's own limited-edition landscape photography.

Every print offered through the Mark Gray Gallery can be produced as an acrylic face mount using UV-filtering acrylic and Dibond backing, the same combination recommended above for pieces meant to last. Whether you're furnishing a single statement wall or finishing a full collection, browse available limited editions and request a consultation on sizing, finish, and hanging hardware directly through the gallery site. If a specific landscape catches your eye, reach out before ordering. A quick conversation about wall size and lighting conditions saves far more regret than a return ever could.
Sources
- Face-mounting techniques for contemporary photographs and digital images — AICCM
- 6 types of picture framing glass & best use cases — Tru Vue
- Acrylic vs glass framing — Austin Gallery blog
- Face-mounting to acrylic for high-end fine art — Drytac