
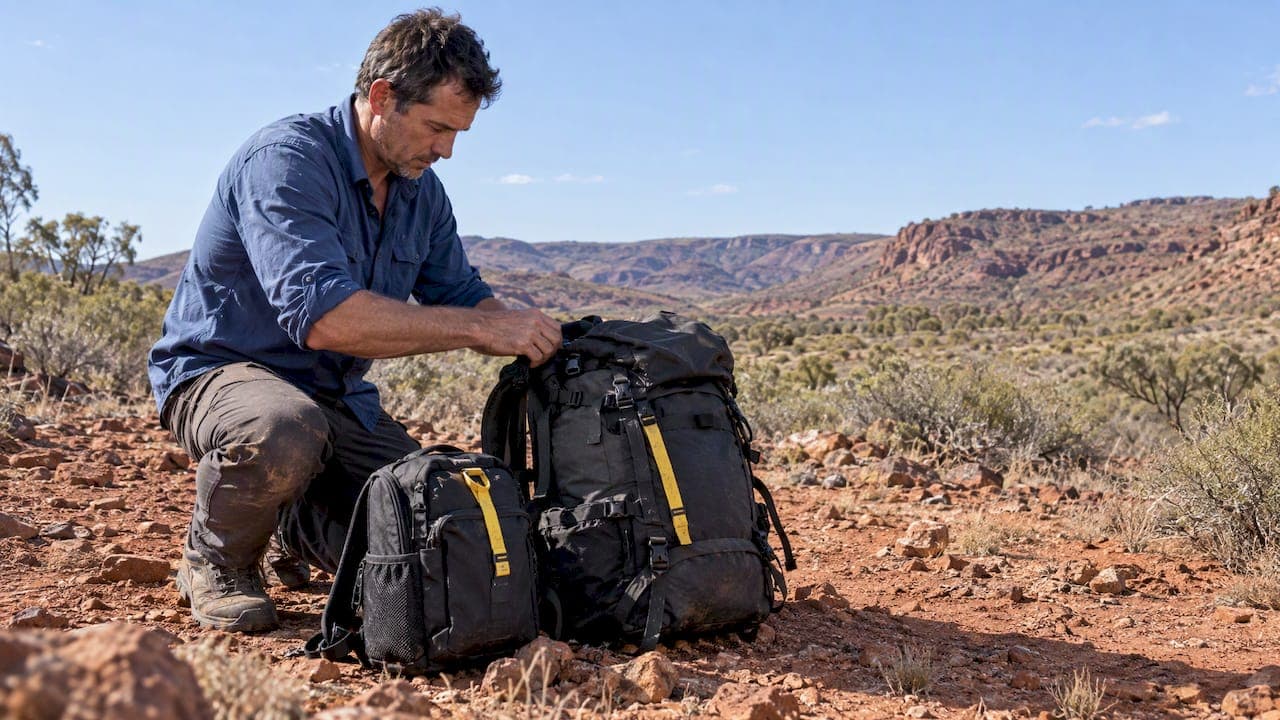
Before you head into remote country with a camera, plan your route and fuel stops, carry generous water reserves, pack a registered emergency beacon, and leave your trip intentions with someone reliable. Add dust protection for your gear and pack only what you can move quickly if conditions turn. These few steps separate a memorable shoot from a genuine emergency.
TL;DR:
- Confirm road conditions and resupply points daily using local alerts and weather forecasts before and during your trip to avoid hazards.
- Carry sufficient emergency water, first-aid supplies, and at least two independent communication devices, such as a PLB and satellite messenger, registered with authorities.
- Prepare your vehicle with mechanical tools, extra fuel, recovery gear, and mark overnight stops on paper maps, as GPS signals may be unreliable.
- Always stay with your vehicle unless a clear, safer alternative is visible, and signal for help with bright cloth or reflective material if stranded.
- Be aware of environmental risks like heat exhaustion, snake bites, and coastal safety, and practice defensive driving and cautious photography to prevent accidents.
Table of Contents
- Planning your route, timing, and fuel stops
- Packing the right kit without overloading your vehicle
- Choosing reliable emergency communications
- Preparing your vehicle and driving defensively
- Staying safe while you compose the shot
- Managing heat, cold, and medical risks in the field
- Keeping camera gear working in sand and dust
- If something goes wrong: your emergency checklist
- Why guided experience changes the risk equation
- Build your remote photography skills with guided support
- FAQ
- Sources
Planning your route, timing, and fuel stops
Remote photography trips live or die on planning. Unsealed roads rarely allow highway speeds, so build your schedule around realistic daily distances and leave room for stops, detours, and the occasional breakdown.
Before departure, check local council and park alert pages for closures, and look at the Bureau of Meteorology for forecasts that might turn a dry riverbed crossing into a hazard. Check again before each new leg, since conditions can shift fast in open country.
- Identify fuel and water resupply points along your route and carry spare fuel across long gaps.
- Confirm road status with local council or park alert pages before leaving and before each day's drive.
- Fill in a trip intention form or itinerary and leave it with a trusted contact or local ranger service.
- Build slack into your schedule for photography stops, rest breaks, and unexpected delays.
Readers planning a longer trip will find a fuller breakdown of timing, gear, and permit considerations in our outback photo tour preparation guide.
Packing the right kit without overloading your vehicle
Photographers tend to pack for the shot first and the environment second. In remote country, that order needs to flip. Water and protection come before lenses.
- Carry your base water allowance plus an emergency reserve, and keep some bottles within easy reach of the vehicle rather than buried under gear.
- Pack breathable layers for daytime heat and a warm layer for cold desert nights, along with a wide-brim hat, sunscreen, and sturdy closed footwear.
- Protect cameras with rain or sand covers, store backup bodies in sealed cases, and carry a blower and microfibre cloths rather than relying on a single lens cloth.
- Rotate batteries and memory cards so no single item takes on more heat exposure or write cycles than necessary.
- Pack a first-aid kit that includes snake-bite bandaging material and a short written summary of any medications or conditions a rescuer would need to know.
Pro Tip: Pack your emergency water and first-aid kit in the cabin, not the back of the vehicle, so they're reachable even if the boot is jammed or inaccessible.
Choosing reliable emergency communications
Mobile coverage disappears fast once you leave sealed roads, so treat your phone as a backup rather than your primary lifeline. The Emergency+ app can still help when you have a signal, but remote sections of outback country often have none at all.
A personal locator beacon gives one-way SOS with no subscription fees and, once registered with the Australian Maritime Safety Authority, triggers a direct search-and-rescue response, which makes it a solid last resort option for photographers working alone. Satellite messengers add two-way text and location tracking but require an ongoing subscription, while satellite phones add voice calling at a higher cost and weight.
- A PLB is simple, requires AMSA registration, and needs no subscription.
- A satellite messenger adds two-way messaging and tracking for a recurring fee.
- A satellite phone adds voice communication but costs more and weighs more.
- Carry at least two independent devices where your trip allows, and know exactly how to activate each one before you leave.
Preparing your vehicle and driving defensively
Your vehicle is your shelter, your water store, and often your best chance of being found. Treat its preparation as seriously as your camera kit.
- Have a mechanical check done before departure and carry a spare tire, recovery gear, and basic tools.
- Carry extra fuel when the distance between stations exceeds your vehicle's safe range.
- Slow down on unsealed surfaces, watch for dust-obscured potholes, give road trains a wide berth, and avoid driving after dusk when fatality risk rises sharply.
- Stop roughly every two hours to fight fatigue, and know the location of the nearest hospital or service point before you set out.
Pro Tip: Mark your planned overnight stops on a paper map as a backup, as GPS units can lose signal at critical times.
If you break down, stay with the vehicle, as rangers advise that a vehicle is far easier to spot from the air than a person on foot. Raise the bonnet, ration your water, and signal for help rather than walking toward what looks like help.

Staying safe while you compose the shot
The moment you press your eye to the viewfinder, your awareness of everything else narrows. Photographers frequently lose track of their surroundings while chasing a composition, and that tunnel vision is exactly what turns an incoming wave or a curious animal into an accident.
- Set a "look up" interval, or bring a friend to act as a spotter while you shoot.
- Check tide and swell charts before any coastal session and never turn your back on the ocean.
- Keep a safe distance from wildlife and reach for a longer lens instead of walking closer.
- Favor stable, solid footing and stay well back from cliff and rock edges, recomposing from a safer spot when in doubt.
Readers shooting near the coast will find more detail in our guide to tides and coastal photography.
Managing heat, cold, and medical risks in the field

Dehydration is the fastest way a good day turns bad. Government guidance recommends at least 4 litres of drinking water per person per day, plus a 20-litre emergency reserve per person, rising to as much as 10 litres a day in extreme heat.
Recommended water allowance: 4 litres per person daily, plus a 20-litre emergency reserve, rising to 10 litres a day in extreme heat. That single figure should shape how much water space you budget before camera gear.
- Learn to recognize heat exhaustion and heat stroke early, and move to shade and cool the patient immediately.
- Pack a warm layer for night, since hypothermia can set in even in warm regions after an injury or shock.
- For a suspected snake bite, immobilize the limb, apply a pressure immobilization bandage where trained to do so, keep the patient still and calm, and get urgent help rather than reaching for a venom extractor.
Keeping camera gear working in sand and dust
Dust finds its way into every seal and dial given the chance, and fine particles scratch glass faster than almost anything else you'll encounter in the field.
- Always blow loose dust away before touching a lens, then use a soft camel-hair brush rather than wiping with cloth.
- Change lenses only in a sheltered, low-wind spot and keep spares in sealed cases.
- Keep batteries and electronics shaded from direct sun and rotate spares instead of running one battery hot all day.
If something goes wrong: your emergency checklist
Memorize this sequence before you leave rather than figuring it out under pressure.
- Stay with the vehicle unless you have a clear, safer alternative within sight.
- If trapped or injured, activate your PLB or satellite messenger immediately.
- Raise the bonnet and display bright cloth or reflective material to aid aerial searchers.
- Ration your remaining water and move into whatever shade you can find.
- If you have signal, notify your contact that you're delayed and roughly where you are.
- Only walk out if staying put is clearly more dangerous, and if you do, mark your route, move slowly, and head for higher ground where you can be seen.
Why guided experience changes the risk equation
Years of leading photography tours and workshops into remote country shapes every item on this list more than any single trip could. Guided groups benefit from local knowledge of road conditions, water points, and seasonal hazards that no amount of online research fully replaces, which lowers both logistics risk and emergency response time. Readers wanting the fuller pre-trip version of this thinking can read our outback preparation guide.
— Mark
Build your remote photography skills with guided support

Planning your own route, water, and communications takes real effort, and getting it wrong in remote country carries real consequences. Our 1 Day Photography Courses teach field technique and safe location practice in a single session, while our Photography Tours handle the route planning, local knowledge, and small-group logistics for you across multi-day trips. If you'd rather bring camera gear and pest-proof your kit bag before a long trip, this travel pest-prevention guide is worth a read too. Browse available dates and book a course or tour to build these skills with guidance on the ground.
FAQ
Is it legal to take photos without permission in a public place?
There's generally no legal restriction on photographing people or property in public places, though rules differ for indecent images, minors, and private property. Private venues can set their own photography rules, and trespass laws still apply if you cross onto private land without permission.
How much water should I carry for a remote outback trip?
Carry at least 4 litres of drinking water per person per day, plus a 20-litre emergency reserve per person. In extreme heat, daily needs can climb to around 10 litres per person.
Is it safe to drive remote roads at night?
Night and dusk driving carries higher fatality risk than daytime driving, partly due to wildlife on the road and reduced visibility. Where possible, plan your drive to finish before dark and build rest stops into long legs.
What's the difference between a PLB and a satellite messenger?
A personal locator beacon gives a one-way SOS signal with no subscription fee once registered with AMSA, making it a simple last-resort device. A satellite messenger adds two-way text messaging and location tracking but requires an ongoing subscription.
What is the 20 60 20 rule in photography?
This isn't a standard safety or industry rule, and no authoritative source defines it consistently. If you've seen it referenced for exposure or composition, treat it as informal shorthand rather than an established photography standard.
Sources
Bookmark these before you leave rather than searching for them with no signal. The Bureau of Meteorology covers forecasts and warnings that can change your route overnight. AMSA's beacon registration page keeps your PLB details current, which matters if search teams ever need to identify you. The Emergency+ app pins your GPS coordinates for triple zero calls when you do have signal, and your local council's road-condition page is the fastest way to confirm a route is actually passable before you commit a full day to it.
- Six tips for surviving in the outback | NSW National Parks
- Taking photographs — Law Handbook (SA)
- Seascape Photography: Safety and Creative Technique | Fstoppers
- Bureau of Meteorology (BOM)