
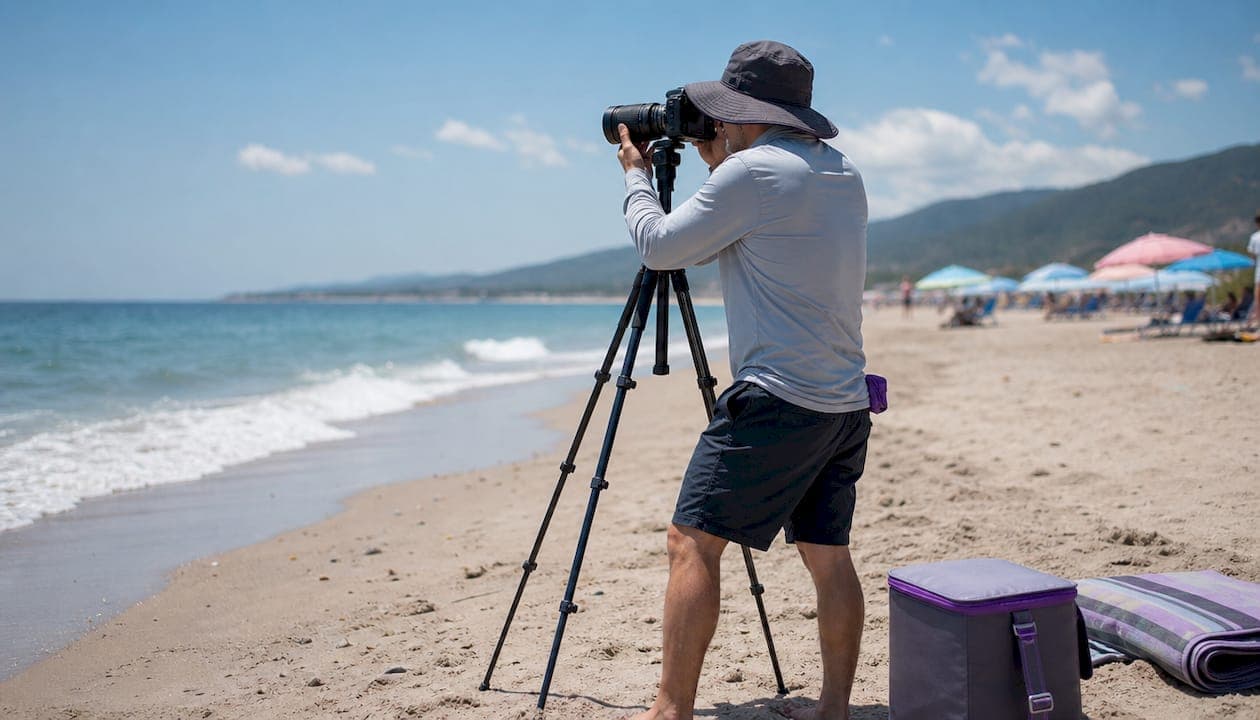
The role of tides in coastal Australia photography is fundamental. Tides determine what the landscape looks like, what wildlife appears, and whether a location is even safe to access. A rocky platform that sits underwater at high tide becomes a textured foreground of barnacles, kelp, and tidal pools at low tide. Understanding tidal cycles is not a bonus skill for coastal photographers. It is the foundation that separates a planned, compelling image from a missed opportunity or a dangerous situation.
How tides shape coastal composition and visual elements
Tides are the primary force controlling what appears in your frame along any Australian coastline. The difference between shooting at high tide and low tide is not subtle. A tidal drop of approximately 6 feet produces visually dramatic foreground changes, while a 1-foot variation yields almost no compositional difference. That gap matters enormously when you are planning a shoot around a specific rock shelf or sand flat.
Low tide is where most of the compositional gold lives. Exposed rock shelves reveal layered textures, tidal pools catch reflections of the sky, and sand ripples create leading lines that draw the eye toward the horizon. High tide, by contrast, submerges those features and replaces them with wave action and open water reflections. Neither condition is wrong. They are simply different creative opportunities that require different approaches.
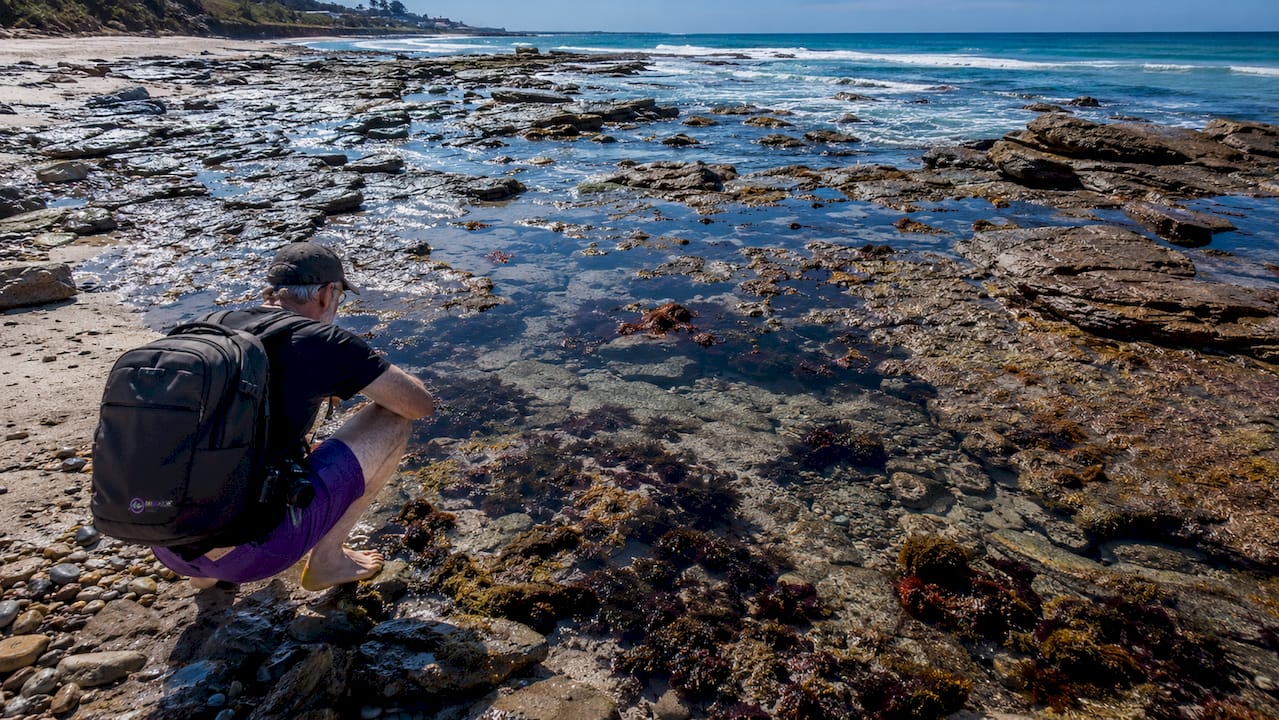
The intertidal zone is the most visually dynamic stretch of any Australian coast. Tidal variability across Australian coasts means this zone shifts dramatically between tidal stages, which is why the same location can look like two completely different places within a single day. Photographers who recognize this treat each tidal stage as a separate shooting session with its own compositional logic.
One detail that surprises many photographers is how far the waterline actually moves. A 1-meter vertical tidal change can shift the waterline horizontally by up to 500 meters on a gently sloping beach. That is not a minor adjustment. It means the spot where you planted your tripod at sunrise may be underwater two hours later, or the foreground rocks you planned to use may still be submerged.
- Low tide: Exposes rock shelves, sand ripples, tidal pools, and kelp beds for rich foreground interest
- Mid tide (rising): Creates dynamic wave action over partially submerged rocks, ideal for long-exposure motion blur
- High tide: Delivers clean water reflections, dramatic wave energy, and simplified compositions
- Receding tide: Leaves wet sand that mirrors sky color, producing mirror-like foreground effects
Pro Tip: Visit your location at multiple tidal stages before committing to a shoot. Photograph the scene on your phone at each stage so you have a reference for exactly what will be in frame when you return with your full kit.
How tides influence wildlife behavior for coastal nature photography
Tides govern coastal wildlife on a schedule as reliable as a clock. The tide is the master schedule of coastal life, dictating when birds feed, when fish concentrate near shore, and when predators move in. Photographers who understand this rhythm can position themselves for extraordinary wildlife shots that casual visitors will never witness.
The most productive wildlife window is immediately after the tide retreats. Photography opportunities peak within 30 minutes after the tide pulls back, because baitfish become concentrated in shallow water and shorebirds respond with intense feeding activity. Ospreys, white-bellied sea eagles, and a range of wading birds all time their hunting to this window. Missing it by even 20 minutes means missing the action entirely.
Rising tides trigger a different set of behaviors. As water floods back over rock platforms and sand flats, crabs, small fish, and invertebrates become active. Herons and egrets often work the advancing tide edge, picking off prey as it moves. This is a slower, more deliberate kind of wildlife photography compared to the frenzied low-tide feeding window, but it rewards patience with intimate, close-range shots.
Key wildlife behaviors tied to tidal stages along Australian coasts:
- Shorebirds concentrate at the tide line during retreat, probing exposed sand and mud for invertebrates
- Raptors including ospreys and sea eagles patrol low-tide zones where fish are most vulnerable
- Wading birds such as herons track the advancing tide edge during the flood cycle
- Seals and sea lions haul out on exposed rocks at low tide, making them accessible for photography
- Dolphins often follow baitfish schools pushed toward shore by tidal movement
The practical takeaway is simple. Check the tide chart before you check the weather forecast. Knowing when the tide turns gives you a precise wildlife shooting window to plan around.
Safety protocols for photographing Australian coasts with tidal awareness
Tidal awareness is a safety requirement, not just a creative tool. Rising tides represent the highest safety risk on rocky platforms, where water can cut off your exit route faster than most photographers expect. Australian coasts are particularly unforgiving because many of the most photogenic locations sit on exposed headlands and rock shelves with limited escape paths.
Professional coastal photographers plan shoots within a 4-hour window centered on low tide, arriving 2 hours before the low and leaving 2 hours after. This window gives you the best compositional conditions while keeping you well clear of the most dangerous tidal movement. Shooting outside this window on exposed platforms requires a much higher level of experience and risk assessment.
The following steps form the foundation of safe coastal shooting in Australia:
- Check the tide chart the night before and again on the morning of your shoot. Conditions can shift, and a chart from three days ago is not reliable enough for rocky platform work.
- Identify your exit route before you set up your tripod. Walk the platform and locate at least two paths back to high ground before you start shooting.
- Never turn your back on the ocean. Wave action during high tide and strong currents create unpredictable surge events that can reach well above the normal waterline.
- Wear appropriate footwear. Neoprene boots or rubber-soled shoes with grip are non-negotiable on wet rock platforms.
- Consider a buoyancy device on exposed platforms. This is standard practice for experienced seascape photographers working close to the water.
- Tell someone where you are going and when you plan to return. Remote coastal locations in Australia can have limited mobile coverage.
Pro Tip: Set a tide alarm on your phone for 90 minutes after low tide. When it goes off, start packing up regardless of how good the light looks. The tide waits for no photographer.
What tools and techniques help you use tidal patterns effectively?
Mastering tide patterns in coastal photography comes down to preparation and repetition. Coastal photographers use tide apps and official tide tables for precise planning, cross-referencing multiple sources to confirm accuracy before committing to a shoot. Australia's Bureau of Meteorology publishes official tide predictions for hundreds of coastal stations, and dedicated apps layer this data with sunrise and sunset times for complete shoot planning.
Repeated site visits are the most underrated technique in coastal photography. Seasoned photographers master the interplay of light, tide, and geography by returning to the same location across different tidal cycles. Each visit teaches you something new: how a particular rock pool fills, where the best reflection appears at a specific water level, or how wave energy changes as the tide builds. This knowledge cannot be acquired from a single visit, no matter how well you plan it.
Understanding the difference between the waterline and the shoreline is a technique that separates intentional compositions from accidental ones. Photographers often mistake the moving waterline as a fixed shoreline, which leads to compositions that look different from what was planned. Knowing that the waterline shifts with every tidal cycle lets you frame shots with purpose rather than reacting to whatever the water happens to be doing.
| Tool or technique | What it delivers |
|---|---|
| Bureau of Meteorology tide tables | Official, location-specific tide predictions for Australian coastal stations |
| Dedicated tide apps | Combines tide data with sunrise, sunset, and moon phase for complete shoot planning |
| Repeated site visits | Builds location knowledge across tidal cycles for precise timing and composition |
| Tidal waterline mapping | Clarifies how far the waterline shifts horizontally with each vertical tidal change |
| DEA Tidal Composites | Satellite imagery showing Australian coasts at tidal extremes for location research |
For photographers working on iconic Australian nature photography, building a personal tide log for your favorite locations is one of the most productive long-term investments you can make. Note the tide height, time, light conditions, and what compositional elements were available. Over several months, patterns emerge that let you predict the perfect conditions with confidence.
Key Takeaways
Tides are the single most important variable in coastal Australia photography, controlling composition, wildlife activity, and safety in equal measure.
| Point | Details |
|---|---|
| Tidal range determines composition | A 6-foot tidal drop creates dramatic foreground changes; a 1-foot drop produces almost none. |
| Low tide is the prime shooting window | Plan your shoot within 2 hours before and after low tide for the best conditions. |
| Wildlife peaks at tide retreat | The 30 minutes after the tide pulls back delivers the most intense wildlife activity. |
| Safety requires exit planning | Identify two exit routes before shooting and never turn your back on the ocean. |
| Repeated visits build mastery | Returning to the same location across tidal cycles teaches light, reflections, and wave behavior. |
What tides have taught me about patience and place
I have spent years photographing Australian coastlines, and the tide has humbled me more times than I can count. The most common mistake I see photographers make is treating the tide as background information rather than the central fact of the shoot. You do not photograph a coastal location. You photograph that location at a specific tidal stage, and the difference is everything.
My most rewarding coastal images have come from locations I visited at least four or five times before I ever got the shot I was after. The first visit is reconnaissance. The second teaches you how the light interacts with the water at different levels. By the third or fourth visit, you start to feel the rhythm of the place. That is when the creative work actually begins.
The tide also teaches you to respect the ocean in a way that no safety briefing fully can. Standing on a rock platform as the water rises around you, watching your exit window narrow, is a lesson you only need once. After that, the tide chart becomes as important as your camera bag. I check it the night before, the morning of, and again when I arrive on location. That habit has kept me safe and productive across thousands of coastal shoots.
Balancing creative ambition with safety consciousness is not a compromise. It is the discipline that lets you keep shooting for decades. The photographers who treat tidal awareness as optional are the ones who either get hurt or stop going to the best locations because they had one bad experience. Embrace the tide as a creative partner and a boundary setter. It will make you a better photographer and bring you home safely.
— Mark
Coastal photography resources from Mark Gray
Mark Gray has spent decades photographing Australia's most dramatic coastlines, and that experience informs every resource available through the Mark Gray Gallery.

Whether you are planning your first tidal shoot or refining your approach to seascape composition, the ocean seascape photography guide covers techniques for working safely and creatively with tidal conditions. For photographers who want hands-on instruction, guided photography tours across Australia provide expert-led access to some of the country's most spectacular coastal locations. Mark's limited edition coastal prints are also available for those who want to bring the power of Australia's tidal coastlines into their home or workspace.
FAQ
What is the best time to photograph Australian coastlines?
The best time is within 2 hours before and after low tide. This window exposes the most foreground detail and keeps you safely clear of rising water on rocky platforms.
How much does tidal range affect coastal photography?
A tidal drop of approximately 6 feet creates dramatic compositional changes, while a 1-foot variation produces almost no visible difference in the scene.
How do tides affect wildlife photography on the coast?
Tide retreat concentrates baitfish and triggers intense shorebird and raptor feeding activity. The peak window lasts approximately 30 minutes after the tide pulls back.
What tools should I use to plan a coastal photography shoot?
Use the Bureau of Meteorology's official tide tables combined with a dedicated tide app that layers sunrise and sunset data. Cross-referencing both sources gives you the most accurate shoot planning.
How do I stay safe while photographing on rocky coastal platforms?
Always identify two exit routes before you set up, never turn your back on the ocean, and leave the platform no later than 90 minutes after low tide regardless of conditions.