
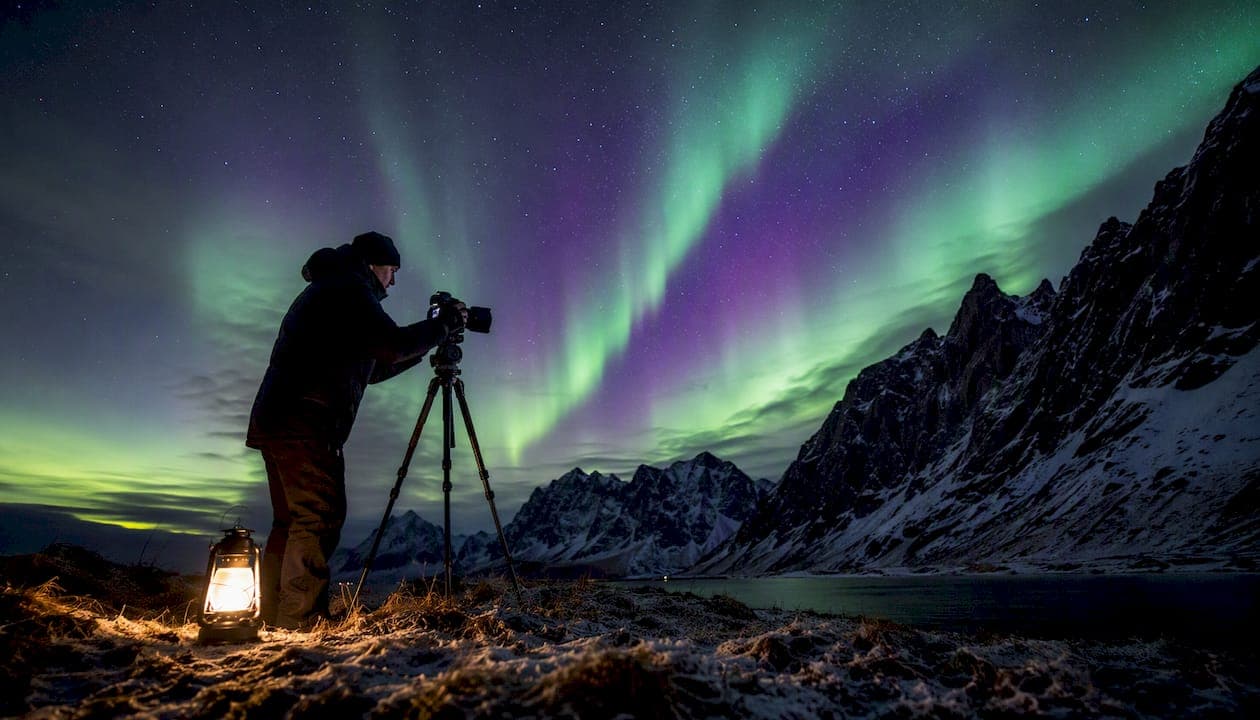
Set your camera to Manual mode, f/2.0, ISO 1600, 8 seconds as your first shot of the night. That single combination works for a moderate aurora on a full-frame or APS-C sensor, and you can adapt from there as the sky changes. Aurora photography settings are not fixed rules; they are a starting point you tune in real time based on how fast and how bright the display becomes.
Quick-start cheat sheet:
- Mode: Manual (M)
- Aperture: f/1.4–f/2.8 (widest your lens allows)
- ISO baseline: 1600 (full-frame) / 3200 (APS-C) / 3200–6400 (Micro Four Thirds)
- Shutter baseline: 8–10 seconds for moderate activity; shorten to 2–4 s for fast substorms
- Focus: Manual, confirmed on a bright star via Live View at 10x magnification
- Format: RAW (or RAW + JPG for quick previews)
- Stabilization: Camera on a sturdy tripod; use a remote shutter release or 2-second self-timer
- White balance: Set manually to 3800–4200 K in-camera; adjust in post if shooting RAW
On arrival checklist: Mount camera on tripod, switch to Manual mode, set base exposure, confirm focus on a bright star, take one test shot, check the RGB histogram, and adjust shutter speed before the aurora peaks.
Key Takeaways
The single most important rule in aurora photography is this: shutter speed controls aurora structure, and you must adjust it continuously as the display changes.
| Point | Details |
|---|---|
| Starting exposure | Manual mode, f/2.0, ISO 1600, 8 s is a reliable baseline for moderate aurora on full-frame. |
| Shutter speed is primary | Shorten shutter first when aurora accelerates; faint glow needs 15–20 s, substorms need 1–3 s. |
| Focus lock is critical | Use Live View at 10x on a bright star, then tape the focus ring to prevent accidental shift. |
| Watch the green channel | Check the RGB histogram; aurora green clips before the composite histogram shows a problem. |
| Mark Gray workshops | Hands-on field coaching with Mark Gray accelerates learning and produces portfolio-quality results. |
Table of Contents
- What gear do you actually need for aurora photography?
- How do you choose and tune your aurora photography settings?
- How do you get tack-sharp focus on stars and aurora?
- Why does a strong foreground make your aurora photo?
- Workshop-tested field tips from Mark Gray
- Time-lapse, stacking, or single exposures: which technique fits your aurora?
- Can you photograph the aurora with a smartphone?
- How do you process aurora RAW files effectively?
- When and where should you go out to shoot the aurora?
- Aurora settings cheat sheet by activity level
- Learn aurora photography with Mark Gray
- What experience in the field has taught me about aurora photography
- Sources
What gear do you actually need for aurora photography?
The right equipment makes the difference between a blurry, noisy disappointment and a frame-worthy image. None of it needs to be expensive, but each item earns its place.
Essential items:
- Sturdy tripod: Any camera movement during a multi-second exposure destroys sharpness. A carbon fiber or aluminum tripod with a ball head is the standard choice.
- Fast wide-angle lens: A 14–24 mm focal length at f/1.4–f/2.8 is the practical target. Wider apertures gather more light, letting you keep ISO lower and shutter speed shorter.
- Remote shutter release or intervalometer: Pressing the shutter button physically vibrates the camera. A wired or wireless remote, or the camera's built-in 2-second self-timer, eliminates that shake.
- Spare batteries (warmed): Cold temperatures drain lithium batteries fast. Carry two or three extras in an inside jacket pocket and rotate them.
- Headlamp with red-light mode: Red light preserves your night vision while you adjust settings.
- Lens cloth and gaffer tape: Moisture condenses on cold glass quickly. Tape also locks the focus ring once you've nailed focus.
- Smartphone with forecast apps: For real-time Kp index monitoring and cloud-cover checks.
Cold-weather battery management deserves its own note. Keep spares warm against your body, not in a camera bag pocket. An insulated battery case adds useful insurance on multi-hour shoots.
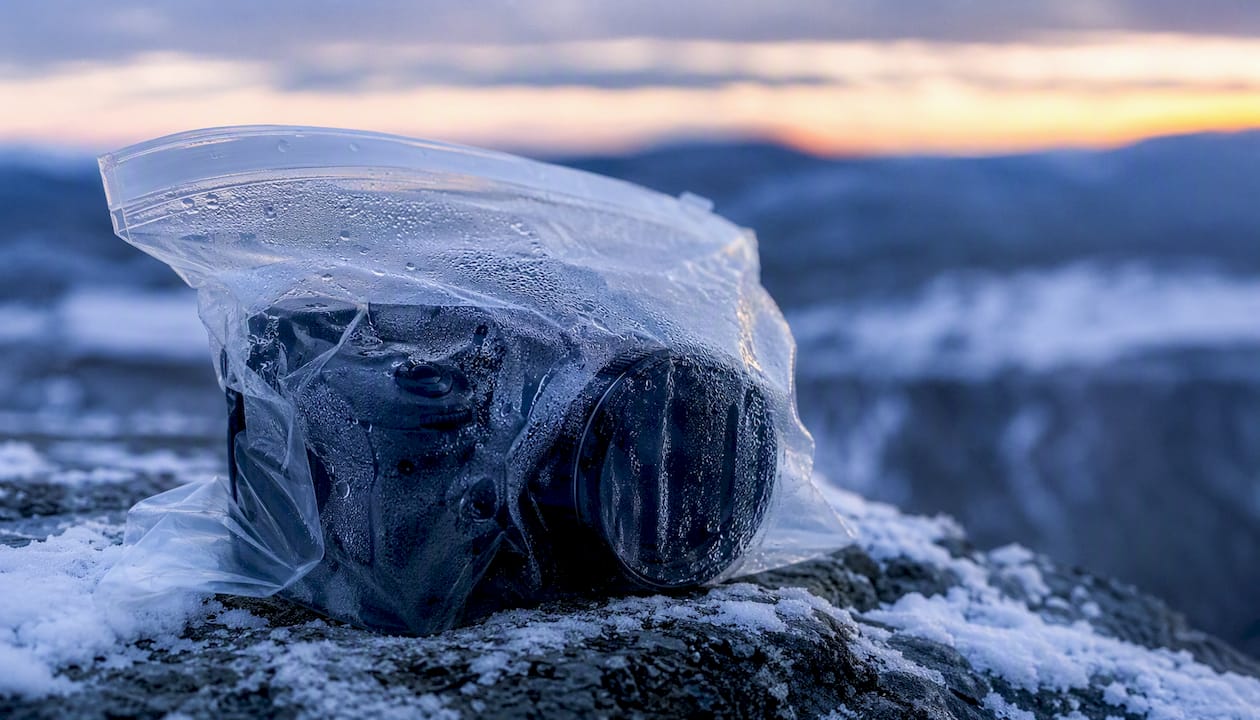
Condensation is a serious risk when moving between cold outdoor air and a warm vehicle or building. Seal your camera in an airtight bag before bringing it inside so it acclimates gradually, preventing fogging on the lens and sensor.
How do you choose and tune your aurora photography settings?
The exposure triangle works the same way for aurora as for any other subject, but aurora adds one variable most photographers underestimate: motion. A slow, faint glow behaves like a static landscape. A fast substorm moves like a flame, and a 15-second exposure will smear it into a formless green wash.
The core rule is to let aurora activity dictate shutter speed, then balance ISO and aperture around that choice. Keep aperture as wide as your lens allows. ISO is your secondary control. Shutter speed is what you change most often during a shoot.
Starting ranges by sensor and activity level:
| Activity | Full-Frame | APS-C | Micro Four Thirds |
|---|---|---|---|
| Faint glow | f/2.0, ISO 1600, 15–20 s | f/2.0, ISO 3200, 8–10 s | f/2.0, ISO 3200, 8–10 s |
| Moderate | f/2.0, ISO 1600, 8–10 s | f/2.0, ISO 3200, 8–10 s | f/2.0, ISO 3200, 2–4 s |
| Active | f/2.0, ISO 3200, 2–4 s | f/2.0, ISO 3200, 2–4 s | f/2.0, ISO 6400, 2–4 s |
| Substorm | f/1.4, ISO 3200, 1–3 s | f/1.4, ISO 6400, 1–2 s | f/1.4, ISO 6400, 1 s |
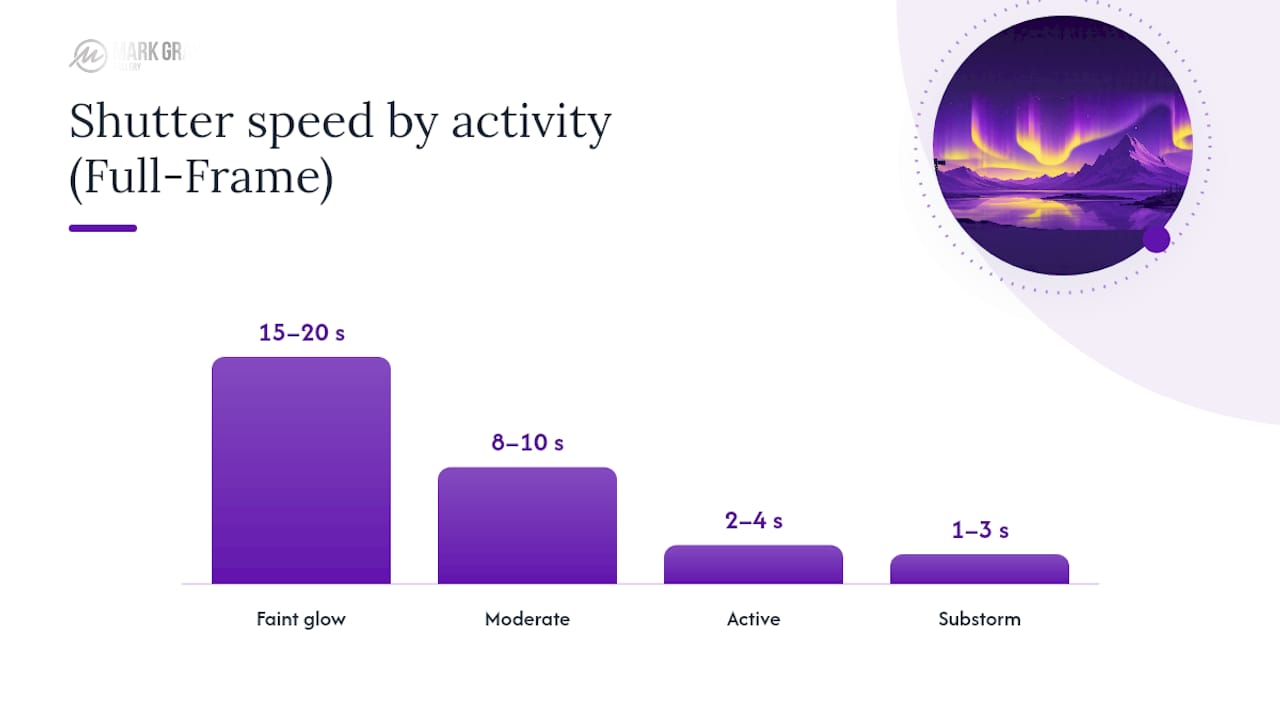
Sources: Aurora Norway and camerasettings.com
The 500 Rule (divide 500 by focal length to find maximum shutter before star trails appear) is a useful starting point for Milky Way photography, but aurora moves faster than stars. Treat it as a ceiling, not a target. A 20 mm lens on full-frame gives you a theoretical 25 seconds before star trails, but an active aurora will be blurred long before that.
Pro Tip: Switch your camera's histogram display to RGB mode and watch the green channel specifically. Aurora green clips before the overall histogram shows any problem. If the green channel is near the right edge, reduce exposure by one stop rather than waiting for the composite histogram to warn you.
How do you get tack-sharp focus on stars and aurora?
Soft focus is the most common reason otherwise well-exposed aurora images fail. The lens infinity mark is unreliable on many modern lenses, and cold temperatures can shift the focus point slightly from where you set it indoors.
Step-by-step focusing workflow:
- Pre-focus in daylight if possible. Point at a distant object (a mountain ridge, a building) at least half a mile away, confirm sharpness in Live View, and note the focus ring position.
- At night, use Live View. Zoom to 10x magnification on the brightest star you can find. Slowly rotate the focus ring until the star is a tight, sharp point rather than a soft disc.
- Fine-tune and confirm. Take a test shot at high ISO (6400) and a short shutter (2–3 s) to get a quick preview. Zoom into the stars on the LCD at 100% to confirm sharpness.
- Lock the focus ring. Apply a small strip of gaffer tape across the focus ring and lens barrel. This prevents accidental movement when handling the camera in the dark.
- Check after every lens change or temperature drop. A 20°F temperature swing can shift the focus point enough to soften stars.
For compositions that include a close foreground element, consider the hyperfocal distance for your lens and aperture. At f/2.8 on a 20 mm full-frame lens, the hyperfocal distance is roughly 47 feet. Focusing there keeps everything from about 24 feet to infinity acceptably sharp, which often covers both a rocky foreground and the sky.
Pre-focusing on a distant reference during daylight and locking the ring with tape is the single most reliable method for consistent night sharpness.
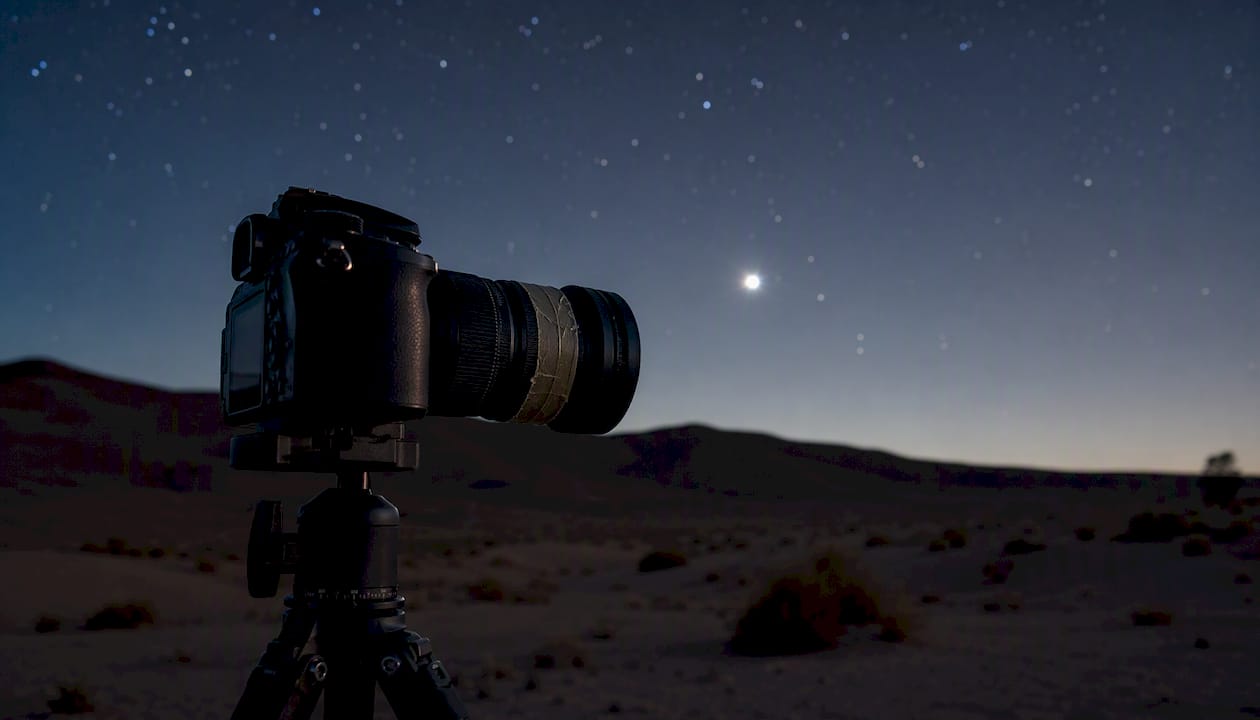
Pro Tip: If you arrive after dark, find the brightest planet or star visible and use it as your focus target. Jupiter and Venus are bright enough to focus on even in partly cloudy conditions, and they sit at optical infinity just like the aurora.
Why does a strong foreground make your aurora photo?
Sky-only aurora images are technically impressive but compositionally flat. The most celebrated aurora photographs pair the display with a foreground that gives the viewer a sense of scale, place, and story. Scouting during daylight and pre-planning compositions produces more gallery-quality images than arriving at a dark field and improvising.
Foreground options worth scouting:
- Still water: Lakes and calm bays produce mirror reflections that double the visual impact of the aurora. Arrive early to confirm the water is calm.
- Mountains and ridgelines: Strong silhouettes anchor the frame and provide a natural leading line toward the sky.
- Trees: A row of spruce or pine creates vertical rhythm and a sense of depth.
- Structures: Lighthouses, cabins, and bridges add human scale and a warm light source that contrasts beautifully with aurora green.
For balancing foreground and sky exposure, a bright moon is genuinely useful. Moonlight can illuminate foregrounds and allow shorter shutter speeds or lower ISO, though it reduces aurora color contrast. On moonless nights, a brief burst of light painting with a flashlight or headlamp can reveal foreground texture without affecting the sky exposure.
Simple composition techniques work reliably here. Leading lines (a shoreline, a road, a river) draw the eye from the foreground into the aurora. Silhouettes keep the foreground clean and graphic. Placing the horizon in the lower third of the frame gives the aurora room to sweep across the image.
Pro Tip: Arrive at your location at least 30 minutes before the forecast aurora window. Walk the scene in whatever ambient light exists, identify your strongest foreground, and physically mark your tripod position with a rock or stick. When the aurora fires, you won't be scrambling.
For a deeper look at landscape photography composition principles that apply directly to aurora foreground planning, the Mark Gray Gallery blog offers a practical checklist.
Workshop-tested field tips from Mark Gray
The difference between a good aurora shot and a great one often comes down to preparation made hours before the display begins. Scout your location by day, identify two or three compositions, and pre-set your base exposure before darkness falls. When the aurora fires, you want to be reacting to the sky, not searching for a foreground.
Field workflow checklist:
- Arrive at location 30–60 minutes before the forecast window
- Set base exposure (f/2.0, ISO 1600, 8 s for moderate activity)
- Confirm focus on a bright star; tape the focus ring
- Take a bracketed set of sky and foreground frames to capture varying brightness
- Monitor the RGB histogram after every shot; adjust shutter speed as aurora accelerates
- Shoot a foreground frame with light painting if the moon is absent
- Check for condensation on the front element every 20–30 minutes
Time-lapse, stacking, or single exposures: which technique fits your aurora?
Each approach suits a different creative goal and a different level of aurora activity. Pick the technique that matches what the sky is doing, not what you planned before you arrived.
- Single long exposures (10–20 s): Best for faint or slow aurora. Gathers maximum light, reveals subtle color, and requires the least post-processing. The trade-off is motion blur if the aurora accelerates mid-exposure.
- Short exposures for active aurora (2–8 s): Freezes structure and rays. Produces more noise at equivalent ISO, but preserves the dramatic shapes that make aurora photography compelling. Shutter speed is the primary control for freezing or blurring aurora motion.
- Time-lapse sequences: Set an intervalometer to fire every 10–30 seconds (shorter for active aurora). The resulting video shows the aurora's movement across the sky. Battery drain is significant; bring extras and consider a USB power bank for mirrorless cameras.
- Image stacking: Capture 10–20 frames at the same settings and align/median-stack them in software such as Sequator (free, Windows) or Starry Landscape Stacker (Mac). Stacking reduces noise without the sharpness penalty of high in-camera noise reduction, and it works well for faint, slow aurora where the display doesn't move significantly between frames.
The trade-off between stacking and single-image denoising is real. Stacking 16 frames reduces noise by roughly a factor of four in theory, but only if the aurora hasn't shifted between frames. For active displays, a single well-exposed frame processed with Lightroom's AI Denoise or DxO DeepPRIME XD often produces cleaner results than a misaligned stack.
For a thorough explanation of long exposure technique and its creative trade-offs, the Mark Gray Gallery blog covers the fundamentals in detail.
Can you photograph the aurora with a smartphone?
Yes, with important caveats. Modern phones with Night Mode, particularly the iPhone 15 Pro and Google Pixel 8 series, can capture aurora that is bright enough to be visible to the naked eye. A tripod is non-negotiable; handheld Night Mode shots of aurora are almost always blurred.
Practical smartphone workflow:
- iPhone: Use Night Mode and drag the exposure slider to its maximum (up to 30 seconds on a tripod). Enable ProRAW in Camera settings for maximum post-processing flexibility.
- Android: Open Camera (free) and Expert RAW (Samsung) both offer manual ISO and shutter control. Set ISO 3200–6400 and shutter 8–15 seconds as a starting point.
- Stabilization: A small travel tripod with a phone mount is sufficient. Avoid touching the screen to trigger the shutter; use the volume button or a Bluetooth remote.
- Limitations: Phone sensors are smaller than dedicated camera sensors, so noise at high ISO is more visible. Lens apertures are fixed (typically f/1.6–f/2.2) and focal lengths are wider than ideal for composition control.
For a strong aurora display (Kp 5 or higher), a modern flagship phone produces genuinely usable images. For faint or fast aurora, a dedicated camera with a fast prime lens will outperform any phone.
How do you process aurora RAW files effectively?
The RAW file from an aurora shoot contains far more recoverable detail than the in-camera JPG preview suggests. White balance is the first and most impactful adjustment.
RAW processing workflow:
- White balance: Start at 3800–4200 K. Cooler settings (3500 K) produce a blue-toned, dramatic sky; warmer settings (4500 K) shift the aurora toward yellow-green and warm the foreground. Fine-tune to taste.
- Exposure and highlights: Recover highlight detail first, then lift shadows. Aurora highlights clip easily; pull the Highlights slider to –50 before making any other adjustments.
- Green channel protection: Watch the green channel in your histogram. Overexposure of the green channel is common even when the overall histogram looks acceptable. Use the HSL panel to reduce green luminance slightly if the aurora looks washed out.
- Noise reduction: Apply luminance noise reduction at 40–60 in Lightroom or use AI Denoise for a single-click improvement. Avoid over-sharpening stars.
- Local adjustments: Use a radial or linear gradient to apply separate adjustments to the sky and foreground. The sky often needs less exposure lift than the foreground.
- Color grading: A subtle teal-and-orange grade in the Color Grading panel complements aurora green without overpowering it.
White balance visual reference:
| Kelvin Setting | Visual Effect |
|---|---|
| 3200–3500 K | Cool, blue-dominant sky; aurora appears vivid green against deep blue |
| 3800–4200 K | Neutral; aurora colors appear natural and balanced |
| 3800–4200 K | Warmer; foreground gains golden tones; aurora shifts toward yellow-green |
Shooting RAW gives you the flexibility to correct white balance in post without any quality loss, which is why it is the standard choice for serious aurora work. For a broader look at post-processing in landscape photography, the Mark Gray Gallery blog covers the full workflow.
When and where should you go out to shoot the aurora?
Timing is as important as any camera setting. A perfect exposure of a cloudy sky produces nothing.
NOAA's Space Weather Prediction Center publishes 30-minute aurora forecasts and real-time Kp index data. Check it the evening before and again two hours before you plan to go out. The 30-minute forecast is the most practical tool for deciding whether to leave the house.
Practical forecasting rules:
- Kp index: At latitudes around 50°N (northern US states, southern Canada), a Kp of 5 or higher produces visible aurora. At 65°N (Alaska, northern Scandinavia), Kp 2–3 is often sufficient. Higher Kp pushes the aurora further south.
- Cloud cover: Clear skies matter more than a high Kp. Check Clear Outside or Windy for localized cloud forecasts; a clear night with Kp 4 beats a cloudy night with Kp 8.
- Moon phase: A full moon illuminates foregrounds and allows shorter exposures, but it reduces aurora color contrast. New moon nights produce the most vivid color in long exposures.
- Light pollution: Drive at least 30 minutes from city centers. The aurora is visible through moderate light pollution, but colors are richer and fainter displays become visible in dark skies.
- Elevation: Higher elevation reduces atmospheric haze and can improve contrast, particularly in humid climates.
Useful apps include SpaceWeatherLive, My Aurora Forecast, and Aurorasaurus for real-time Kp alerts.
Aurora settings cheat sheet by activity level
One-line field rules:
- To freeze aurora structure: shorten shutter speed first, before raising ISO.
- To reveal faint color: lengthen shutter and raise ISO together.
- Always check the RGB histogram; protect the green channel from clipping.
For multi-hour shoots, battery management is critical. Carry at least two spare batteries per camera body, keep them warm, and bracket exposures (±1 stop) during periods of rapidly changing brightness to ensure you capture the peak without re-shooting.
Learn aurora photography with Mark Gray
Mastering northern lights camera settings in the field is a different skill from reading about them. Mark Gray's photography workshops and multi-day tours offer hands-on coaching across some of the world's most spectacular aurora locations, including Iceland and Norway.

Each workshop covers daylight location scouting, in-field exposure coaching, and guided post-processing sessions so participants leave with portfolio-quality images and the confidence to adapt settings independently. The focus is practical: you will shoot real aurora, review your histograms with an award-winning photographer beside you, and understand exactly why each adjustment worked.
Whether you are booking a single-day course in Australia or a multi-day tour to a high-latitude destination, the outcome is the same: faster learning, fewer wasted nights, and images worth printing. Visit Markgray to check available workshop dates and secure your place.
What experience in the field has taught me about aurora photography
The most important lesson from years of shooting in cold, remote locations is simple: the sky will not wait for you to figure out your settings. Practice your exposure adjustments at home in the dark until they are muscle memory. Know where your ISO dial is without looking. Know how many clicks it takes to halve your shutter speed.
Cold weather is not just uncomfortable; it is a genuine equipment risk. Keep hand warmers in your pockets alongside spare batteries, and never breathe on your lens to clear condensation. Moisture from breath freezes instantly on cold glass and is far harder to remove than a simple smudge. When you finish shooting and return to a warm space, seal your entire kit in a large zip-lock bag before you open the car door. Let it sit for 20–30 minutes so the gear warms slowly and any condensation forms on the outside of the bag, not on your sensor.
Respect private property and local regulations when scouting locations. Many of the best aurora foregrounds, particularly in national parks and coastal reserves, have access restrictions after dark. Check in advance, carry a permit if required, and leave the location exactly as you found it.
If you want to compress years of field learning into a few nights, guided workshop time with an experienced instructor is the most direct path. The settings are learnable from any guide. Knowing when to change them, and trusting your instincts when the sky explodes, comes from being there.
Sources
- Best Camera Settings for Aurora Photography: ISO, Aperture, Shutter Speed | Aurora Norway
- How to Photograph the Northern Lights: Settings, Gear and Tips
- Aurora Photography Camera Settings Guide | Camera Settings
- Awesome Skies: Tips and Techniques for Photographing the Northern Lights
- How to photograph the aurora | BBC Sky at Night Magazine