
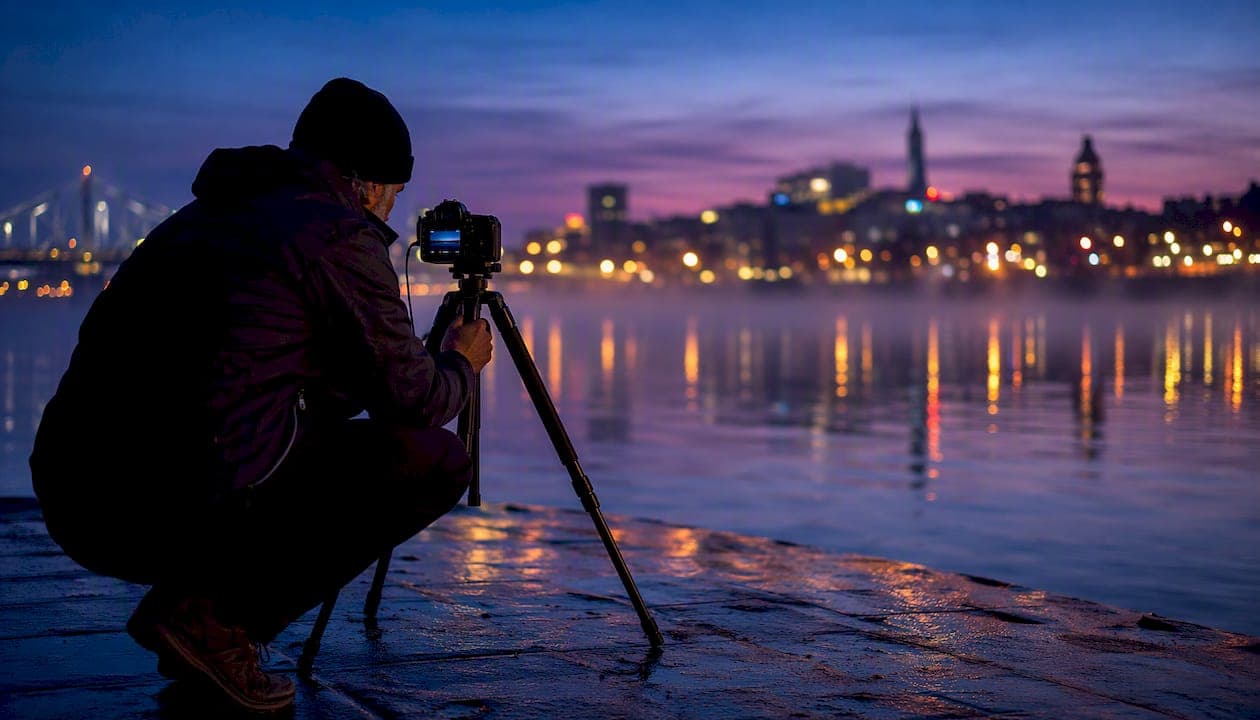
Blue hour photography is shooting in the short twilight window just before sunrise or after sunset when the sky fills with a rich, even blue tone. The light is soft, the contrast between artificial lights and sky is at its most balanced, and popular viewpoints tend to be quieter than at golden hour. To act on this tonight, follow three steps: 1. Open PhotoPills or a sun calculator, drop a pin on your location, and note the exact blue hour start and end times. 2. Arrive at least 20 minutes early, scout your composition, and identify a stable shooting position. 3. Mount your camera on a tripod, switch to manual mode, and lock your white balance before the window opens.
Key Takeaways
Blue hour photography rewards preparation: the photographers who plan their location, lock their settings before the window opens, and stay through the full 15–30 minutes consistently produce stronger images than those who improvise.
| Point | Details |
|---|---|
| Timing and duration | Blue hour lasts 15–30 minutes at most mid-latitudes; check PhotoPills or a sun calculator for your exact coordinates. |
| Tripod first | Stability determines sharpness more than sensor performance; mount on a tripod and use a remote release for every frame. |
| Fix white balance | Set Daylight or 3800–4200K in-camera; auto white balance removes the blue cast you are there to capture. |
| Scenario settings | Start at ISO 100–400, f/8–f/11, and adjust shutter from 4s to 30s as the window deepens; bracket every key composition. |
| Planning apps | Use PhotoPills or The Photographer's Ephemeris to map sun direction and blue hour start/end times before you leave home. |
| Mark Gray workshops | In-field workshops with Mark Gray cover composition, manual exposure, and white balance in real blue hour conditions. |
Table of Contents
- What is blue hour photography and when does it happen?
- How do you plan a blue hour shoot effectively?
- What gear do you need for blue hour?
- What camera settings work best for blue hour scenes?
- Which techniques and compositions work best at blue hour?
- How should you process blue hour images in post?
- 12 practical field tips for a successful blue hour shoot
- Workshop-tested priorities from a working landscape photographer
- Why blue hour is worth prioritizing over golden hour
- Guided blue hour workshops with Mark Gray
- Sources
What is blue hour photography and when does it happen?
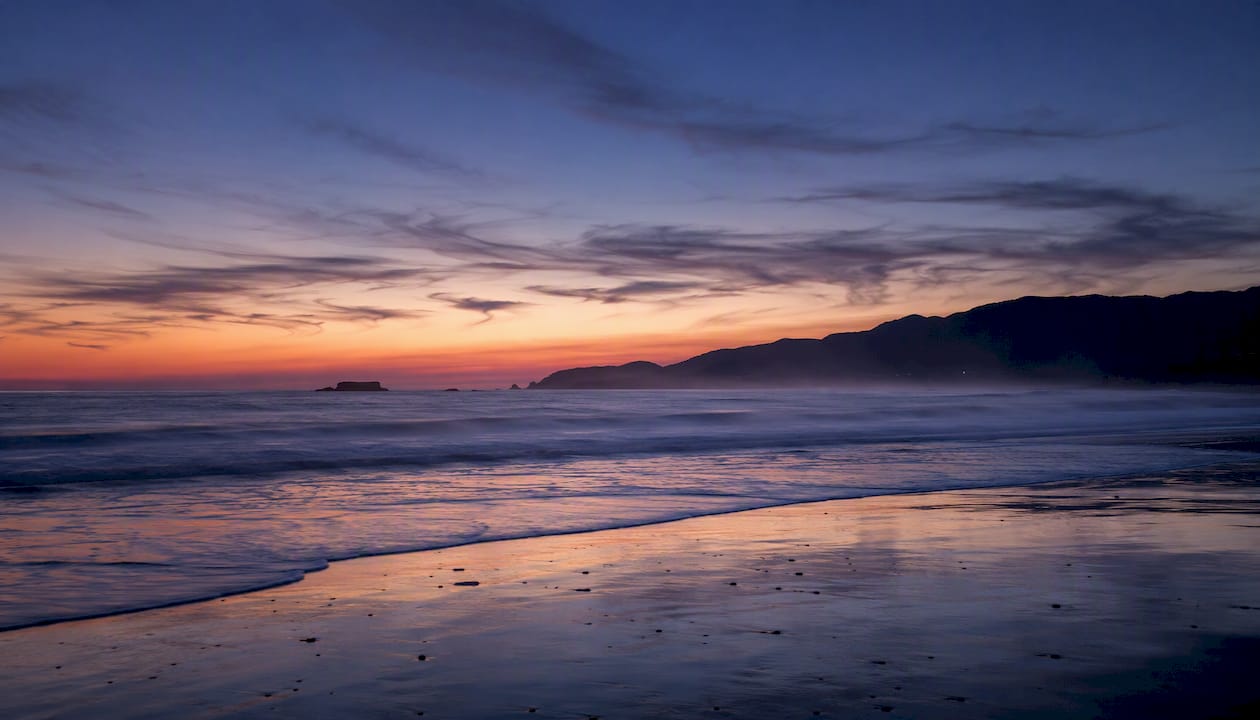
Blue hour is the twilight phase when the sun sits roughly 4°–6° below the horizon. At that elevation, the atmosphere scatters shorter blue wavelengths across the entire sky, producing the deep, even illumination that makes this window so distinctive. It is not a single hour. At most mid-latitudes, the window lasts 15–30 minutes, and it occurs twice daily: once after sunset and once before sunrise.
How blue hour differs from golden hour
The contrast between blue hour and golden hour is one of the most practical distinctions in landscape photography lighting. Golden hour delivers warm, directional light that rakes across subjects and creates long shadows. Blue hour gives you cool, even illumination with no strong directional source. Golden hour suits warm portraiture and textured landscapes; blue hour is the preferred window for cityscapes, architecture, and long-exposure water work. Many pros shoot both in a single session, transitioning from golden-hour warmth straight into blue-hour cool as the sky deepens.
Twilight categories and where blue hour sits
Astronomers divide twilight into three phases based on the sun's angle below the horizon:
| Twilight phase | Sun elevation | Sky appearance | Photographic use |
|---|---|---|---|
| Civil twilight | 0° to -6° | Bright, colorful horizon | Golden-to-blue transition; blue hour begins near -4° |
| Nautical twilight | -6° to -12° | Deep blue, stars emerging | Late blue hour; long exposures, star trails beginning |
| Astronomical twilight | -12° to -6° | Near-dark, faint glow | Night photography, Milky Way prep |
Blue hour sits within civil twilight, roughly from the moment the sun drops below the horizon to about -6°. The exact feel of the light shifts noticeably across that range: the first minutes carry residual warmth and a vivid horizon gradient, while the final minutes approach a near-monochromatic deep blue.
How latitude and season affect timing
Duration varies considerably by location. Near the equator, the sun drops steeply, so blue hour can compress to 10–15 minutes. At mid-latitudes like much of the continental United States, expect 20–30 minutes. At high latitudes, particularly in summer, the sun descends at a shallow angle and blue hour can stretch well past 40 minutes, sometimes blending almost seamlessly into nautical twilight. In winter at the same high-latitude locations, the window shortens again. Always check a sun calculator for your exact coordinates rather than relying on a general estimate.
How do you plan a blue hour shoot effectively?
Plan the shot before the light changes. The window is short, and arriving without a composition in mind wastes the best minutes of it.
Planning apps worth using
PhotoPills is the most thorough option for blue hour planning. Its Planner tool overlays sun position, blue hour start and end times, and the direction of light onto a satellite map of your location. The Red Pin feature lets you drop a marker and read precise times for any date. The Photographer's Ephemeris (TPE) offers a similar map-based interface and is particularly useful for scouting how shadows and light will fall across terrain. Both apps are available for iOS and Android. For a quick check without a dedicated app, the NOAA Solar Calculator provides civil twilight times for any U.S. coordinate.
Scouting checklist
- Identify your primary composition and at least one backup angle before the session.
- Check sightlines for obstructions (buildings, trees, hills) that could block the horizon.
- Confirm access, parking, and any permit requirements, especially for rooftops or restricted viewpoints.
- Note where artificial lights (streetlamps, lit windows, bridges) fall in the frame — these become warm accents during blue hour.
- Walk the area in daylight first if the location is new to you.
Session timeline
Arrive 20–30 minutes before blue hour begins. Use that time to set up your tripod, frame your primary composition, and run a test exposure. As the window opens, start shooting immediately rather than waiting for the "perfect" moment. The light shifts every 2–3 minutes, so bracket exposures and adjust settings continuously. Plan to stay through the full window and a few minutes beyond, since the deepest blue often appears in the final third.
Contingency planning: Partial cloud cover of around 30–70% often improves blue hour shots by adding texture and catching horizon light. A fully overcast sky flattens the blue and reduces contrast. If clouds are heavy, shift your composition toward foreground interest rather than sky, or focus on reflections that still carry the ambient blue tone.
What gear do you need for blue hour?
A sturdy tripod and a sharp lens matter more than your camera body's high-ISO performance at blue hour. Long exposures are standard, and stability determines sharpness far more reliably than sensor noise performance.
Complete gear checklist
- Tripod: A ball-head or pan-tilt head on a stable carbon-fiber or aluminum tripod. This is non-negotiable for exposures beyond 1/30s.
- Camera body: Any interchangeable-lens camera with manual exposure control. Full-frame sensors handle noise better at ISO 400–800, but a crop sensor works well with good technique.
- Lenses: A wide-angle (16–35mm equivalent) for cityscapes and landscapes; a standard zoom (24–70mm) for flexibility; a fast prime (f/1.8–f/2.8) if you plan portraits.
- Remote release or intervalometer: Eliminates camera shake at the moment of shutter release. Use the 2-second self-timer as a free alternative.
- ND filters: A 3-stop or 6-stop ND filter extends exposures for water smoothing early in the window when there is still more ambient light.
- Polarizing filter: Useful for reducing glare on water surfaces; skip it in very low light as it costs roughly 1.5–2 stops of light.
- Headlamp or flashlight: Blue hour ends in near-darkness. A headlamp keeps your hands free for gear adjustments.
- Spare batteries: Cold temperatures and long exposures drain batteries faster than normal shooting.
- Lens cloth: Condensation forms quickly as temperatures drop after sunset.
- Lens hood: Reduces flare from streetlights and other artificial sources in the frame.
Pro Tip: For city shoots, pack light. Save the heavy carbon-fiber tripod for landscape hikes where wind is a factor.
For a broader look at what to bring on location, the event photography gear guide covers overlapping essentials worth reviewing before your first outing.
What camera settings work best for blue hour scenes?
Start in manual mode or aperture-priority depending on your experience level. Manual gives you full control over the exposure triangle as light drops; aperture-priority with exposure compensation works well if you are still building confidence with manual exposure. Understanding the exposure triangle before your first session makes the transition to manual far less stressful.
Scenario-based starting settings
| Scene | ISO | Aperture | Shutter speed | White balance |
|---|---|---|---|---|
| Cityscape | 100–400 | f/8–f/11 | 4–20s | Daylight or 3800–4200K |
| Wide landscape | 100–400 | f/8–f/11 | 10–30s | Daylight or 3800K–4200K |
| Long-exposure water | 100 | f/8–f/11 | 15–30s (with ND) | Daylight or 3800K |
| Blue-hour portrait | 400–800 | f/2.8–f/4 | 1/15–1/30s | Daylight + fill flash |
Shutter speeds typically slide from around 1/15s at the very start of blue hour to multi-second exposures of 4–30s as the window deepens. Adjust in real time rather than locking a single setting for the session.
White balance guidance
Auto white balance is the enemy of blue hour. The camera's AWB system reads the blue cast as an error and tries to correct it toward neutral, stripping out the very quality that makes the light special. Fix your white balance at Daylight (approximately 5500K) for a natural blue rendering, or dial in a custom Kelvin value between 3800K and 4200K if you prefer a slightly warmer, more cinematic feel. Locking white balance across the session also makes multi-exposure blends and any time-lapse work far easier to color-grade consistently.
Bracketing and histogram strategy
- Bracket exposures by 1 stop in both directions from your base exposure, especially for cityscapes where window highlights blow easily.
- Check the histogram after each frame. Blown highlights on building windows are difficult to recover even in RAW; slight underexposure is preferable.
- For noise management, keep ISO at or below 400 whenever shutter speed allows. A longer exposure at ISO 100 produces cleaner files than a faster exposure at ISO 1600.
Which techniques and compositions work best at blue hour?
Choose subjects that either carry their own light or benefit from long exposures. City lights, reflections, static landscapes, and silhouette shapes all respond well to blue hour's even, cool illumination.
Composition ideas
- Cityscapes with lit windows: Building facades become warm, glowing accents against the cool blue sky. Position yourself so the horizon line sits at roughly one-third of the frame, with the city lights filling the lower portion.
- Water reflections: Still water mirrors the sky almost perfectly during blue hour. Piers, harbors, and urban waterfronts are especially rewarding. Even a shallow puddle after rain creates a usable reflection.
- Foreground interest: A strong foreground element (rocks, a leading path, a lit bridge railing) adds depth and keeps the eye moving through the frame rather than stopping at the horizon.
- Silhouettes: A lone tree, a person, or an architectural element placed against the bright horizon creates a clean, graphic shape that reads immediately.
- Frame within a frame: Archways, doorways, or overhanging branches frame the blue sky and add a layer of depth that flat compositions lack.
Field techniques
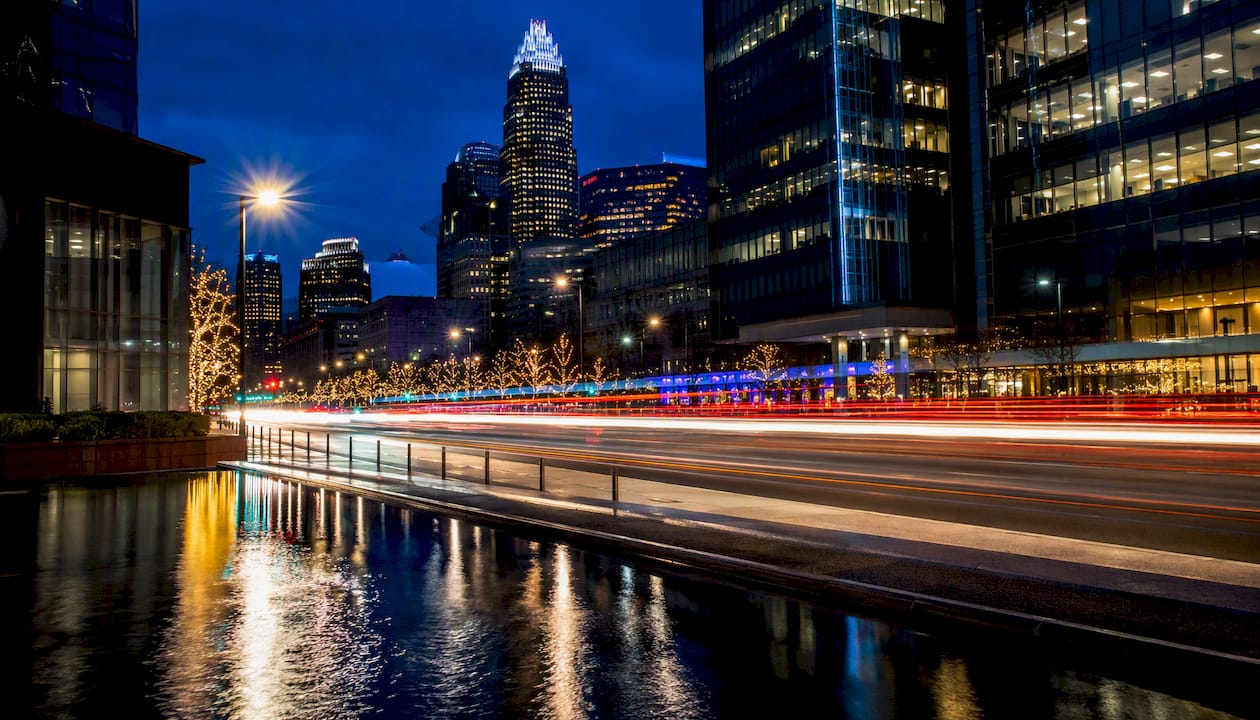
Long exposures at blue hour smooth moving water and render light trails from traffic, two effects that are difficult to achieve in brighter conditions without heavy ND filtration. For water smoothing, aim for exposures of 15 seconds or longer. For light trails, a busy road with 20–30 seconds of exposure produces vivid streaks against the blue sky.
Manual focus is more reliable than autofocus in low light. Use live view, zoom in on a bright point of contrast (a lit window or distant streetlight), and focus manually. Lock focus before the window opens and avoid touching the focus ring during the session.
When wind is present, shorten your exposure to 2–4 seconds to keep foliage crisp rather than blurred. A blurred tree against a sharp cityscape reads as a technical error, not a creative choice. Use a polarizing filter selectively: it reduces glare on water beautifully but costs 1.5–2 stops of light, which may push your ISO higher than you want late in the window.
For a deeper look at long-exposure landscape techniques, including gear setup and exposure calculations, that resource covers the full workflow in detail.
How should you process blue hour images in post?
Start every edit in RAW with a fixed white balance, then refine. Do not let auto corrections neutralize the blue cast you worked to preserve in the field.
RAW workflow step by step
Step 1: Lock white balance first. In Lightroom, Capture One, or any RAW editor, set white balance to the same Kelvin value you used in-camera before touching anything else. This prevents the software's auto-rendering from shifting the tone.
Step 2: Exposure and highlights. Bring highlights down to recover blown window lights and streetlamps. Blue hour cityscapes often have a 3–4 stop range between the brightest artificial lights and the darkest sky, so targeted highlight recovery is more effective than a global exposure reduction.
Step 3: Shadow recovery. Lift shadows moderately to reveal foreground detail, but avoid pushing them so far that noise becomes visible. Blue hour shadows carry a natural cool tone that is worth preserving.
Step 4: Color grading. The blue cast is the asset. In the HSL panel, protect the blue channel by avoiding aggressive desaturation. A slight boost to blue luminance and a subtle teal shift in the shadows reinforces the mood without looking processed. Warm the highlights slightly (orange/yellow channel) to make artificial lights pop against the cool sky.
Step 5: Noise reduction. Long exposures at ISO 100–400 produce manageable noise, but luminance noise in dark skies is common. Apply luminance noise reduction conservatively, then sharpen with masking to protect edges. In Lightroom's AI Denoise or DxO DeepPRIME, a single pass at moderate strength handles most blue hour files cleanly.
Exposure blending vs. single-exposure editing
For cityscapes where window highlights are irrecoverable in a single frame, exposure blending is worth the extra effort. Shoot a base exposure for the sky and a slightly shorter exposure for the building facade, then blend the two in Photoshop using luminosity masks. This preserves detail in both the lit windows and the blue sky without the tone-mapping artifacts of HDR processing. For landscapes without extreme dynamic range, a single well-exposed RAW file with careful shadow and highlight recovery is usually sufficient.
For a broader perspective on post-processing in landscape photography, including color grading philosophy and workflow organization, that resource covers the full editing process.
12 practical field tips for a successful blue hour shoot
Arrive early, set up completely, test your focus and exposure, then iterate. The window is too short to troubleshoot gear once the light is at its best.
Pre-shoot field checklist
- Fully charged batteries (at least two) in your bag
- Memory cards formatted and confirmed empty
- Tripod legs locked and head tightened before mounting the camera
- Remote release connected and tested
- White balance set to a fixed Kelvin value
- Headlamp accessible without opening your bag
12 quick tips
- Arrive 20–30 minutes early. Use the time to frame, focus, and run a test exposure before blue hour begins.
- Set focus before the light drops. Use live view and manual focus on a high-contrast point. Lock it and leave it.
- Shoot in RAW. JPEG compression discards the tonal information you need for highlight and shadow recovery.
- Fix white balance in-camera. Daylight or 3800–4200K preserves the blue cast; AWB removes it.
- Use the 2-second self-timer if you forgot your remote release. It eliminates shutter-press vibration at no cost.
- Bracket every key composition. Shoot at -1, 0, and +1 stop from your base exposure. Storage is cheap; a missed exposure is not.
- Check the histogram after every frame. Blown highlights on artificial lights are the most common recoverable mistake.
- Keep ISO at 400 or below whenever shutter speed allows. Longer exposures at low ISO produce cleaner files than fast exposures at high ISO.
- Shoot through the full window. The deepest blue often appears in the final 5 minutes. Many photographers pack up too early.
- Use partial cloud cover to your advantage. Clouds at 30–70% coverage add texture and catch horizon light; adjust your composition to include sky when clouds are present.
- Revisit the same location across seasons. The direction of the blue gradient shifts with the sun's azimuth, and the same spot looks dramatically different in June versus December.
- Stay aware of your surroundings. Blue hour ends in darkness. Know your exit route before you start shooting, and keep your headlamp within reach.
Workshop-tested priorities from a working landscape photographer
Stability, planning, composition, and consistent white balance are the four priorities that separate a productive blue hour session from a frustrating one. In workshop settings, these are the areas where beginners make the most recoverable mistakes and where small corrections produce the fastest visible improvement.
The single most common error is arriving without a composition in mind. Photographers who scout in daylight and arrive with a clear primary frame and one backup angle consistently produce stronger images than those who improvise once the light is already changing. The second most common error is touching the focus ring after the window opens. Manual focus locked before blue hour begins, and left alone, produces sharper results than repeated autofocus attempts in low light.
The field exercise that builds the most skill fastest: Scout your location in the hour before blue hour. Identify three distinct compositions: one wide establishing shot, one mid-range with a strong foreground element, and one tight detail (a reflection, a lit window, a silhouette). During the window, shoot all three deliberately, adjusting only exposure between frames. Review the three images side by side afterward and note which composition held up best as the light deepened. Repeat this exercise at the same location across three separate sessions and the improvement in your compositional instincts will be visible.
Pro Tip: Shoot both golden hour and blue hour in a single session. Stay at your location from 30 minutes before sunset through the full blue hour window. The transition between the two phases often produces the most dramatic frames, and you leave with a complete story of the light rather than a single moment.
For photographers considering a structured learning environment, the Blue Mountains Photography Workshop covers exactly this kind of field-based progression, from scouting through post-processing review.
Why blue hour is worth prioritizing over golden hour
Blue hour is often treated as golden hour's quieter sibling, a consolation prize for photographers who missed the warm light. That framing undersells it considerably. The cool, even illumination of blue hour is not a compromise; it is a distinct creative tool that solves problems golden hour cannot.
Golden hour is spectacular for certain subjects, warm portraits, textured rock faces, rolling farmland. But it is also directional, which means it creates harsh shadows on one side of every subject and requires precise positioning relative to the sun. Blue hour removes that constraint entirely. The light wraps evenly, shadows are soft, and the sky itself becomes a subject rather than a backdrop.
There is also a practical advantage that rarely gets mentioned: blue hour tends to attract fewer photographers than golden hour at popular locations. At a well-known viewpoint, golden hour can feel like a competition for tripod space. Blue hour, arriving just after the crowd has packed up and left, often gives you the same scene to yourself.
The honest truth is that the photographers who return from a location with the most compelling images are usually the ones who stayed through both windows. Golden hour for the warmth and drama, blue hour for the depth and stillness. The two complement each other in a single session in a way that neither achieves alone.
Guided blue hour workshops with Mark Gray
Real-time, in-field feedback accelerates blue hour skills faster than any amount of solo practice. Mark Gray's landscape photography workshops place you on location during the actual blue hour window, with hands-on guidance covering composition, manual exposure, and white balance decisions as the light changes around you.

Sessions run as small groups, which means direct feedback on your specific images rather than generic instruction. Whether you are shooting your first long exposure or refining a cityscape technique you have been practicing for months, the workshop structure adapts to where you are. One-day courses run across Australia, with multi-day landscape photography workshop tours available in Australia and internationally. You leave with edited images, a repeatable field workflow, and the confidence to apply it independently on your next outing. Check current dates and availability at Markgray.
Sources
Three planning tools are worth bookmarking before your next session. PhotoPills (photopills.com) provides precise blue hour start and end times, sun direction overlays on satellite maps, and a Red Pin tool for any location and date. The Photographer's Ephemeris offers a similar map-based interface with strong terrain shadow modeling, useful for mountain and canyon locations where horizon obstructions affect timing. The NOAA Solar Calculator (available at esrl.noaa.gov) gives civil twilight times for any U.S. coordinate and is a reliable free backup when you want a quick check without opening a dedicated app.
For authoritative timing definitions, the U.S. Naval Observatory publishes civil, nautical, and astronomical twilight tables for U.S. locations. PetaPixel's blue hour landscape guide covers timing and creative approach in depth. Adorama's golden and blue hour comparison is a practical reference for understanding when to use each window. Always verify times for your exact coordinates with a sun calculator rather than relying on a general estimate for your city, since even a few miles of latitude difference can shift blue hour by several minutes.
- Blue Hour Photography: The Definitive Guide | PhotoPills
- How to Use the Blue Hour and Golden Hour in Landscape Photography - Adorama
- Golden Hour vs Blue Hour: When to Shoot What in Landscape Photography | Photographytalk
- Blue Hour Photography: Camera Settings and Exact Timing | Picstack
- Blue Hour Photography: The Essential Guide (+ Tips) | Digital Photography School