
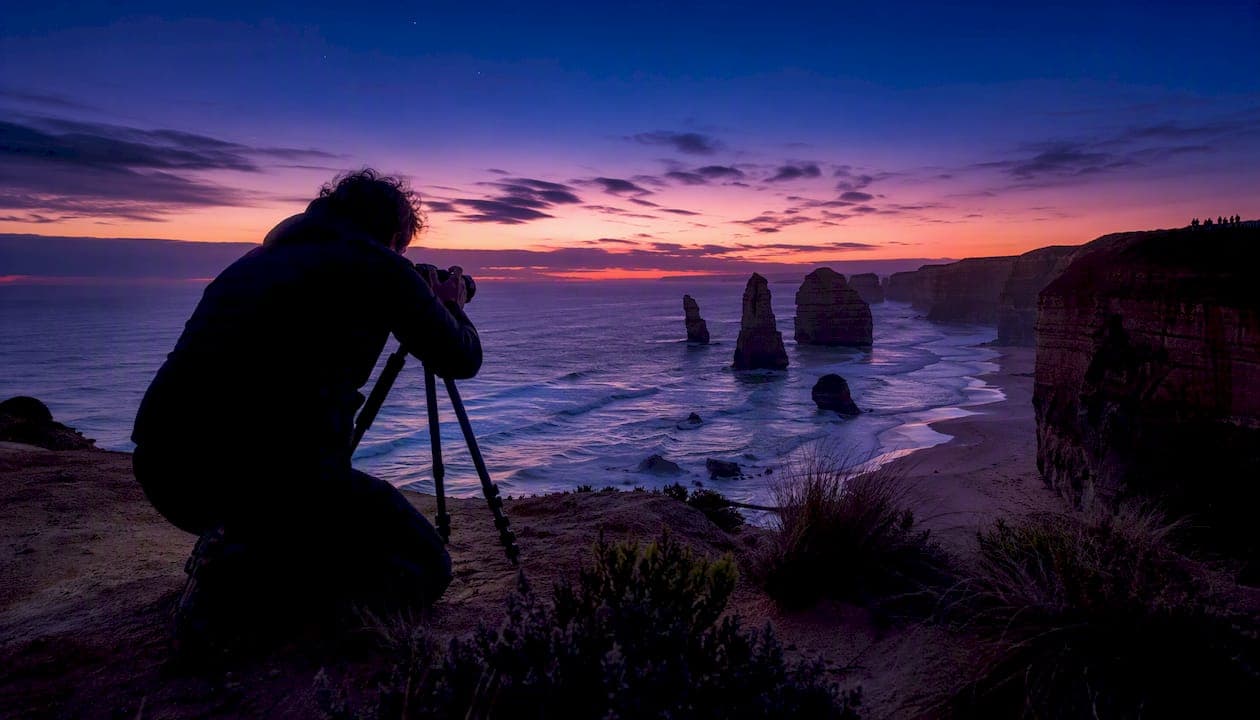
Five locations deserve first call on your time: the Twelve Apostles, Loch Ard Gorge, Gibson Steps, Teddy's Lookout, and Cape Otway Lightstation, with the Otways waterfalls as your rainy-day insurance. Pack light and pack smart: a wide-angle, a 24-70mm standard zoom, and a travel tripod under 3 lbs will cover nearly every scene on this coast.
Timing decides more than gear ever will. Shoot sunrise on the eastern, Surf Coast side near Cape Otway, then chase the light west toward the Shipwreck Coast for late afternoon and sunset, since the two halves of the road face different directions and reward different hours of the day.
- Apertures: f/8 to f/11 for most landscape work, keeping stacks and foregrounds sharp.
- Locations: Twelve Apostles, Loch Ard Gorge, Gibson Steps, Teddy's Lookout, Cape Otway Lightstation, plus Hopetoun and Erskine Falls in the Otways.
- Season note: June through October brings Southern Right whales past Logan's Beach, adding a second reason to base near Warrnambool.
Pro Tip: Check with Parks Victoria before your trip. Several viewing platforms close temporarily for maintenance, and a five-minute check saves a wasted sunrise.
Key Takeaways
Reliable Great Ocean Road images come down to prioritizing five key locations, matching your gear and shutter speed to the scene, and respecting tide and weather windows rather than fighting them.
| Point | Details |
|---|---|
| Prioritize five core spots | Twelve Apostles, Loch Ard Gorge, Gibson Steps, Teddy's Lookout, and Cape Otway Lightstation reward the most shooting time. |
| Pack a compact three-lens kit | A 14-35mm wide-angle, 24-70mm zoom, and a tripod under 3 lbs cover nearly every scene. |
| Match shutter speed to intent | Use 1/250s or faster to freeze spray, and 1-4 seconds for silky waterfall or wave motion. |
| Respect tide timing | Always check tide tables before shooting beach-level at Gibson Steps or similar low-lying spots. |
| Budget two to three days minimum | Rushing the full 245-kilometer route in one day sacrifices golden-hour light at most stops. |
| Extend the trip with the Mark Gray Gallery | Book a guided workshop or browse limited-edition prints of this coast at Com to build skills or bring the imagery home. |
Table of Contents
- Coastal Highlights: Sea Stacks, Arches, and Beach Vantage Points
- Great Otways: Waterfalls, Forests, and How to Photograph Them
- Lookouts and Lighthouses: Quick Framing and Access Tips
- Timing, Tides, and Seasonal Windows You Need to Know
- Essential Gear, Travel Kit, and Filter Choices for This Coast
- Composition and Camera Settings You Can Use on Site
- Photographer-Friendly Sample Itinerary and Planning Checklist
- How Professional Photographers Work This Route
- Drone Photography Along the Great Ocean Road: Rules and Suggestions
- Post-Processing Great Ocean Road Images: Seascapes and Forest Shots
- Night Photography and Astrophotography Along This Coast
- Sources
Coastal Highlights: Sea Stacks, Arches, and Beach Vantage Points
The Twelve Apostles earn their reputation, but the crowd at the main viewing platform photographs the same frame a thousand times a week. Work the elevated boardwalk for the classic silhouette against a setting sun, then walk the platform's edges for angles that separate the stacks from each other rather than flattening them into a single row. Community location databases tag more than twenty secondary vantage points along this stretch, so the postcard shot is rarely the only shot available.
Loch Ard Gorge rewards a different instinct. Instead of chasing scale, look for intimacy: the amphitheater walls, the narrow beach access, the shipwreck history that gives the location its name. A mid-range zoom around 24-70mm isolates texture in the cliff face that a wide-angle would just swallow whole.
Gibson Steps drops you to sea level, and that change in vantage point is the entire point of visiting. The stacks tower over you rather than sitting distant on a horizon line. This is also the spot where tide timing matters most. Check a current tide chart before you descend, because a rising tide can cut off the beach and strand you against the cliff base.
Bay of Islands Coastal Park and the London Arch (most locals still call it London Bridge, out of habit from before the archway partially collapsed in 1990) round out the coastal shortlist. Both offer eroded limestone texture and framing options a telephoto lens can compress into abstract patterns.
- Twelve Apostles: shoot the platform at sunset, then walk laterally for separation between stacks.
- Loch Ard Gorge: favor tight, story-driven frames over wide establishing shots.
- Gibson Steps: confirm tide timing first; shoot low and let the stacks dominate the frame.
- Bay of Islands / London Arch: use a telephoto to isolate texture and compress layered rock formations.
Pro Tip: A polarizing filter at Loch Ard Gorge cuts glare off wet rock and deepens the blue of the water, often more useful here than at the more open Twelve Apostles platform.
A single evening can realistically cover three of these four locations if you sequence them by drive time rather than fame. Start at Gibson Steps in the mid-afternoon while the tide is favorable, move to Loch Ard Gorge for the golden hour, and finish at the Twelve Apostles platform as the sun drops, since it's the location best suited to a dramatic sky.
| Location | Best Light | Key Composition Move |
|---|---|---|
| Twelve Apostles | Sunset | Walk the platform edges for stack separation |
| Loch Ard Gorge | Golden hour | Tight framing, use a polarizer on wet rock |
| Gibson Steps | Mid to late afternoon, tide-dependent | Shoot from beach level for scale |
| Bay of Islands / London Arch | Late afternoon | Telephoto compression on rock texture |
Great Otways: Waterfalls, Forests, and How to Photograph Them
When coastal wind turns brutal or fog rolls in off the Southern Ocean, the Otways forest interior is your fallback, and often the better shoot anyway. Three falls justify the detour inland.
- Hopetoun Falls drops roughly 30 meters into a fern-lined gorge and requires a short but steep descent; the reward is one of the most photographed cascades in Victoria for good reason.
- Erskine Falls, also close to 30 meters, involves stairs down to a lower viewing platform. The lower platform gets you close enough to feel the spray.
- Triplet Falls is a longer forest loop walk, better suited to travel days when you want tree canopy and boardwalk shots alongside the water feature itself.
Silky water at any of these three needs a shutter speed between one and four seconds, paired with an aperture around f/8 to f/11 to keep both the cascade and the surrounding rock in focus. A neutral density filter becomes essential here, since forest canopy already cuts available light before you factor in a multi-second exposure.
- Bring a waterproof cover and a microfibre cloth; spray off these falls travels farther than it looks.
- Choose a tripod with rubberized feet or add traction pads for wet rock and timber platforms.
- Rate each walk by stairs and distance before you commit an entire golden hour to one location.
Pro Tip: Scout your foreground fern or rock detail at midday when the light is flat and unflattering. That's when you notice the composition, not the glare, and the payoff arrives when you return at golden hour with the framing already decided.
Lookouts and Lighthouses: Quick Framing and Access Tips
Teddy's Lookout above Lorne rewards an early visit. Face east for sunrise over the Erskine River mouth, and note the car park sits a short, flat walk from the platform, making it one of the easiest high-value shots on the entire route.
Split Point Lighthouse at Aireys Inlet works best in the last hour before sunset, with the white tower catching warm light against a darkening sky. Parking sits close to the walking track, though the cliff edges nearby demand real caution in wind.
Cape Otway Lightstation, the oldest surviving lighthouse site on mainland Australia, suits either end of the day depending on which face of the tower you want lit. Access involves an entry fee and a short walk from the car park.
- Teddy's Lookout: face east, arrive for sunrise, minimal walk from parking.
- Split Point Lighthouse: shoot late afternoon, watch footing near unfenced cliff edges.
- Cape Otway Lightstation: check opening hours, plan for either sunrise or sunset depending on tower orientation.
Timing, Tides, and Seasonal Windows You Need to Know
Golden hour shifts by season and by which side of Cape Otway you're standing on, so check timing tools before you drive out rather than guessing from memory. Whale season runs June through October at Logan's Beach near Warrnambool, adding a strong secondary subject if you're already based on the Shipwreck Coast that time of year.
- Confirm tide tables before any Gibson Steps or beach-level shoot; a rising tide closes access fast.
- Treat cliff edges at Split Point and the Twelve Apostles platform as genuinely hazardous in wind or rain.
- Weatherproof your bag before you leave the car. Coastal squalls here arrive with little warning.
- Budget real drive time between stops. This coast punishes photographers who try to do too much in one day.
Pro Tip: Fog is common along the Shipwreck Coast in the cooler months. It ruins a wide establishing shot but often makes a moody, atmospheric image at the Twelve Apostles that a clear day never could.
Essential Gear, Travel Kit, and Filter Choices for This Coast
A three-lens kit covers nearly everything here: a wide-angle in the 14-35mm range for the big coastal scenes, a 24-70mm for versatility, and a 70-200mm telephoto for isolating stacks and compressing forest layers. A travel tripod under 3 lbs keeps your kit manageable across multiple short hikes in a single day, and you can dig deeper into ocean seascape technique if coastal work is new to you.
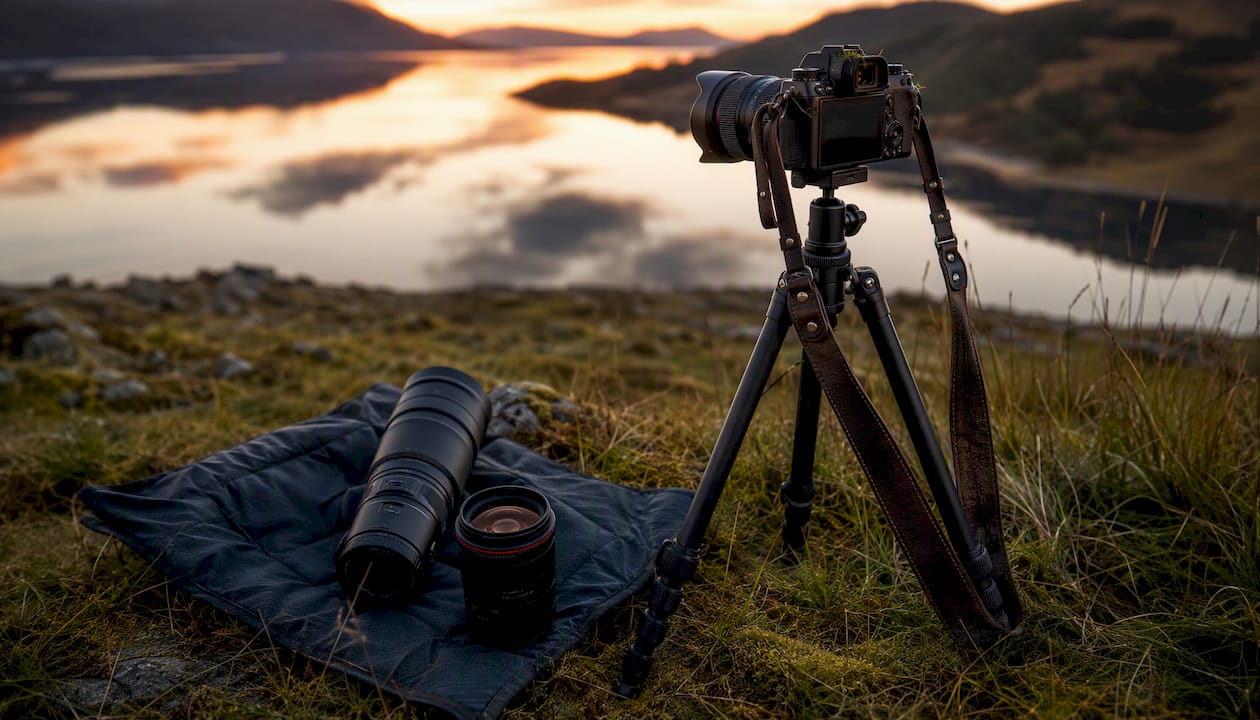
Filters do real work on this coast. A 2-stop graduated ND balances a bright sky against darker foreground rock, a problem that shows up at nearly every viewing platform along the Shipwreck Coast. A polarizer cuts glare and deepens color on wet stone and standing water. For long exposures at the falls or along the coast, a variable or solid ND lets you stretch shutter speed into the seconds without overexposing. If you want the reasoning behind filter choice rather than just a shopping list, this breakdown of ND filter use covers the tradeoffs in more depth.
Pack for salt spray. A rain cover and a supply of microfibre cloths matter more here than almost anywhere else in the country, since mist off the Southern Ocean settles on glass faster than you'd expect.
Pro Tip: If weight is a real constraint, drop the telephoto before the wide-angle. Most of this coast's signature shots depend on wide framing, and you can always crop a 24-70mm frame in post if you need extra reach.
Composition and Camera Settings You Can Use on Site
Depth of field decisions here are simple: f/8 to f/11 covers most scenes, from a stack-filled coastline to a fern-choked waterfall gorge. Shutter speed is where creative choice actually happens. Freeze sea spray at 1/250s or faster; smooth it into mist at 1 to 4 seconds with a tripod locked down.
- Anchor every frame with a foreground element, whether that's a rock, a fern, or a puddle catching reflected sky.
- Use natural leading lines, like a beach's wet sand line or a gorge wall, to pull the eye toward your main subject.
- Keep the horizon level and placed deliberately, not centered by default.
- Simplify. This coast offers a lot of visual noise, and the strongest frames usually cut something out rather than add it in.
| Scenario | Aperture | Shutter Speed | Notes |
|---|---|---|---|
| Sunset seascape | f/8-f/11 | 1/60s to 2s | Use a GND to hold detail in the sky |
| Waterfall long exposure | f/8-f/11 | 1-4s | Tripod essential, ND filter often required |
| Beach reflection | f/8-f/11 | 1/125s-1/250s | Shoot right after a receding wave for wet sand |
| Telephoto rock detail | f/5.6-f/8 | 1/250s+ | Freeze spray, isolate texture |
Pro Tip: In high dynamic range scenes, like a bright sky over dark cliffs, bracket three exposures and blend them, or use focus stacking when a close foreground and distant stack both need to be sharp. Both techniques solve problems a single frame can't.
Photographer-Friendly Sample Itinerary and Planning Checklist
Photographers who try to drive the entire road in a single day almost always regret it, since the light windows that matter are scattered across roughly 245 kilometers of coastline. Two to three days is the realistic minimum if you want sunrise and sunset shots without racing the clock between them.
Three-day plan:
- Day one: sunrise at Teddy's Lookout, midday scouting through the Otways, sunset at Loch Ard Gorge.
- Day two: sunrise at Gibson Steps (tide permitting), afternoon at Hopetoun and Erskine Falls, sunset at the Twelve Apostles.
- Day three: sunrise at the Bay of Islands, then a relaxed drive out via Warrnambool, with a stop at Logan's Beach if whale season is active.
Base yourself in Apollo Bay for the eastern half and Port Campbell for the western half; the split cuts drive time roughly in half compared to one central base. If you're mapping out a longer trip, scenic drive planning across other routes applies the same base-and-branch logic.
- Scout every major stop at midday if you have the time, then return for the light.
- Check tide and weather apps the night before, not the morning of.
- Pre-identify a foreground subject at each stop so golden hour becomes execution, not searching.
How Professional Photographers Work This Route
Professionals treat scouting as a separate task from shooting. They walk a location at midday, note foreground candidates, then return once the light turns, which is the same discipline behind pre-visualizing frames before golden hour rather than improvising on arrival.
- Scout at midday, shoot at golden hour, and commit to one primary location rather than chasing three at once.
- Bracket exposures in high-contrast scenes; spot-meter off the brightest sky if you're shooting a single frame.
- Use focus stacking when a foreground rock and a distant sea stack both need critical sharpness.
A guided workshop compresses years of trial and error into a few days, since an instructor already knows which angle at Loch Ard Gorge actually works and which one just looks good in someone else's Instagram feed.
Pro Tip: Bracket three frames at half-stop intervals whenever a sky-to-foreground contrast looks steep. It costs you nothing and saves the shot in post.
Drone Photography Along the Great Ocean Road: Rules and Suggestions
Aerial shots reveal shapes at the Twelve Apostles and Bay of Islands that ground-level cameras simply cannot capture, particularly the way the stacks align in rows when seen from directly above.
Rules matter more than gear here. Much of the coastline sits inside Port Campbell National Park and other Parks Victoria managed reserves, where drone use is restricted or banned outright near cliff faces and visitor areas. Flying near the Twelve Apostles viewing platforms, in particular, is prohibited in many sections due to safety and wildlife concerns. Always check current Parks Victoria guidance for the specific park before you fly, since restrictions vary by reserve and can change with wildlife nesting seasons.
Where flying is permitted, standard Australian civil aviation drone rules apply: stay under 120 meters, keep the aircraft in visual line of sight, and maintain distance from other people and any wildlife, including whales offshore during the June to October season. Coastal wind is also a genuine hazard for smaller drones, and gusts off the Southern Ocean can exceed manufacturer limits with little warning.
If a location bans drone flight, don't treat the rule as a suggestion. Fines are real, and losing a drone off a 70-meter cliff face is a worse outcome than any shot you'd have gotten.
Post-Processing Great Ocean Road Images: Seascapes and Forest Shots
Seascape files from this coast usually need selective contrast work rather than a heavy global edit. Pull back highlights in the sky, lift shadow detail in the sea stacks, and use a graduated adjustment in post if you didn't carry a physical GND filter in the field.
Color grading matters more here than in most landscapes, because the limestone stacks shift between warm ochre and cool gray depending on light angle. A subtle warmth boost at sunset sells the golden hour; a cooler grade suits the moodier, fog-heavy shots common on the Shipwreck Coast.
Forest and waterfall shots from the Otways need a different approach. Green channel control matters most, since fern canopy can turn oversaturated and flat under default settings. Reduce green saturation slightly and add contrast locally around the water itself, so the cascade doesn't get lost against a busy backdrop.
Focus-stacked and bracketed files need careful blending, particularly at transition points between foreground rock and distant water. For a deeper walkthrough of blend modes and selective masking suited to this kind of terrain, this guide to post-processing for landscapes covers techniques that translate directly to Great Ocean Road files.
Noise reduction on long-exposure waterfall shots deserves a light touch. Push it too hard and you lose the texture in wet rock that made the composition worth shooting in the first place.
Night Photography and Astrophotography Along This Coast
The Twelve Apostles and Bay of Islands both work as night photography subjects, since their silhouettes against a star field read as dramatic even to viewers unfamiliar with the location by day.
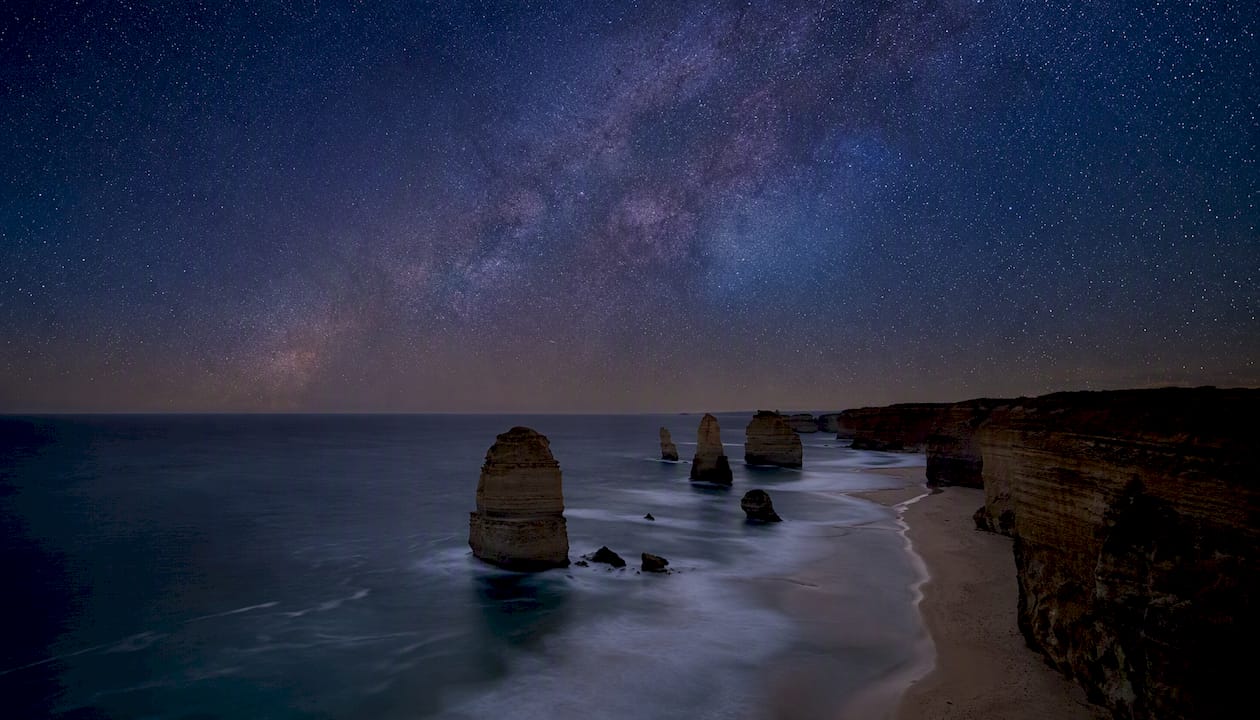
New moon periods offer the darkest skies, and the stretch west of Port Campbell suffers far less light pollution than the towns closer to Melbourne. Loch Ard Gorge, sheltered from most artificial light, is a strong candidate for a Milky Way shot framed against the gorge walls.
Camera settings for star fields typically call for a wide-angle lens at its widest aperture, commonly f/2.8 or faster, paired with a shutter speed around 15 to 25 seconds before star trails become visible, and a high ISO your camera handles cleanly. A sturdy tripod is non-negotiable, since any vibration at these shutter speeds ruins the frame.
Winter months bring earlier darkness and often clearer, drier air, which improves star visibility along the Shipwreck Coast. Summer nights run later but can carry more coastal haze. Whichever season you choose, arrive well before full darkness to compose your foreground while there's still enough ambient light to see the stack formations clearly through the viewfinder.
Author Perspective: Why This Route Keeps Rewarding Photographers
The iconic shots get you in the door, but the images that stay with you come from returning to the same stack or gorge in different weather. I've found the fog-shrouded, unglamorous mornings often produce the frame worth keeping, not the postcard-clear sunset everyone else photographs the same way.
How to Go Further: Workshops, Prints, and Booking a Guided Session
Reading about f-stops only gets you so far; consider Photography SEO Services to get your work and workshops discovered online. Standing beside someone who's already worked this light, on this coast, compresses months of trial and error into a single trip, and that's exactly what a guided workshop or multi-day tour delivers. You leave with technique you can repeat anywhere, not just a folder of lucky frames.

If a guided session isn't the right fit yet, a limited-edition print of the Twelve Apostles or Loch Ard Gorge brings that same coastline into your home without the tripod and the tide charts, and a licensed image can cover a commercial project that needs this landscape without the travel. Workshops also build skills that carry well beyond this one coastline, if what a structured photography course actually teaches is useful context before you book. Ready to see dates or browse available prints? Visit the Mark Gray Gallery to check workshop availability or start browsing the print collection today.
Sources
- Great Ocean Road photos guide — Ant Touring
- The Great Ocean Road — Photo Review
- Great Ocean Road Photography: Golden hour timing guide — The Trip Radar
- Photographing the Great Ocean Road — Digital Photography School